12 Things Every New Beekeeper Should Know Before Starting Secrets
Thinking about keeping bees? Amazing choice. You’ll get liquid gold, pollinator superpowers, and a front-row seat to one of nature’s coolest societies. This quick-start guide gives you the crucial stuff you wish someone told you before you bought a hive. Let’s make your first season smooth, safe, and actually fun—because panic-chasing bees in flip-flops is not the vibe.
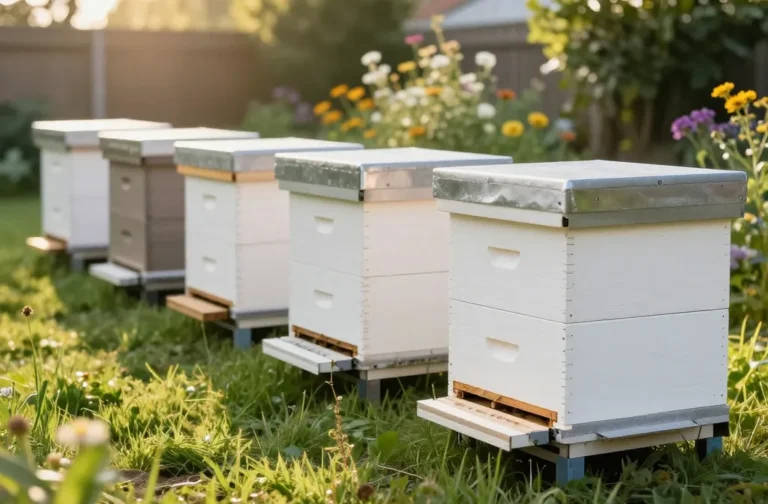
1. Start With Two Hives, Not One
One hive leaves you guessing. Two hives give you a comparison point, a backup for resources, and way better learning. If one falls behind, you can borrow brood or food from the other and save the season.
Why It Matters
- Diagnosis: You’ll spot problems faster when you can compare hive behavior side by side.
- Resource Balancing: Move frames of brood, honey, or bees to even things out.
- Confidence: One weak hive won’t tank your morale.
Use two hives if you want options and sanity. You’ll learn twice as fast with half the stress.
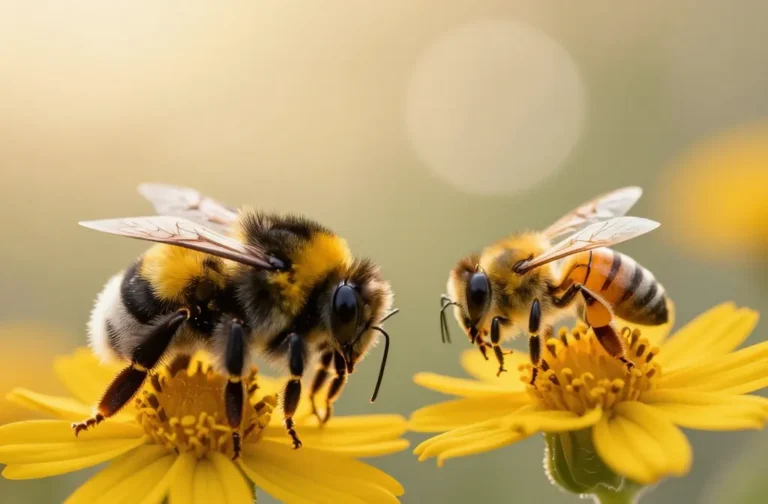
2. Choose Bees And Gear That Fit Your Climate
Not all bees—or hives—thrive everywhere. Match your bee stock and equipment to your region’s winters, summers, and nectar flows. You’ll thank yourself when your colony breezes through its first year.
Tips
- Bee Stock: Consider locally adapted bees or gentle strains like Italians; Carniolans do great in colder areas.
- Hive Style: Langstroth is versatile, top-bar is simpler, and Flow Hives are convenient but pricier.
- Ventilation & Insulation: In humid climates, use upper entrances and screened bottoms. In cold regions, plan for wraps and moisture control.
Pick what your weather favors. Good fit equals stronger colonies and fewer surprises.
3. Budget For More Than Just The Hive
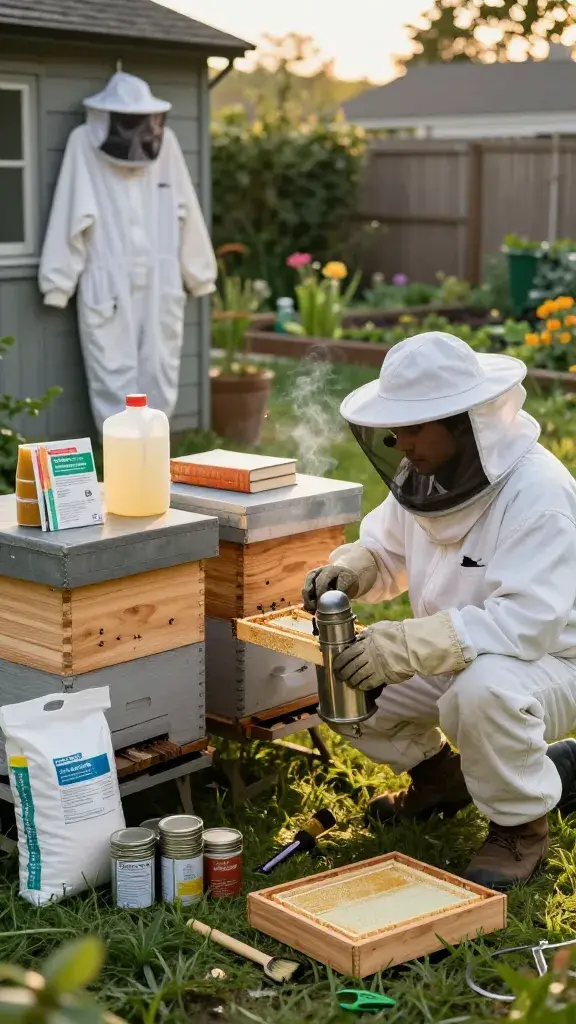
Beekeeping doesn’t have to bankrupt you, but it’s not a $50 hobby either. Plan ahead so you don’t skimp on the stuff that actually keeps bees alive.
Core Costs
- Startup: Two hives, suits, smoker, hive tool, veil, gloves.
- Consumables: Feed sugar, mite treatments, frames and foundation, jars.
- Training: A class or two, plus a solid reference book.
Set a realistic budget from day one. You’ll avoid “emergency” runs and keep your colonies humming.
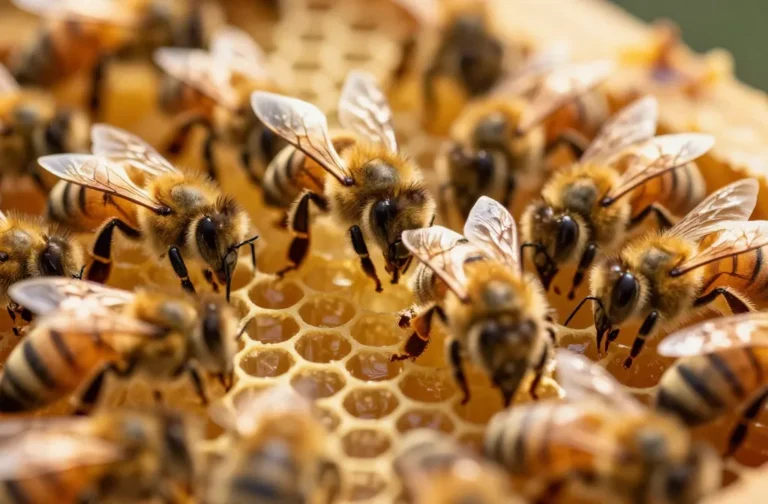
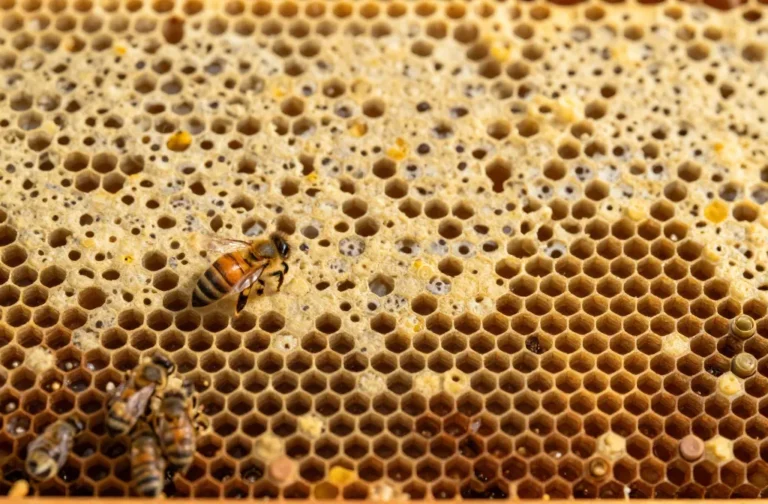
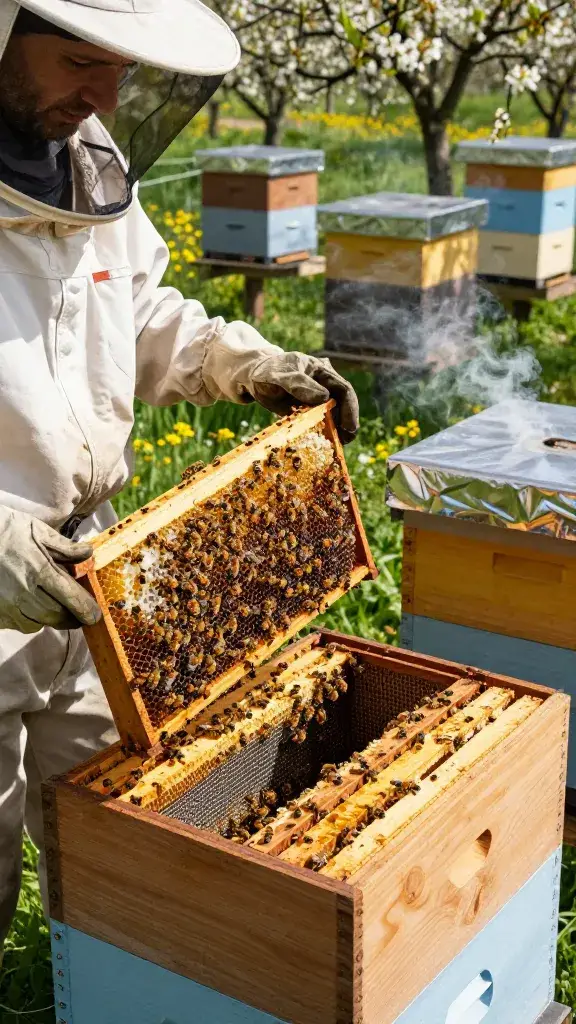
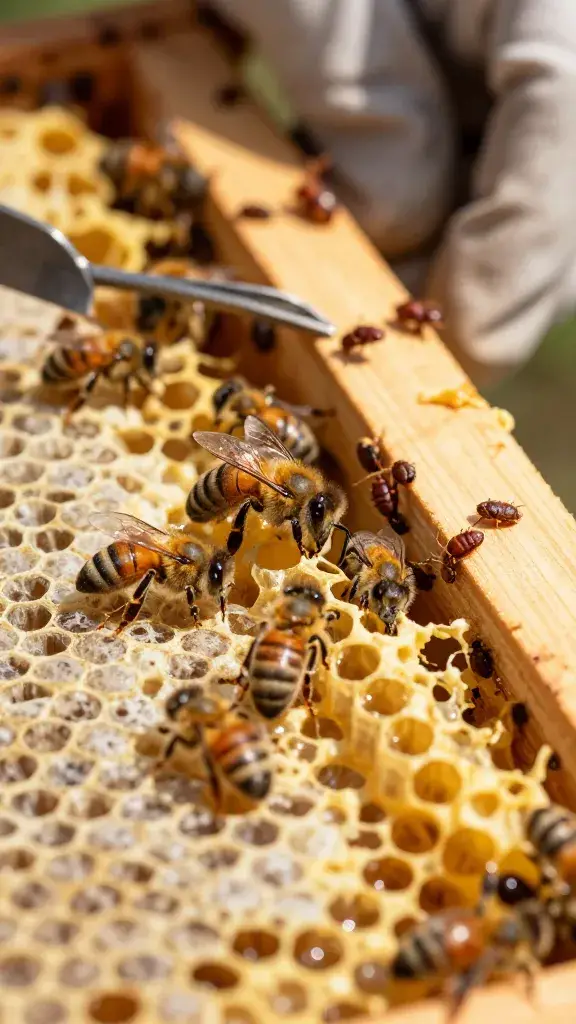
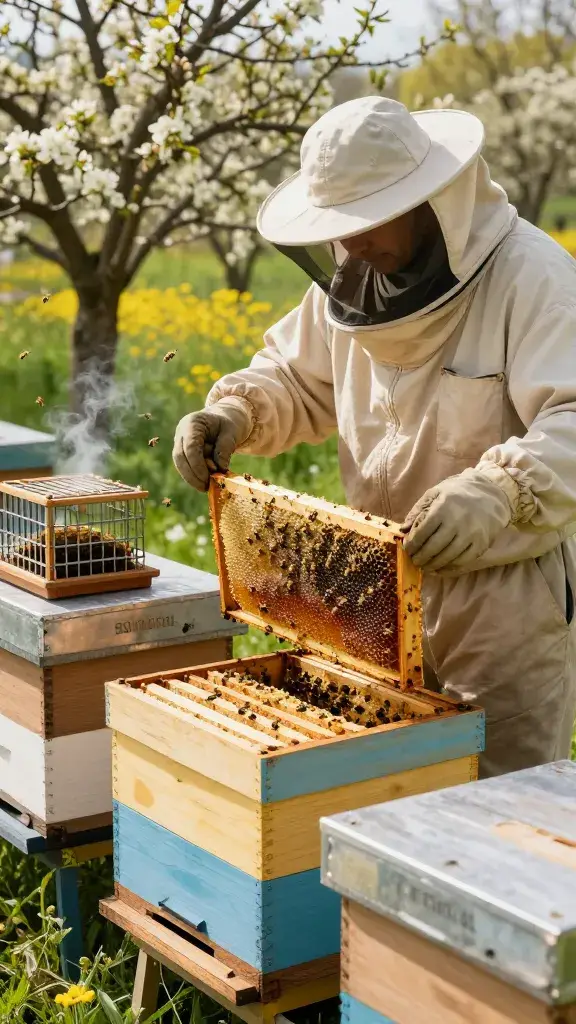
4. Learn To Read Frames Like A Storybook
Cracking a hive without knowing what to look for wastes everyone’s time—especially the bees’. When you can read frames, you’ll know the colony’s health at a glance.
What To Look For
- Brood Pattern: Solid, even brood = a productive queen. Spotty brood = investigate.
- Eggs And Larvae: Fresh eggs mean your queen laid in the last 3 days.
- Food Stores: Honey and pollen rings show the pantry is stocked.
- Queen Cells: Swarm cups vs. charged queen cells—huge difference.
Master the frames, master the hive. It’s the fastest path to confident beekeeping, IMO.
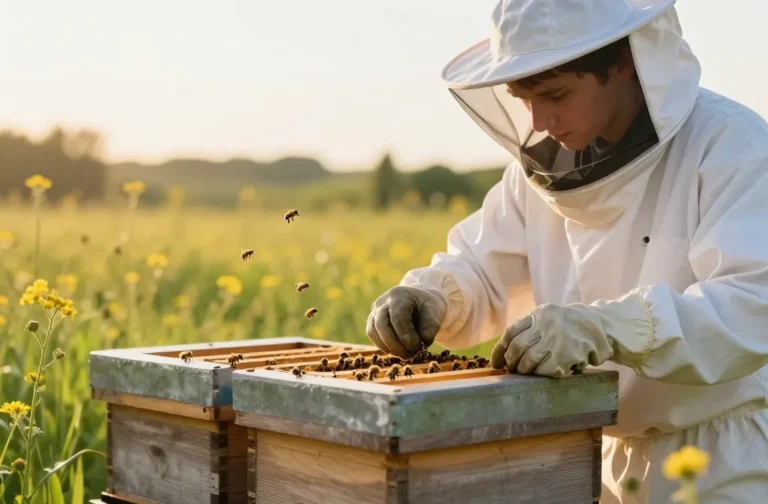
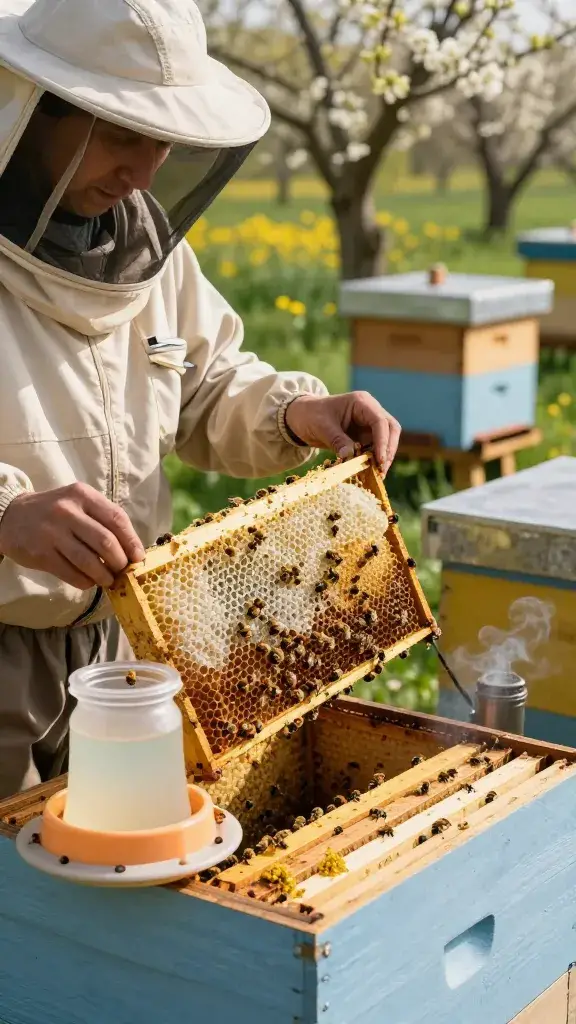
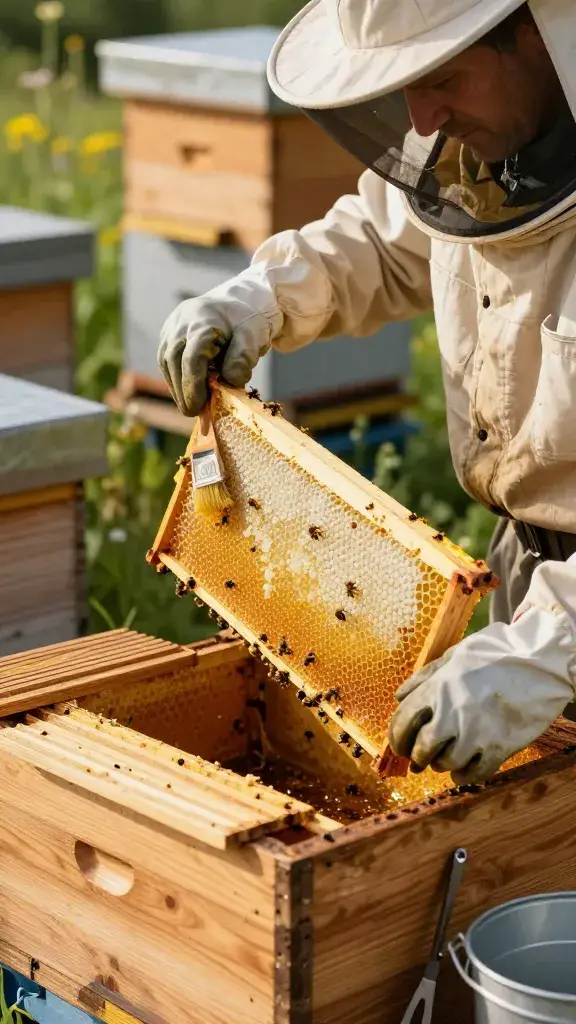
5. Suit Up Smart And Calm Your Bees
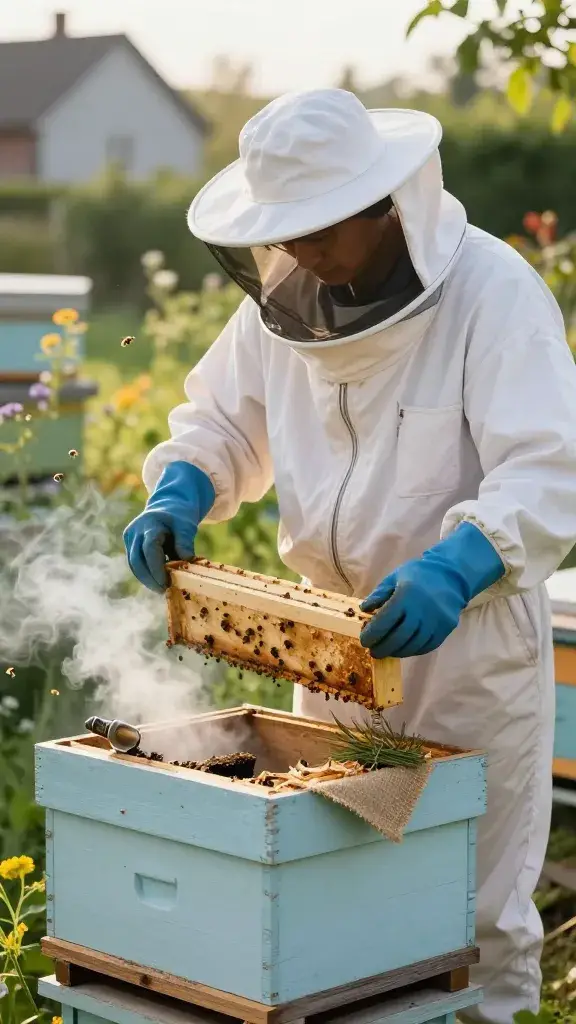
Confidence comes from two things: good protection and good smoke. Dress for success and keep your bees chill while you work.
Gear That Matters
- Full Suit Or Jacket with a reliable veil. Don’t cheap out on zippers.
- Nitrile Gloves for dexterity, or leather for extra sting protection.
- Smoker Fuel like pine needles, burlap, or untreated wood shavings.
Well-timed smoke at the entrance and under the lid prevents chaos. You’ll work slower, smoother, and get better results.
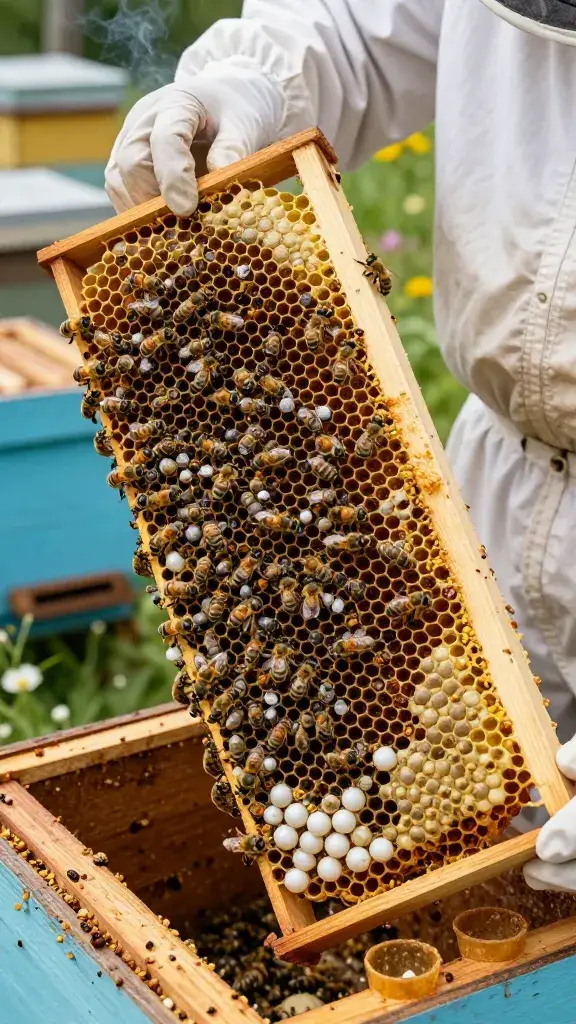
6. Varroa Mites: Treat On Time Or Lose The Hive
Varroa mites are the boss battle you can’t ignore. They spread viruses, drain bees, and wreck colonies—often just as you think things look fine.
Your Mite Plan
- Test Regularly: Alcohol wash or sugar roll every month during brood season.
- Thresholds: If you hit or approach local thresholds (often ~2-3%), treat promptly.
- Rotate Treatments: Use formic, oxalic, thymol, or approved synthetics as appropriate for temps and brood presence.
Proactive mite management keeps your bees vigorous and your honey flowing. Seriously, don’t wing this.
7. Feed When Needed—But Not Forever
New colonies often need a head start. Feed strategically so they build comb and brood fast, then let them forage when nectar flows.
Feeding Basics
- Syrup Ratios: 1:1 in spring for comb and brood; 2:1 in fall to pack winter stores.
- Pollen Substitute: Only when real pollen is scarce and brood needs a boost.
- Stop Feeding: When supers are on for harvest or when strong flows begin.
Feed to build momentum, not dependence. Balanced nutrition equals resilient colonies.
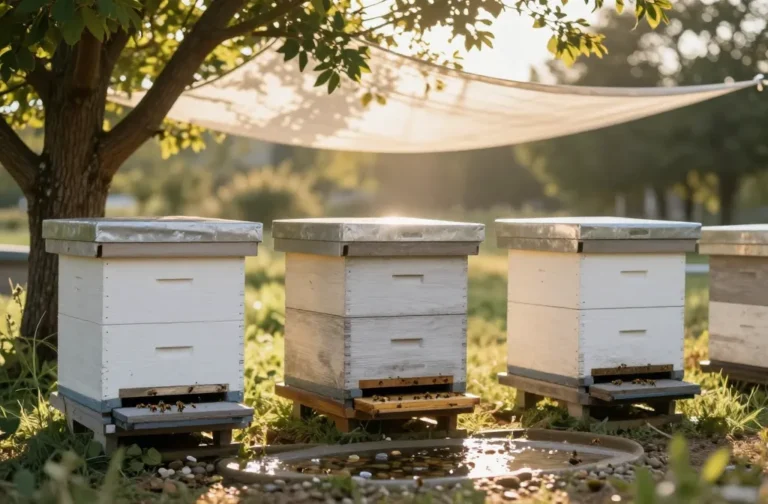
8. Place Your Apiary Like A Pro
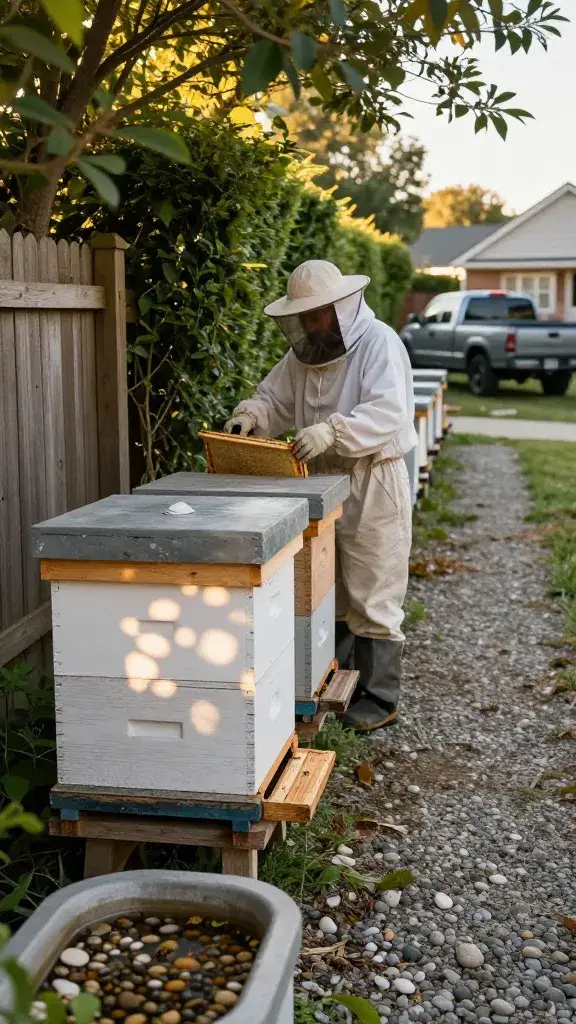
Where you put your hives changes everything—bee health, neighbor happiness, and your sanity. Pick spots that help bees thrive and keep peace on the block.
Site Checklist
- Sun & Wind: Morning sun, afternoon dappled light, windbreak if possible.
- Flight Path: Face away from foot traffic; raise entrances to send bees up and over.
- Water Source: Provide a shallow water station with landing pebbles.
- Access: Drive-up access beats hauling supers through a field, trust me.
Great placement leads to calmer bees, easier inspections, and happier neighbors.
9. Keep A Log—Your Future Self Will Thank You
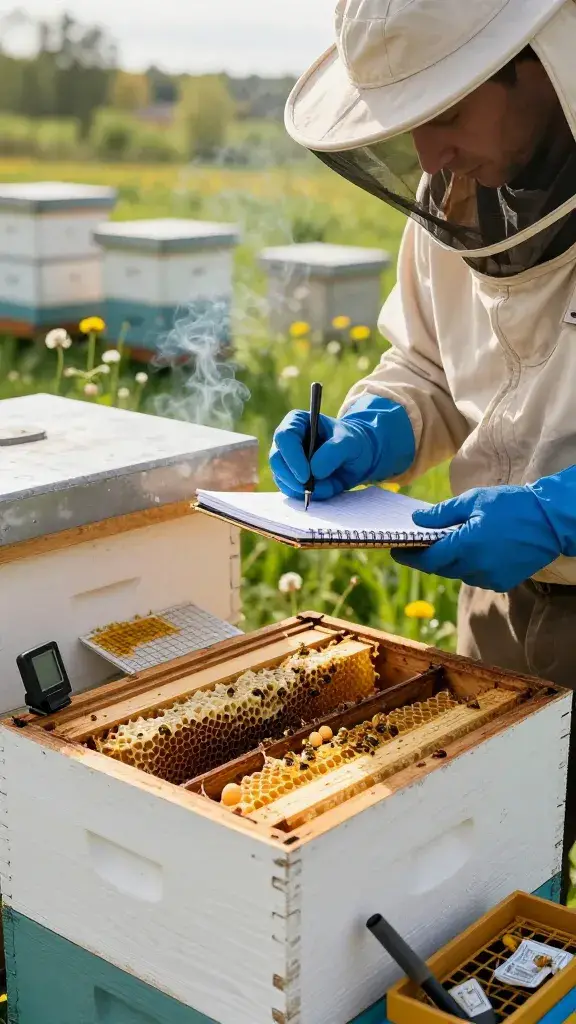
You think you’ll remember dates and details. You won’t. A simple log turns random visits into real insights.
What To Record
- Date & Weather: Temperature, wind, bloom status.
- Queen Status: Eggs seen, brood pattern, queen cells.
- Food & Space: Stores, frames drawn, supered or not.
- Mite Counts & Treatments: Method, results, product used.
Good notes help you predict flows, prevent swarms, and make data-driven calls.
10. Prevent Swarms With Space And Timing
Swarms are natural—but you can reduce them with smart timing. Give bees room before they feel cramped and manage brood to control their urge.
Strategies
- Add Supers Early: Super before the first nectar avalanche, not after.
- Brood Management: Open the brood nest, rotate frames, or create splits if needed.
- Queen Replacement: Requeen older or hot colonies before peak season.
Swarm-savvy timing keeps bees home and honey yields high. Less ladder-climbing, more harvesting.
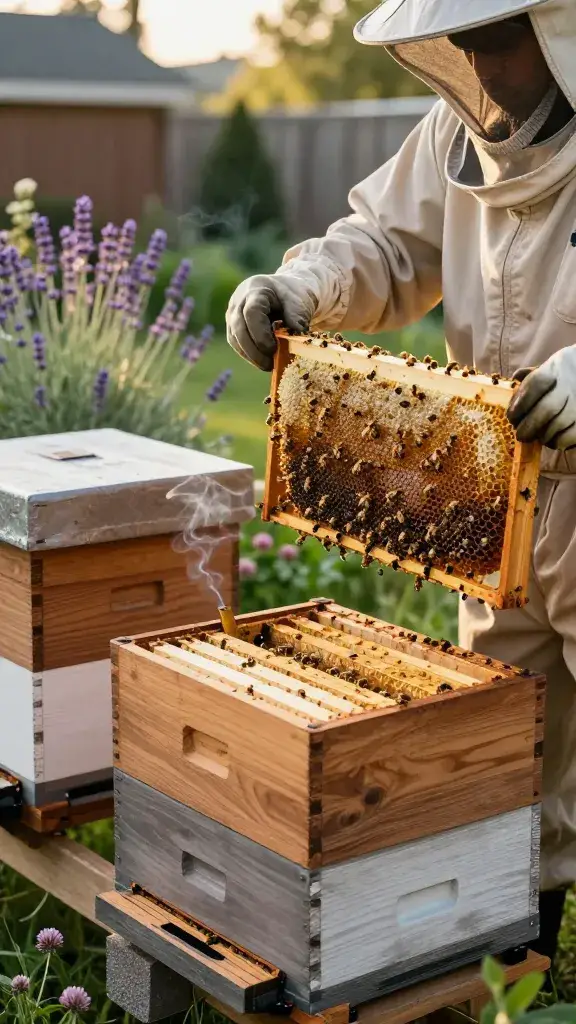
11. Harvest Honey The Right Way (And Leave Enough)
That first honey pull feels like winning the lottery. Don’t cash out the whole account—your bees need reserves to live.
Smart Harvesting
- Only Cap-Ready: Pull frames that are at least 80–90% capped.
- Leave Stores: Target minimums vary by climate—often 60–90 lbs for wintering.
- Gentle Removal: Use a fume board, escape board, or soft bee brush—go easy.
Harvest with restraint and you’ll get honey now and a strong colony next season.
12. Join A Local Club And Find A Mentor
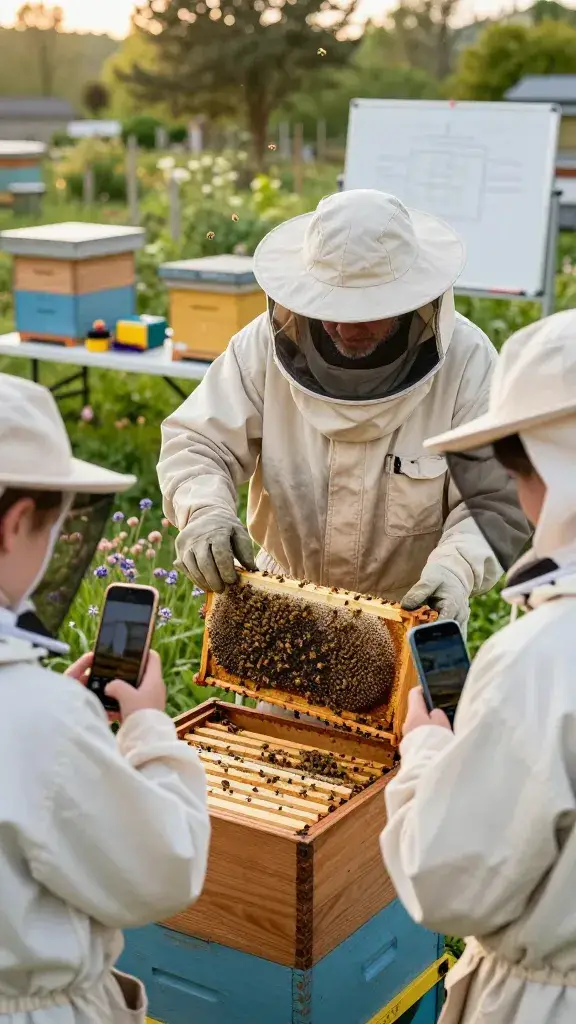
Books and videos help, but nothing beats a seasoned keeper who can spot trouble in seconds. Local clubs connect you with mentors, loaner gear, and real-time advice.
How To Plug In
- Attend Meetings: Bring questions and photos of your frames.
- Volunteer: Help at apiary days and learn hands-on.
- Share Data: Compare nectar flows, swarm dates, and treatment windows.
Community shrinks the learning curve and boosts your success rate—fast.
Ready to suit up? Start with two hives, make a mite plan, and keep notes like a detective. Stick to these 12 essentials and you’ll raise happy bees, pull beautiful honey, and have a blast doing it—FYI, the first sunny inspection day feels like magic.
Share this content: