Viral Guide 10 Best Beginner-Friendly Beehives for Backyard Beekeeping
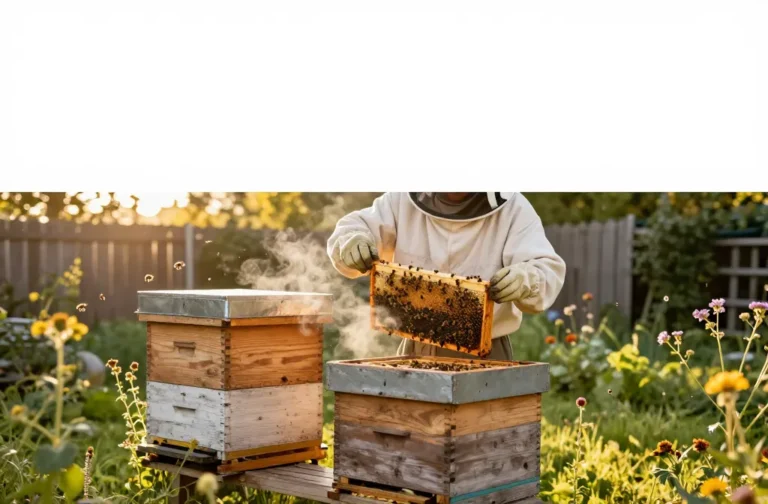
Ready to turn your backyard into a buzzing little paradise? The right beginner hive makes beekeeping feel simple, safe, and seriously satisfying. I’ve rounded up the best options that help you learn fast, harvest clean, and keep your bees happy. Let’s find your first hive—without stings to your wallet or your confidence.
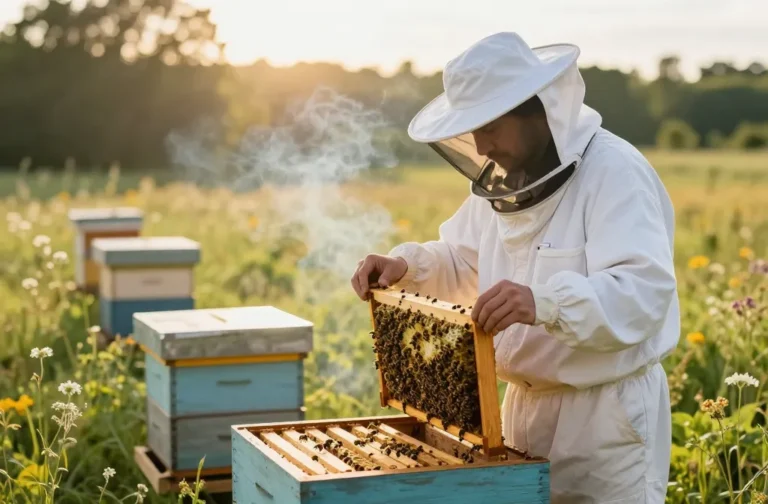
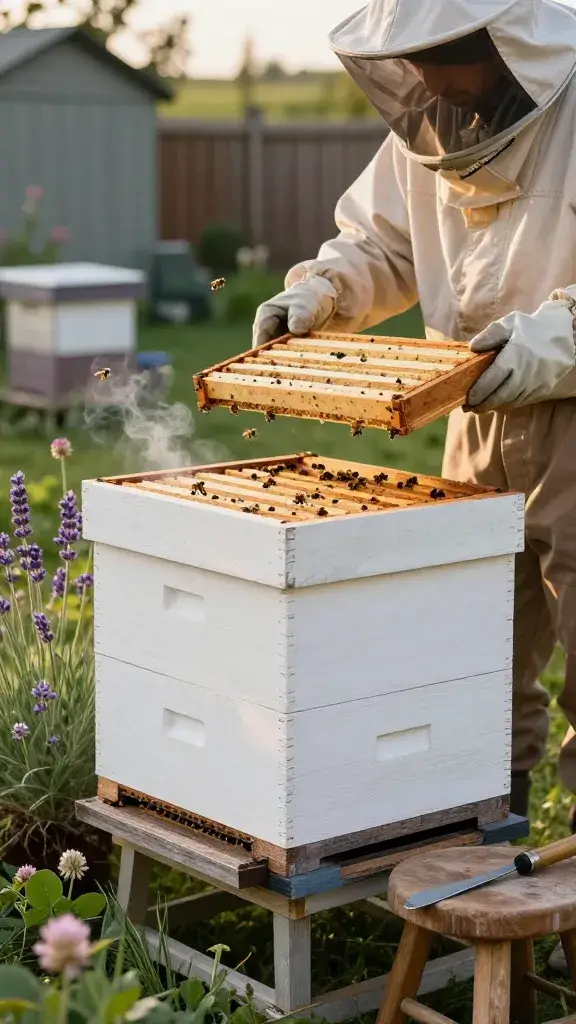
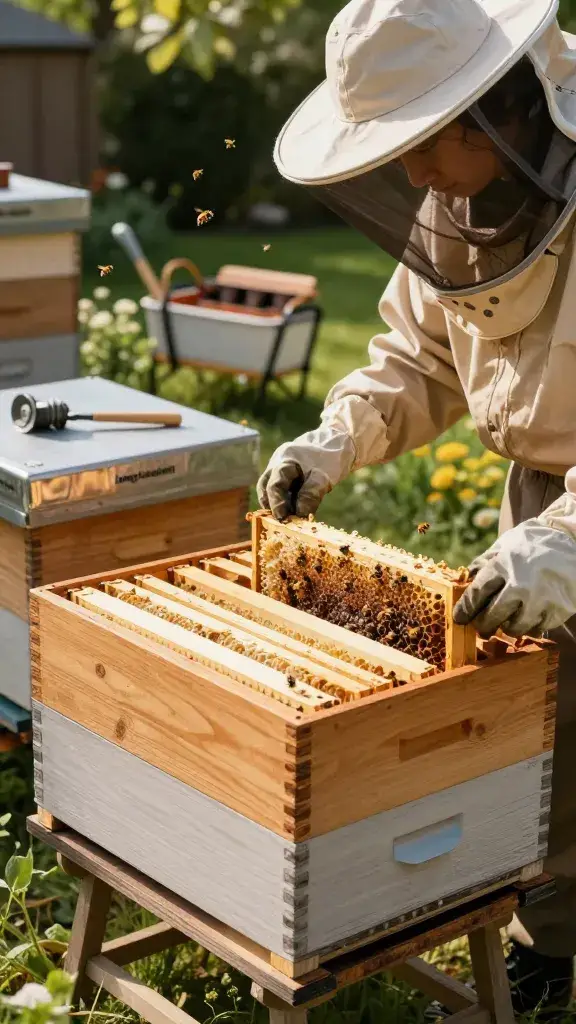
1. Classic 10-Frame Langstroth: The Gold Standard Starter
The 10-frame Langstroth is the hive everyone talks about for a reason. It’s versatile, easy to expand, and every tutorial on YouTube shows it. If you want plug-and-play beekeeping with tons of compatible gear, start here.
Why It Rocks
- Standard equipment means easy replacements and add-ons.
- Removable frames keep inspections clean and controlled.
- Stackable boxes let you grow as your colony does.
Use it if you like structure, clear learning paths, and tons of support from local clubs.
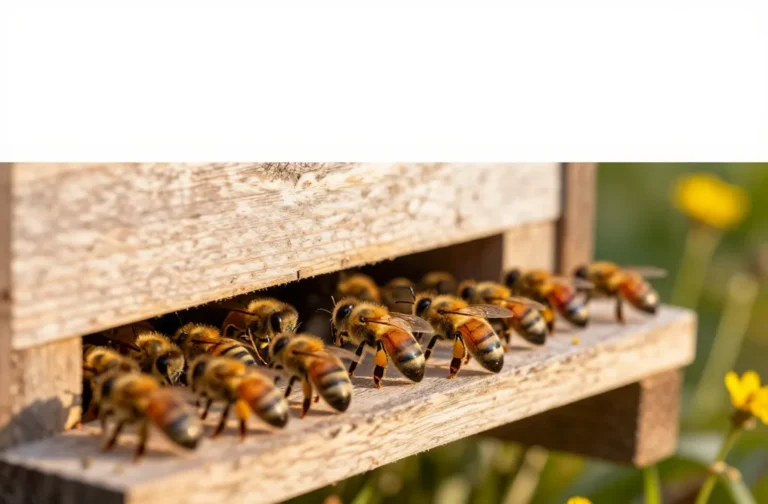
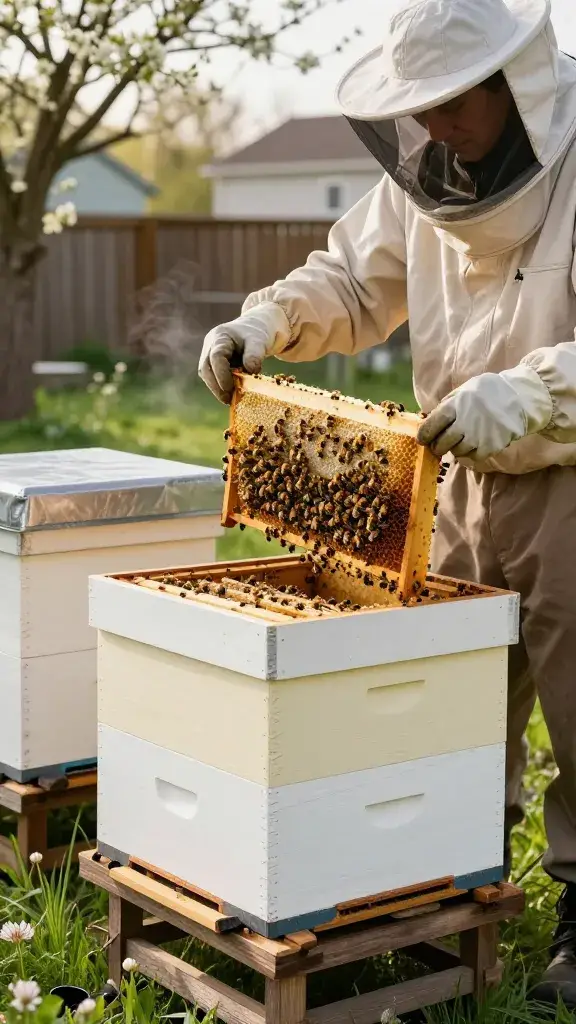
2. 8-Frame Langstroth: Lighter, Friendlier, Still Powerful
Love the Langstroth idea but hate heavy lifting? The 8-frame version trades a bit of capacity for manageability. Your back will write you a thank-you note during honey season.
Key Points
- Lighter boxes make inspections less intimidating.
- Great for smaller yards and moderate honey goals.
- All the same parts as the 10-frame in most cases.
Choose this if you want a smooth first year and easier solo beekeeping.
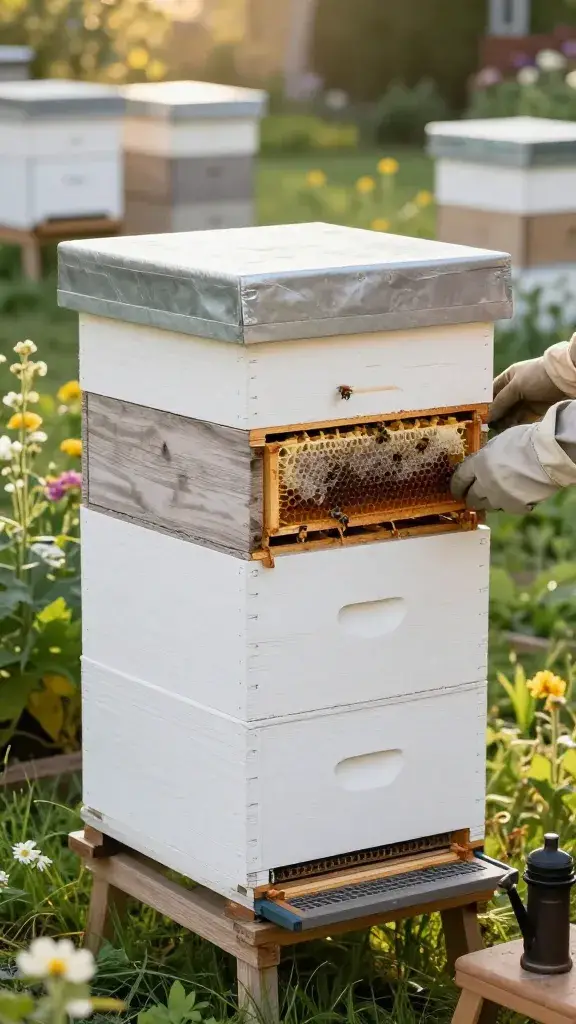
3. Beginner All-In-One Langstroth Kit: Open, Assemble, Bee
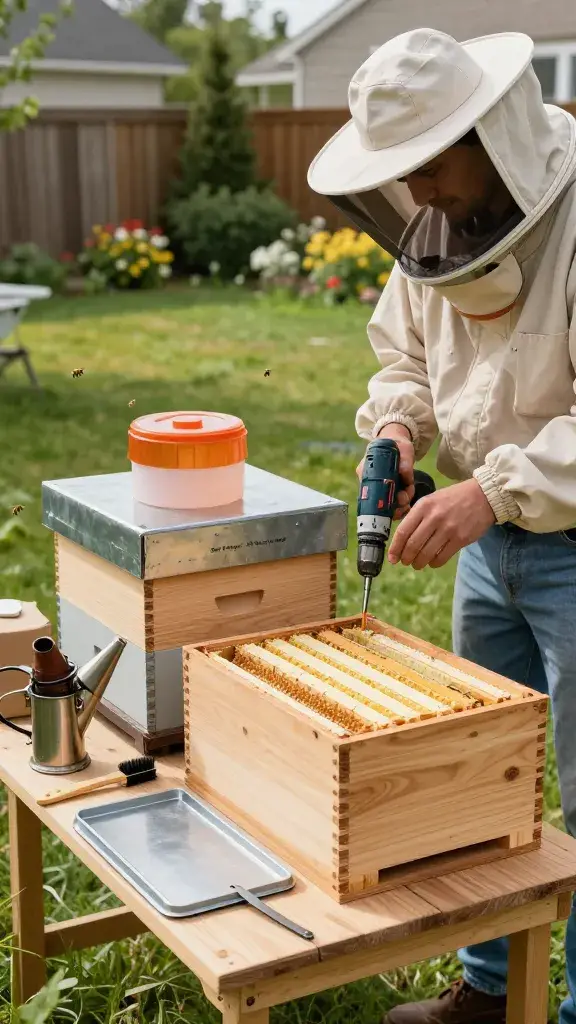
Hate sourcing a zillion pieces? All-in-one kits bundle boxes, frames, foundation, smoker, tools, and a feeder. You can build it in a weekend and be ready for your bees by Monday.
Look For
- Pre-cut, pre-drilled parts that go together fast.
- Frame foundation (wax or plastic) to help bees draw comb straight.
- Inner and telescoping outer covers for weather protection.
Perfect when you want to skip guesswork and start strong, IMO.
4. Windowed Top-Bar Hive: Gentle, Low-Lift, Backyard Chic
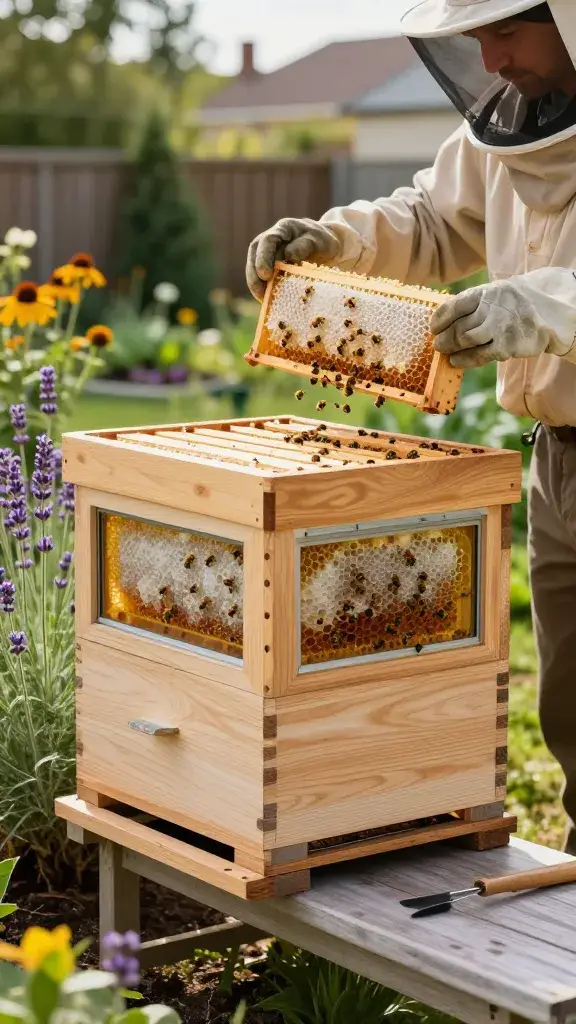
Top-bar hives swap stacked boxes for a single horizontal body with bars on top. Bees build natural comb, and you harvest in smaller batches. The vibe? Calm, educational, and very “neighborhood pollinator hero.”
Pros
- No heavy supers to lift—inspections feel breezy.
- Observation windows let you peek without fully opening.
- Natural comb means fewer plastic parts and lovely wax.
Best when you want a slower pace, gentle handling, and beautiful comb for crafts.
5. Warre Hive: The Cozy, Minimalist Option
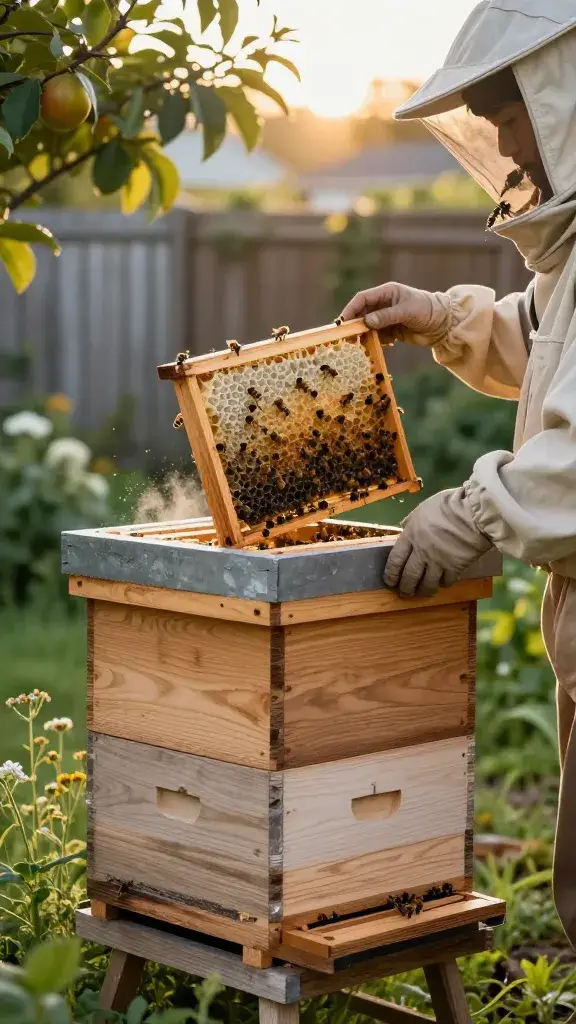
The Warre (pronounced wah-RAY) is a vertical hive designed to mimic a hollow tree. Bees build downward, you add boxes underneath, and you harvest from the top. It’s hands-off friendly but still beginner-accessible.
Why Beginners Like It
- Quilt box and roof manage moisture like a champ.
- Fewer inspections keep stress down for you and the bees.
- Natural comb with tidy square boxes.
Use it if you like a minimalist setup and you’re cool with smaller honey harvests but happier bees.
6. Flow Hive Classic: Turn a Tap, Get Honey
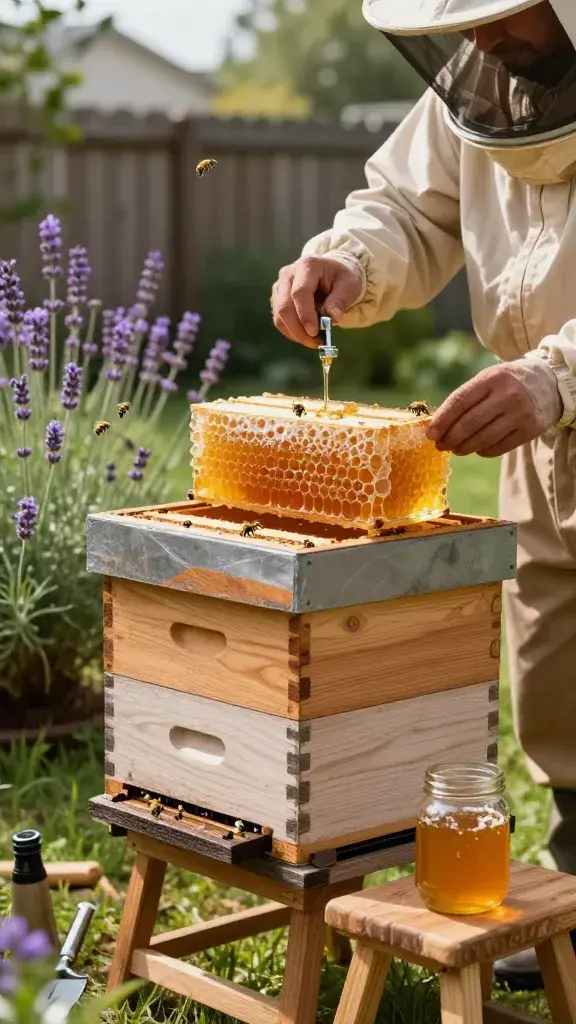
Yes, the internet-famous hive with the honey tap. The Flow Hive uses special frames that let you harvest honey without cracking boxes. It’s pricey, but it makes honey collection insanely clean and beginner-friendly.
Good To Know
- Traditional brood box below with Flow frames up top.
- Minimal disruption during harvest—great for tight neighborhoods.
- Still requires regular inspections—it’s not a set-and-forget hive, FYI.
Choose it if you want easy harvests, high wow-factor, and you don’t mind the premium.
7. Long Langstroth (Horizontal Lang): No Lifting, All Comfort
Think Langstroth frames laid out in a single long box. You keep standard frames but skip stacking heavy supers. It’s ergonomic, accessible, and ideal for hot climates or anyone with lifting limits.
Highlights
- Standard Langstroth frames = easy sourcing and swaps.
- Follower boards help manage space as colonies grow.
- Great ventilation with fewer disruptions during inspections.
Reach for this if you want standard parts plus maximum comfort and control.
8. Insulated Poly Hives: Bees Stay Toasty, You Get Results
Polystyrene hives offer excellent insulation, which helps colonies build up faster and winter better. They’re light, durable, and surprisingly quiet inside. Bees love the stable temps; you’ll love the productivity.
Perks
- Warmer winters and cooler summers mean steadier brood patterns.
- Lighter boxes are beginner-friendly.
- Easy to clean and long-lasting when cared for.
Pick this if you live somewhere with temperature swings or just want high-performance housing.
9. Observation/Teaching Hive: Learn Fast, Wow Your Friends
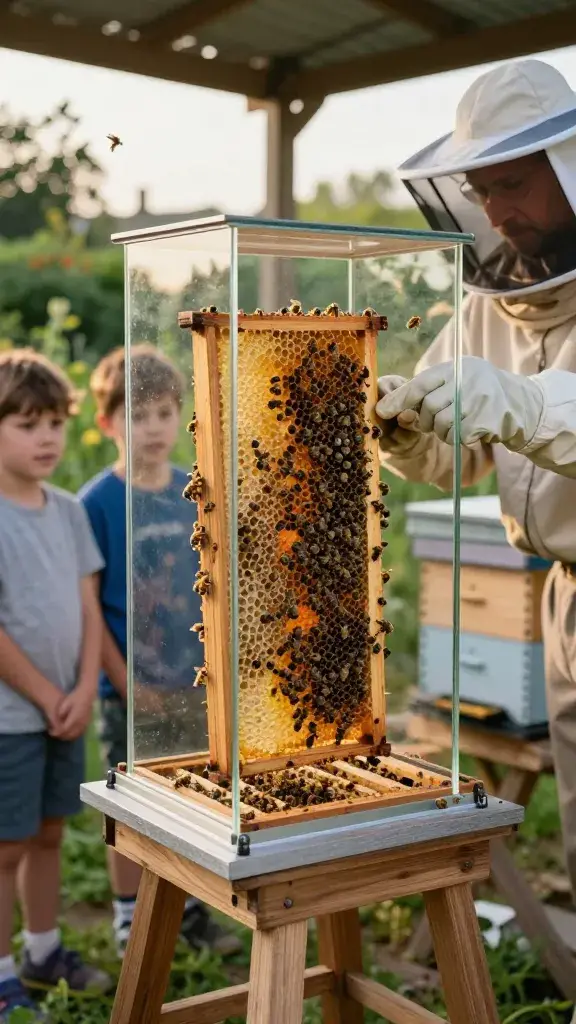
Observation hives use glass or clear panels so you can see frames and bees at work. Many function as a secondary hive for learning and quick checks. They make understanding bee behavior way easier—and yes, they’re mesmerizing.
Best Uses
- Education for kids, guests, and curious neighbors.
- Quick inspections without pulling frames constantly.
- Small colonies or nucs to practice management.
Great add-on when you want to learn fast and share the magic without full tear-downs.
10. Starter Nuc + Nuc Box: The “Head Start” Combo
A nuc (short for nucleus colony) comes with a laying queen, brood, food, and frames—basically a mini hive. Pair it with a proper nuc box or move it into your main hive to skip the wobbly early days. It’s the shortcut beginners secretly dream about.
Why It Helps
- Established brood pattern gives instant momentum.
- Fewer variables than starting with package bees.
- Easy transfer into Langstroth setups.
Use this when you want a confident first season with faster growth and earlier honey potential, seriously.
Extra Tips For Choosing Your First Hive
Quick reality check before you click “add to cart.” The best hive is the one you’ll actually maintain. Match your gear to your climate, your yard, and your tolerance for lifting and fiddling.
What To Prioritize
- Local support: Can your beekeeping club help you with this style?
- Parts availability: Easy to find frames, feeders, and boxes?
- Weight: Will you lift full supers comfortably in July?
- Climate features: Ventilation, insulation, rain protection.
Choose the hive that fits your lifestyle now. You can always add or upgrade later—beekeeping is a journey, not a sprint.
Gear You’ll Want On Day One
Don’t skimp on the basics. The right tools make you calmer and your bees calmer—win-win. Most kits include some of these, but verify before you buy.
Starter Checklist
- Bee suit or jacket with veil and good gloves
- Smoker and fuel (pine needles or pellets work great)
- Hive tool and bee brush
- Feeder (top or entrance), plus sugar for syrup
- Varroa monitoring tools: sugar roll kit or alcohol wash
Get set up once and you’ll feel like a pro by your second inspection, trust me.
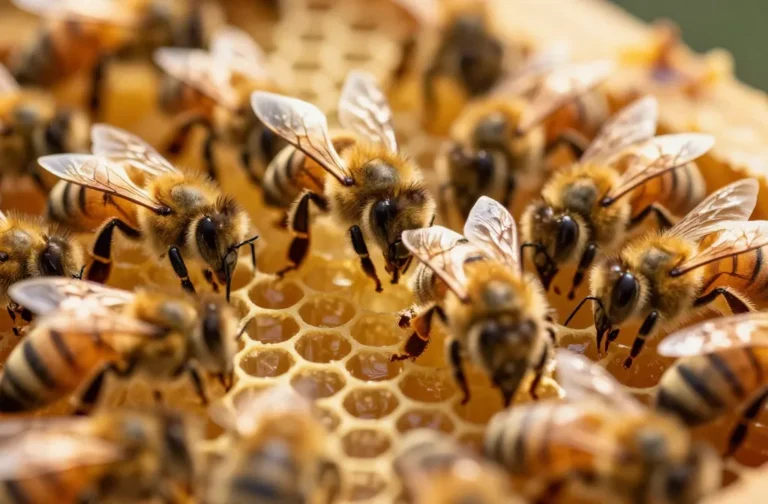
Foundation Options: Wax vs. Plastic, Or Go Foundationless
Frames come with foundation sheets, or you can let bees build freely. Foundation affects comb strength, honey extraction, and how tidy everything looks. Beginners usually like predictable results first, experiments later.
Quick Comparisons
- Wax foundation: Natural, good acceptance, needs gentle handling.
- Plastic foundation: Durable, easy extraction, coat with wax for best results.
- Foundationless: Natural comb, great for cut comb, requires straight guides and careful leveling.
Pick based on your harvest goals. If you want easy spinning in an extractor, plastic wins. If you want gorgeous cut comb, go wax or foundationless.
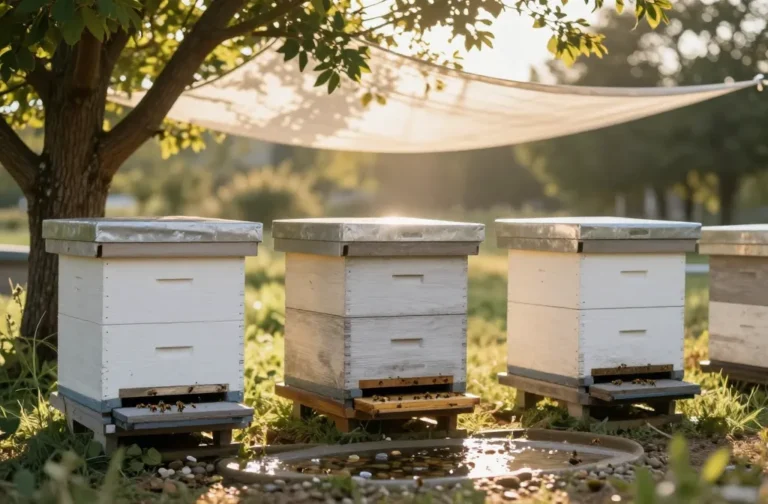
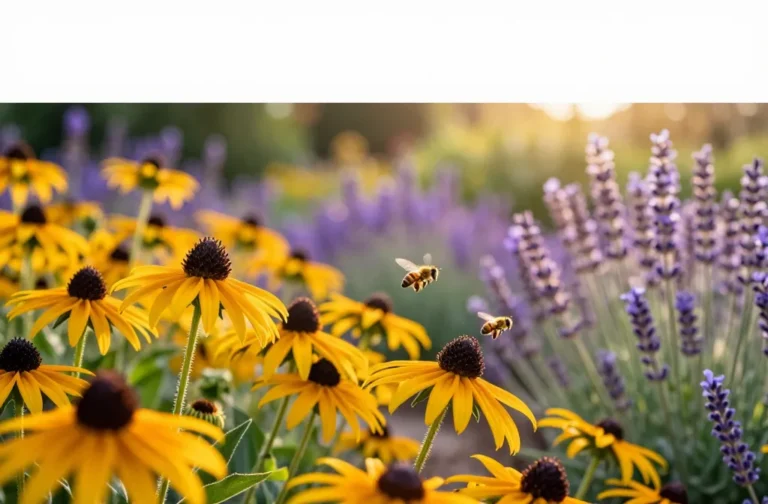
Where To Put Your Hive (So Your Bees And Neighbors Love You)
Placement matters more than you think. Good airflow, morning sun, and a clear flight path keep bees strong and humans happy. Avoid damp, low spots and constant shade.
Placement Tips
- Face the entrance east or southeast for early foraging.
- Elevate the base 8–12 inches to reduce moisture and critters.
- Provide water: a shallow birdbath with pebbles works.
- Use a privacy fence or shrubs to lift flight paths above head height.
Dial this in and you’ll cut down on nosey bee encounters and winter headaches.
What To Expect Your First Season
First-year colonies usually build comb and grow more than they produce honey. That’s normal. Success looks like healthy brood, steady population, and bees that make it to winter strong.
Milestones
- Weeks 1–4: Feed, monitor, let them draw comb.
- Weeks 5–10: Add space as frames fill; start gentle inspections.
- Mid-summer: Manage mites, add supers if booming.
- Late season: Prepare for winter—food, ventilation, mite checks.
Play the long game. Healthy bees now mean big honey next year.
Common Beginner Mistakes (And Easy Fixes)
We’ve all been there. Learn these fast and you’ll skip the avoidable headaches.
Avoid This
- Over-inspecting: Open less, observe more at the entrance.
- Under-feeding new colonies: Support them until forage explodes.
- Ignoring mites: Test monthly in season; treat when thresholds hit.
- Too much space too soon: Add boxes when 70–80% full.
Small tweaks now save colonies later—your bees will thank you with happy hums.
Budgeting: What You’ll Realistically Spend
Sticker shock? Let’s keep it real. You can start smart without torching your savings.
Ballpark Costs
- Basic Langstroth kit: $150–$300
- Protective gear + tools: $120–$250
- Bees (nuc or package): $140–$220
- Extras (feeder, mite testing, treatments): $40–$100
Go gradual. Start with one hive, learn the ropes, then expand with confidence.
Final Picks: Which Hive Should You Choose?
Want the easiest path with max support? Go 8- or 10-frame Langstroth. Prefer low lifting and natural comb? Try a Top-Bar or Long Lang. Crave clean, drama-free harvests? The Flow Hive delivers.
Match the hive to your style and climate, not just aesthetics. Do that, and your first season will feel like a win from day one.
Backyard beekeeping doesn’t need to be complicated—you just need the right hive to start. Pick one from this list, order your bees, and get ready for the best garden upgrade ever. You’ll learn fast, the honey will come, and your backyard will buzz in the best way possible.
Share this content: