Viral 15 Beekeeping Tips for Beginners Who Want Healthy Hives
Ready to keep bees without the chaos? These beginner-friendly tips will help you build thriving, happy hives from day one. You’ll avoid pricey mistakes, keep your bees healthier, and actually enjoy your inspections. Grab your veil and let’s make your first season a win.
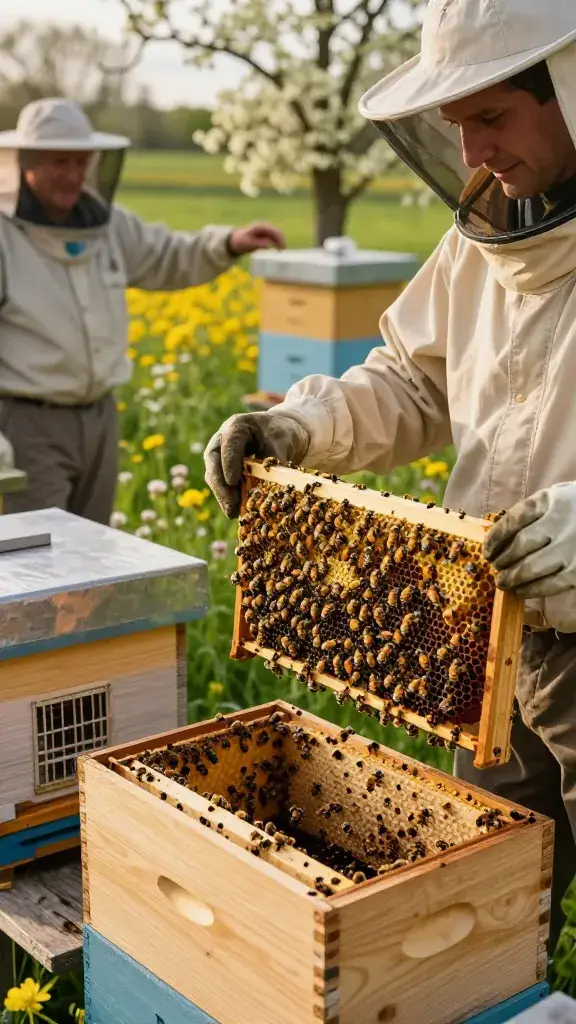
1. Start With Two Hives, Not One
Two hives give you a safety net. If one falls behind, you can share resources like brood or food and keep both rolling.
Why It Works
- Lets you compare queen performance and behavior
- Balances strength by swapping frames or bees
- Prevents total failure if one colony struggles
You’ll learn faster with side-by-side comparisons, and your confidence doubles when you have options.
2. Choose The Right Location, Not Just The Convenient One
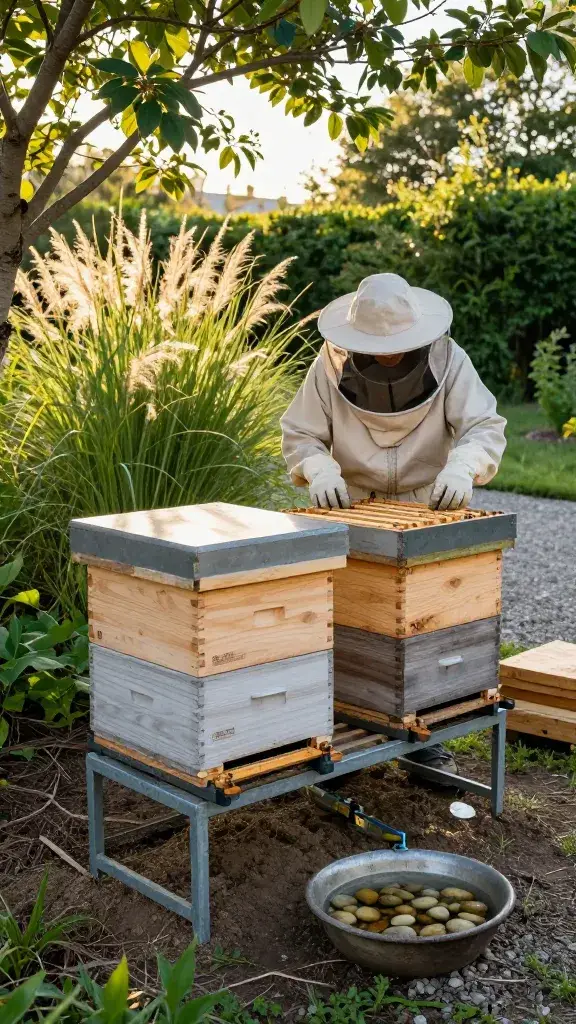
Bees thrive in spots with morning sun, afternoon shade, and minimal wind. Place hives on stable stands above damp ground.
Site Checklist
- East or southeast morning sun
- Entrance facing away from foot traffic
- Level stand, 12–18 inches off ground
- Water nearby (add pebbles so bees don’t drown)
Pick the right spot once and you’ll avoid cranky bees, moldy boxes, and constant hive adjustments.
3. Buy Local Bees And A Marked Queen
Local bees already know your climate and forage. A marked queen makes inspections easier and reduces “where is she?!” panic.
What To Ask Your Supplier
- Overwintered nucs vs. packages (nucs tend to establish faster)
- Queen source, age, and temperament line
- Pickup timing relative to local nectar flow
Local genetics + an easy-to-spot queen equals a smoother first season and fewer surprises.
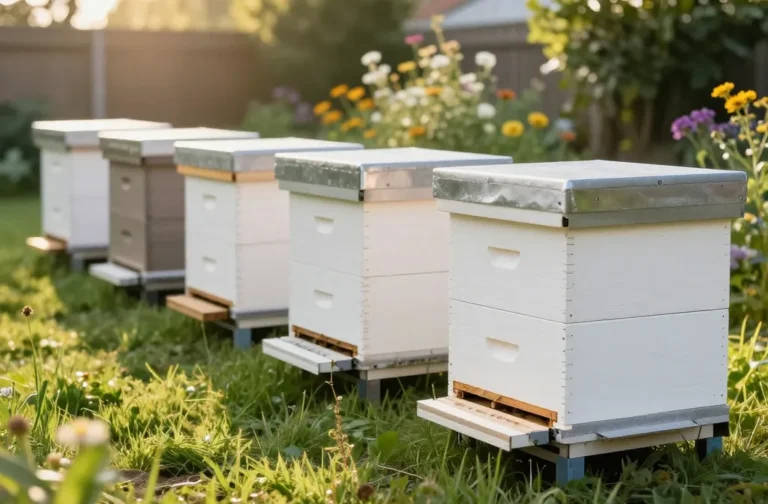
4. Go With Simple Gear That Actually Fits
Skip the gimmicks. A basic Langstroth setup with compatible frames keeps everything interchangeable and easy to expand.
Core Kit
- Two deep brood boxes + medium supers
- Bottom board, inner cover, telescoping lid
- Smoker, hive tool, bee brush, veil/jacket, gloves
- Frame feeder or top feeder for spring starts
Streamlined gear reduces confusion and helps you focus on reading the bees, not the catalog.
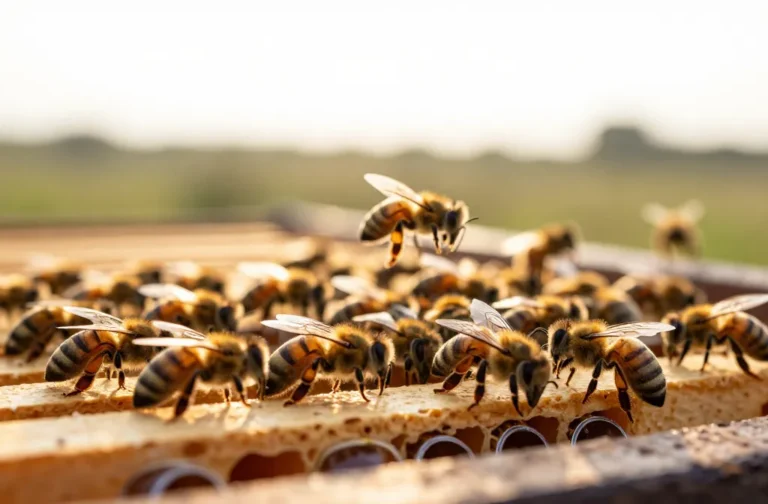
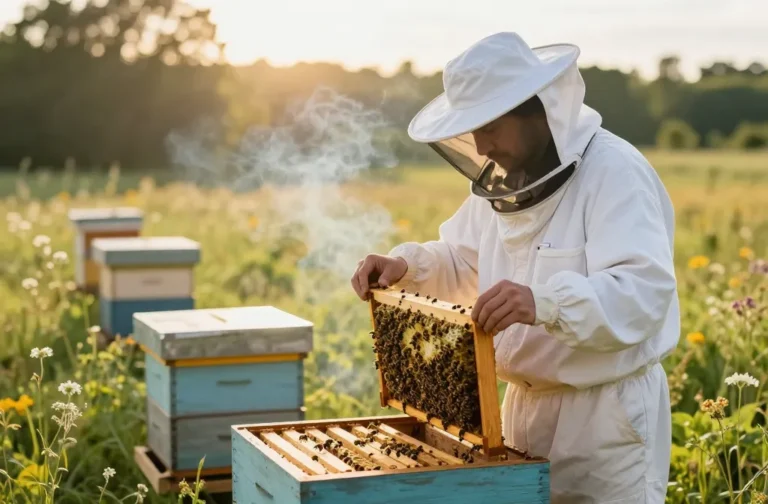
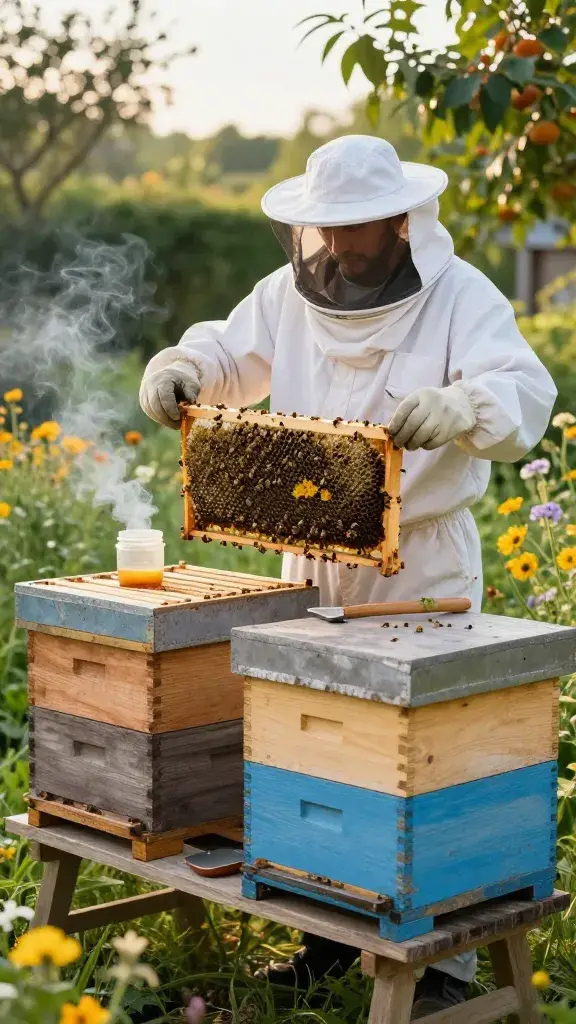
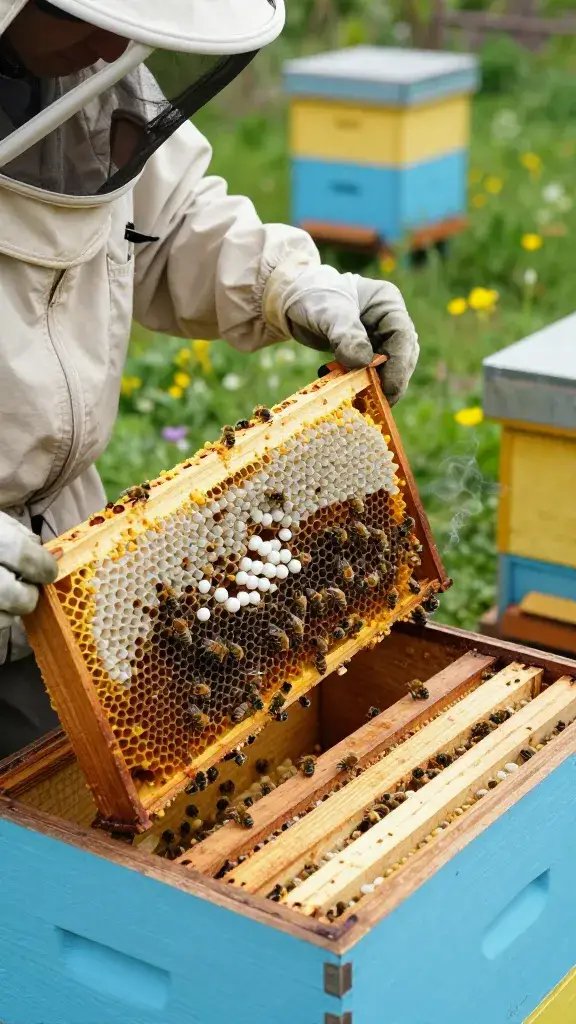
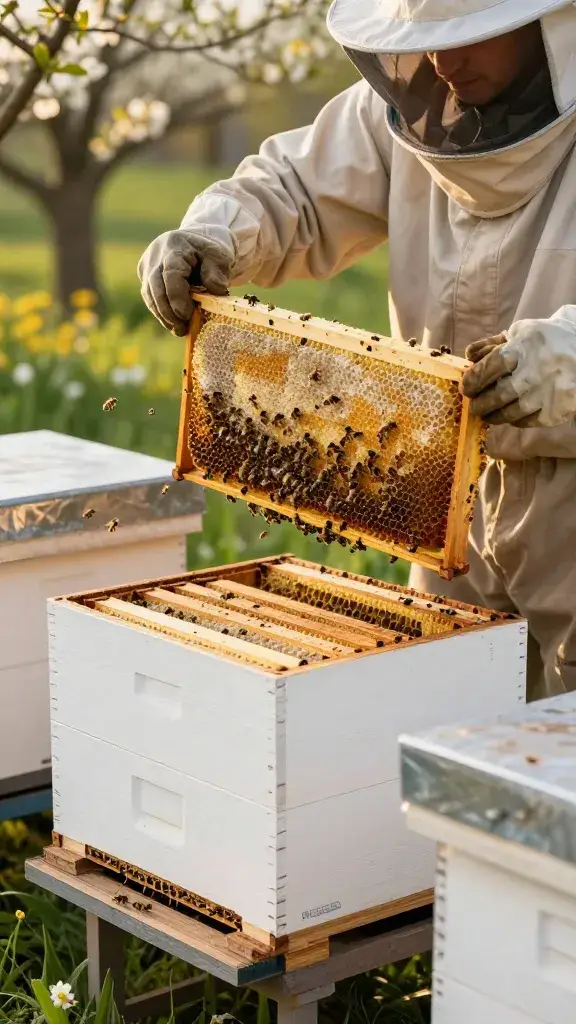
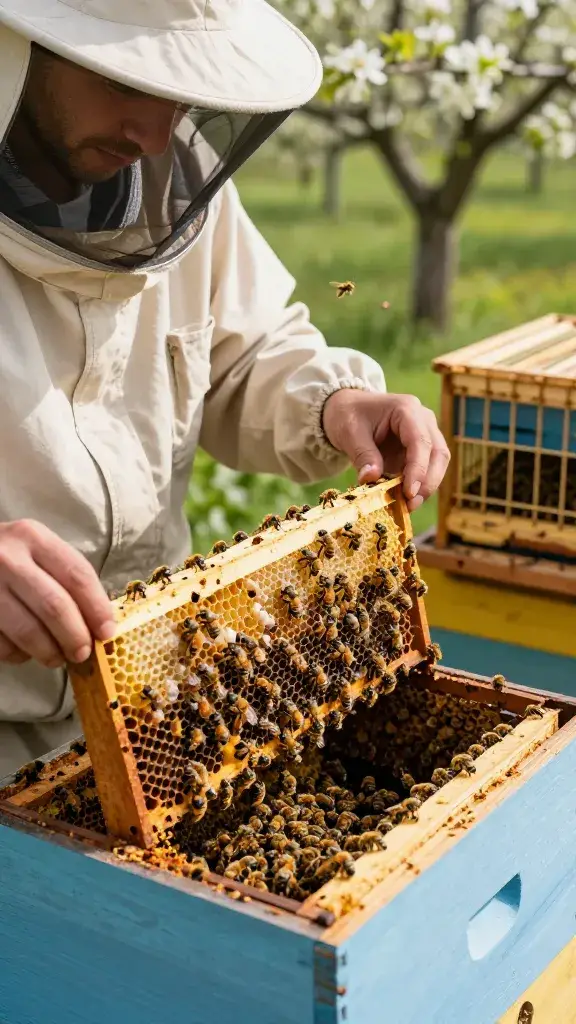
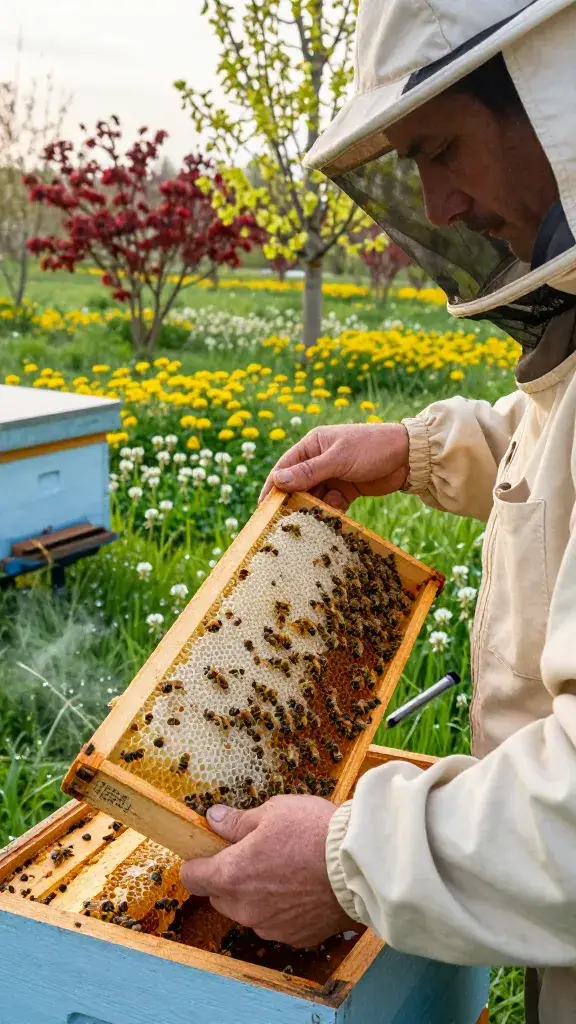
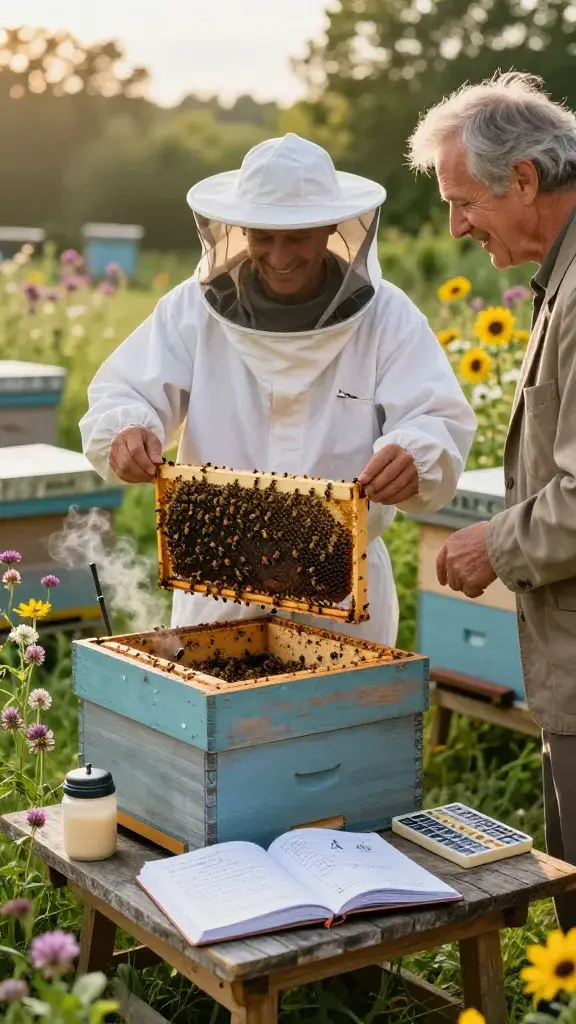
5. Learn To Read Frames Like A Detective
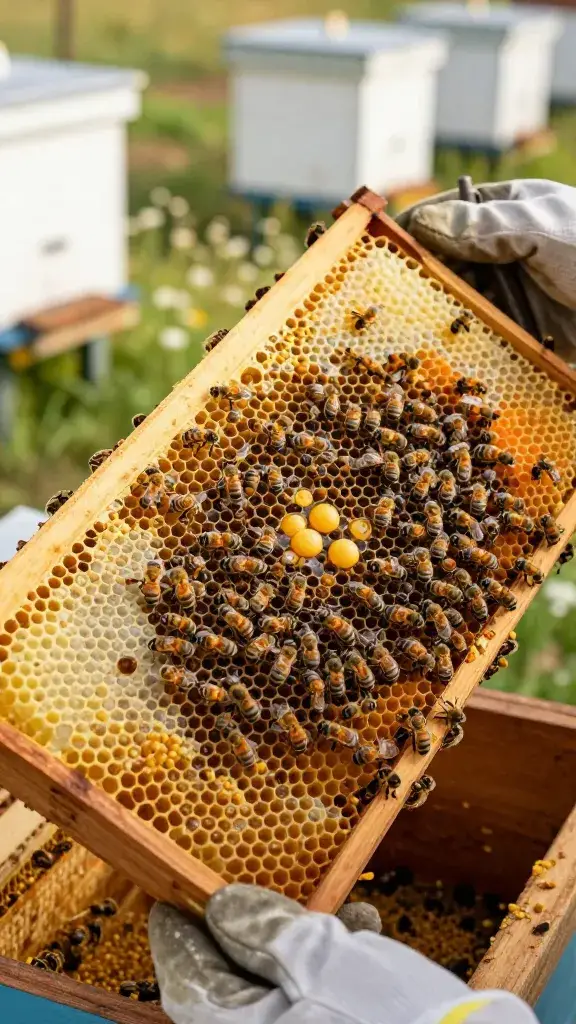
Frames tell the whole story: queen health, food stores, disease signs. Practice spotting patterns every inspection.
What A Healthy Brood Pattern Looks Like
- Solid, football-shaped patch of capped brood
- Larvae in milky royal jelly, no dry or twisted shapes
- Eggs centered and single per cell
When you can read frames fast, you’ll make better calls and fix problems before they spiral.
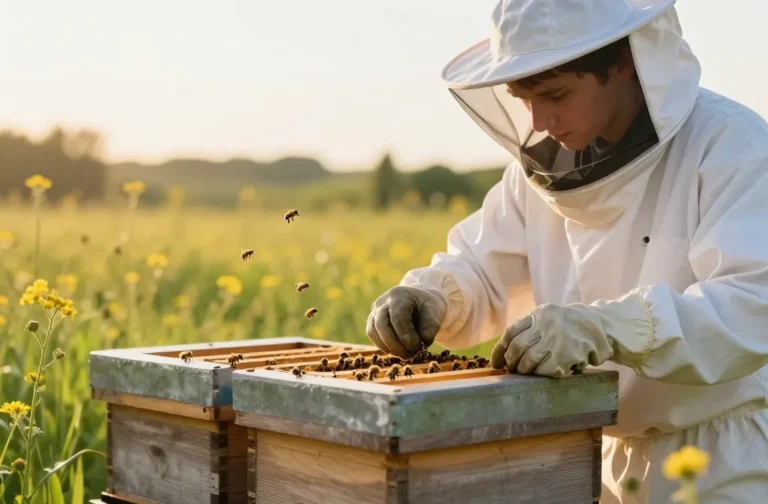
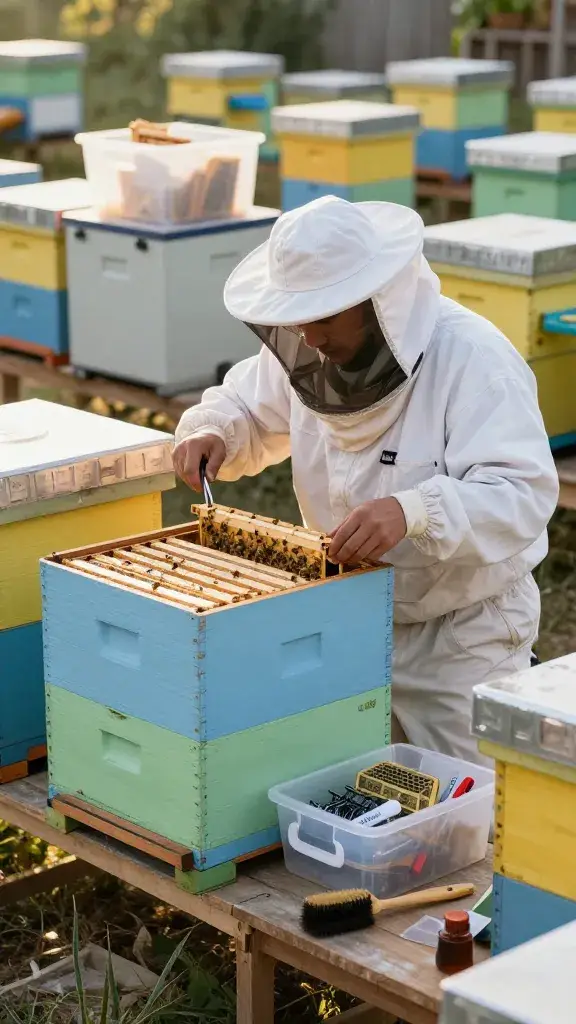
6. Inspect With Purpose, Not Curiosity
Every inspection should answer a few key questions. Don’t just peek because you’re curious—overhandling stresses bees.
Your Quick Inspection Checklist
- Do I see eggs/young larvae? (Queen is active)
- Is there space for brood and nectar?
- Any queen cells or swarm signs?
- Any pests: mites, beetles, wax moths?
Five to ten focused minutes beats a 45-minute rummage session—your bees and your schedule will thank you.
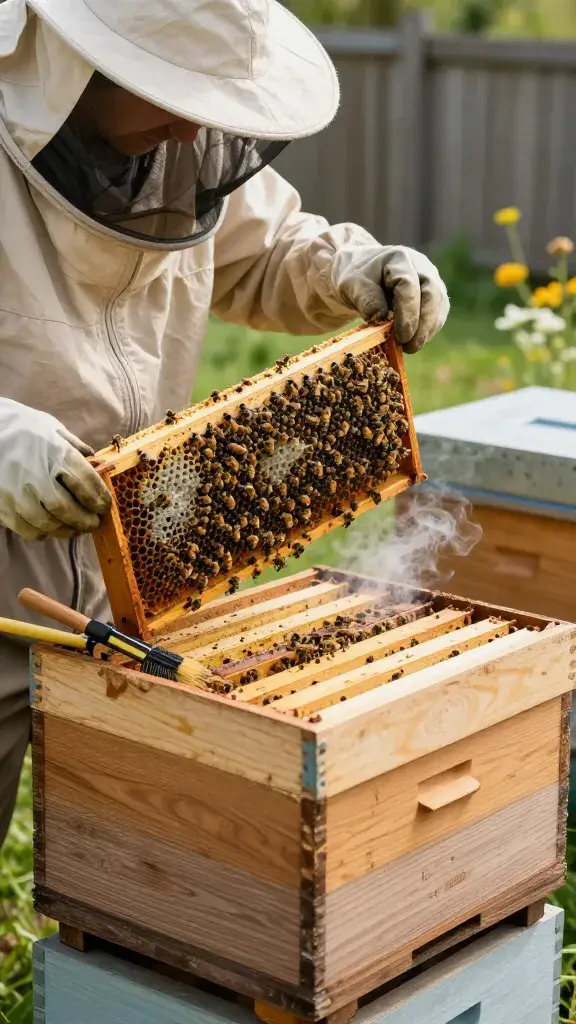
7. Master The Smoker (And Don’t Overdo It)
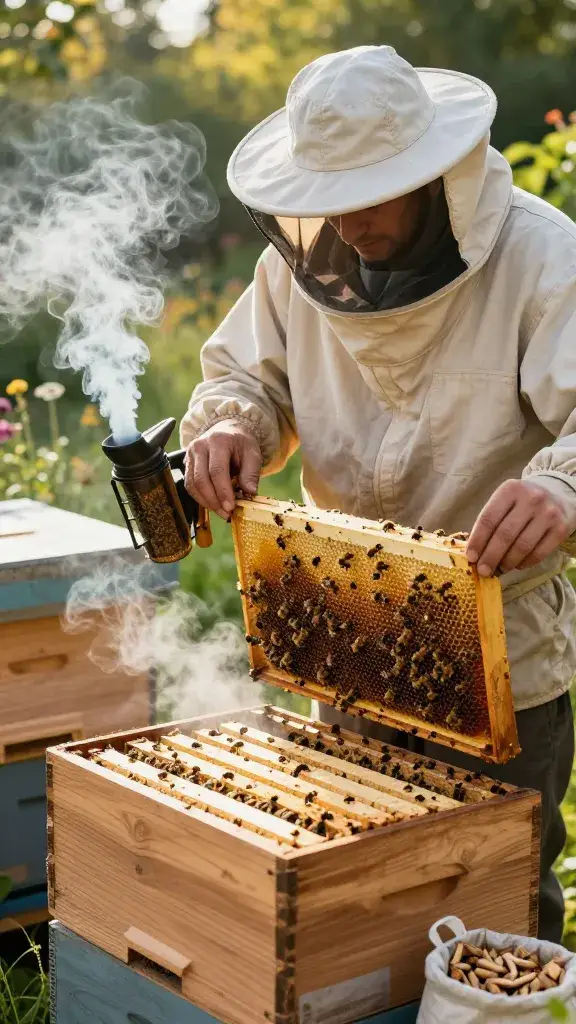
Cool, white smoke calms bees. Too much smoke makes them flee or gorge on honey, which slows work.
Smoker Tips
- Use clean fuel: pine needles, burlap, untreated wood pellets
- Light fully—steady smoke before you open the hive
- Puff at entrance, under lid, wait 30 seconds
Confident smoking keeps inspections smooth and your bees mellow, which means fewer stings and better morale.
8. Feed Smart During The Build-Up
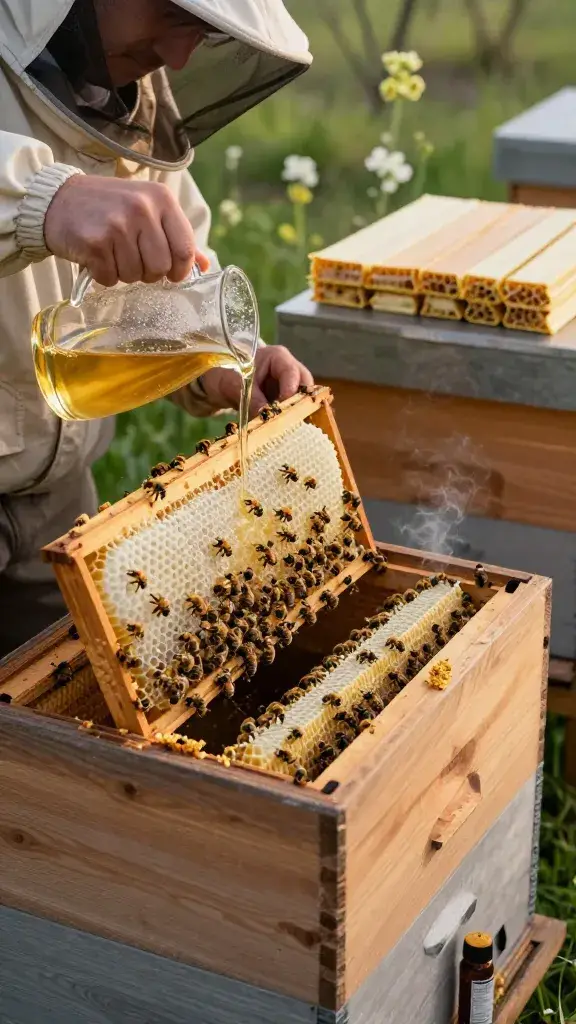
New colonies need calories to draw comb. Feed when natural nectar runs short, not forever and ever, amen.
Feeding Basics
- 1:1 sugar syrup in spring for comb building
- Pollen substitute only if natural pollen is scarce
- Stop feeding when nectar flow hits and supers go on
Targeted feeding jumpstarts growth without contaminating your honey supers—seriously, timing matters.
9. Give Bees Room Before They Beg For It
Crowded bees swarm. Add boxes when 70–80% of frames in the current box are in use.
How To Expand
- Brood nest: add another deep when most frames show brood/comb
- Honey supers: add before the main flow, not after
- Use drawn comb if you have it—it’s like real estate gold
Staying ahead of growth keeps honey production high and swarming low—win-win.
10. Track Varroa Mites Like A Hawk
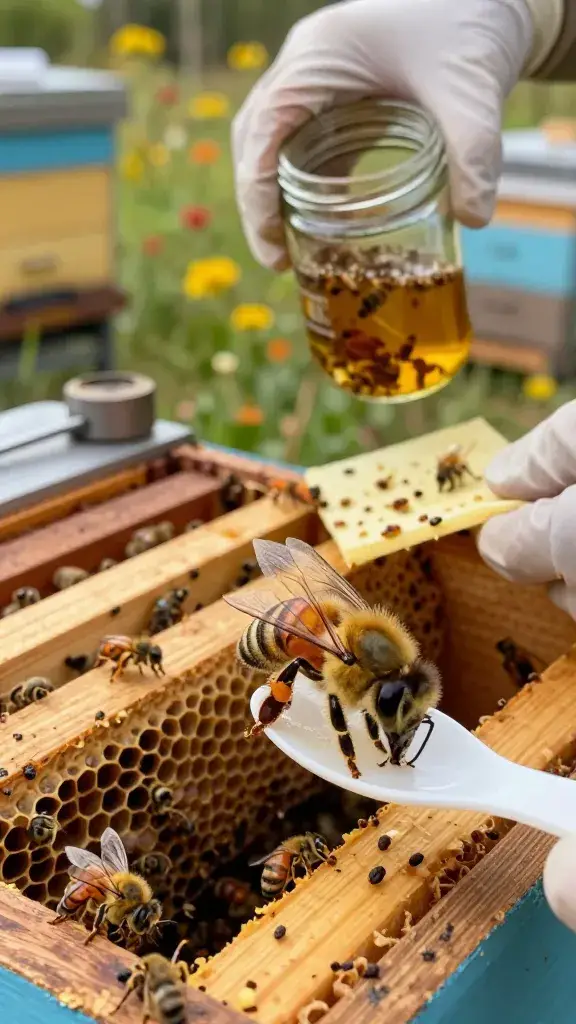
Varroa are the silent hive killers. Monitor, then treat based on thresholds and season.
Monitoring Methods
- Alcohol wash or sugar roll for accurate counts
- Sticky boards for trends, not exact numbers
Treatment Timing
- Early spring before supers
- Late summer after the main flow
- Late fall to clean up before winter
Consistent monitoring and season-appropriate treatments keep viral loads low and colonies strong.
11. Prevent Swarms With Proactive Moves
Swarms happen when bees feel crowded or the queen runs out of laying space. You can reduce the urge with a few smart tactics.
Swarm Control Options
- Open the brood nest by adding frames or drawn comb
- Make a split if queen cells appear and the colony booms
- Requeen annually with high-laying, calm genetics
Handle swarm pressure early and you’ll keep your bees—and your honey—at home.
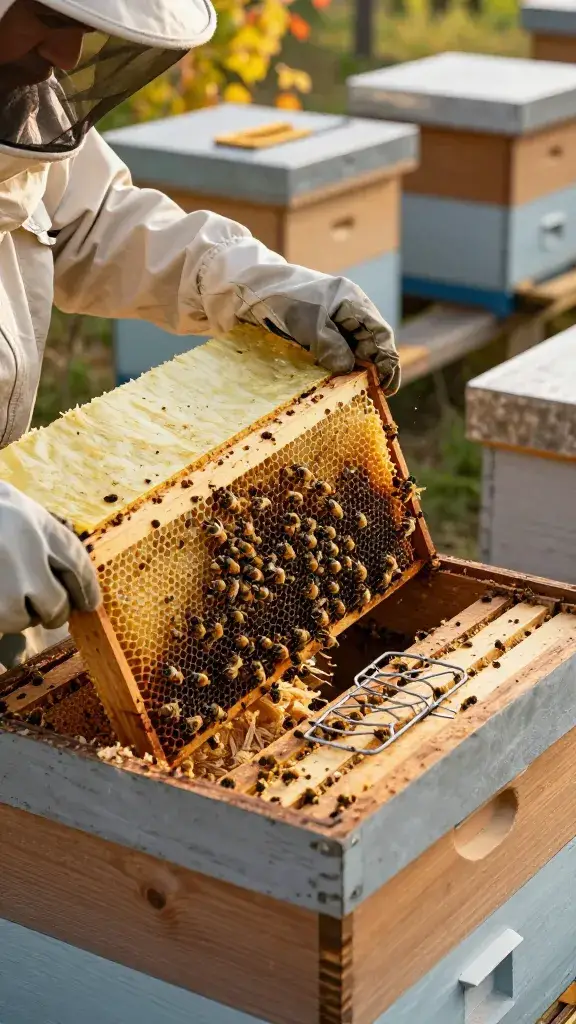
12. Keep Equipment Clean And Organized
Sticky, scattered gear wastes time and spreads disease. A clean workflow speeds inspections and keeps you sane.
Simple Systems
- Color-code boxes or mark frame counts on lids
- Carry a small tote with spare nails, markers, queen cage
- Freeze suspect frames 48 hours to kill pests
Good habits make you look like you know what you’re doing—because you do, IMO.
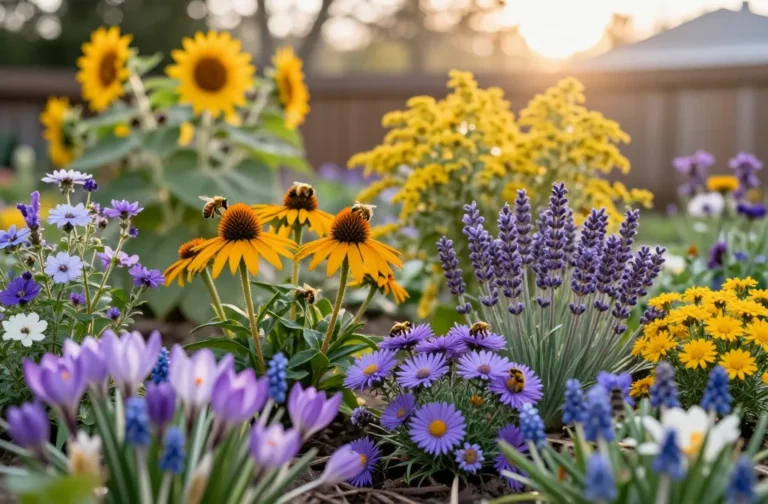
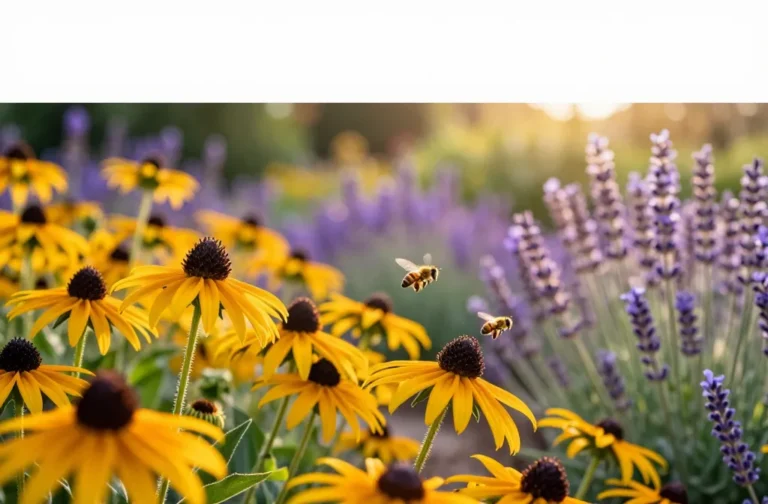
13. Learn Your Local Bloom Calendar
Bees follow flowers, not your schedule. Know when nectar flows start and stop so you can plan feeding, supers, and splits.
How To Build Your Calendar
- Track first bloom dates for maples, dandelions, clover, basswood
- Ask local beekeepers about the main and dearth periods
- Note weather quirks—cold snaps shift everything
Dialing into local forage lets you time moves perfectly and boost honey yields.
14. Winterize Early And Thoroughly
Winter prep starts in late summer. Strong colonies with enough food and a healthy queen survive; the rest struggle.
Winter Checklist
- Target 60–90 pounds of stores in cold climates
- Reduce mites aggressively post-harvest
- Add moisture control: quilt box or insulation board
- Narrow entrances to deter mice and robbing
Early prep means fewer emergency feedings and a triumphant spring buildup—trust me, future you will cheer.
15. Join A Club And Keep A Beekeeping Journal
Community shortcuts your learning curve. A simple notebook turns guesswork into patterns you can act on.
What To Log
- Date, weather, and forage notes
- Queen status, brood pattern, mite counts
- Feeding, treatments, equipment changes
With mentors and records, you’ll make data-driven calls instead of hoping for the best.
You’ve got this. Start with these tips, stay curious, and enjoy the weird magic of thousands of tiny pilots building a superorganism in your backyard. Your first honey harvest will taste even sweeter when you know you earned it.
Share this content: