10 Ways to Prepare Your Bees for Winter the Right Way Now
Winter can make or break a colony, but a little prep now saves a lot of heartbreak later. We’ll cover the smart moves that build strong clusters, conserve heat, and prevent avoidable losses. You’ll get practical steps, quick checks, and a few pro tips you won’t want to forget. Ready to set your bees up like champs? Let’s go.
1. Slim Down The Hive: Reduce Space To What They Can Heat
Bees don’t heat the whole hive—they heat the cluster. Too much empty space wastes energy and invites drafts that chill brood. Tightening the footprint helps your colony stay cozy and efficient.
How To Do It
- Pull extra honey supers and leave only the brood boxes plus full food frames.
- Consolidate frames so bees cover every frame you keep; no large gaps.
- Use follower boards or dummy boards if you run long hives.
Downsizing gives the cluster less air to warm and fewer corners for pests to hide. Use this anytime night temps dip consistently below 50°F (10°C).
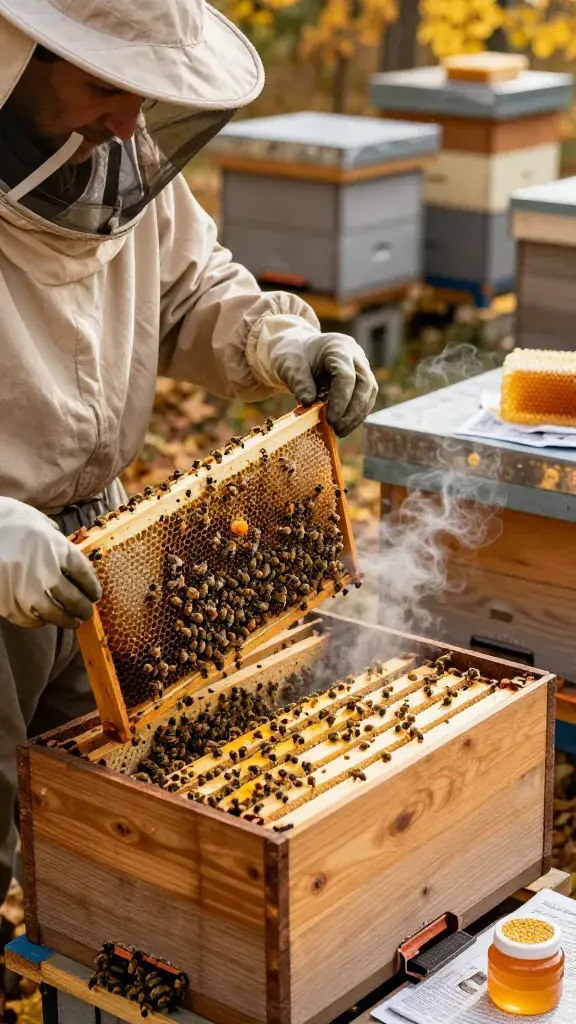
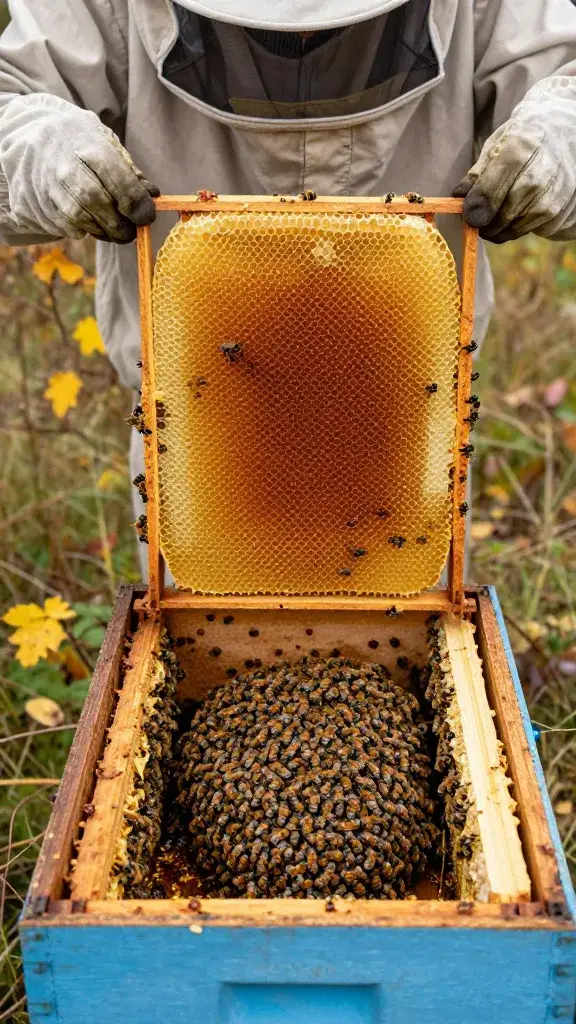
2. Stack The Pantry: Ensure Adequate Stores (Honey, Syrup, Fondant)
Strong colonies starve faster than weak ones—wild, right? They eat more to keep the cluster hot. So pack their pantry now, not during a blizzard.
Target Stores
- Langstroth (2 deeps): 60–90 lb of honey equivalent.
- Single deep + medium: 70–80 lb.
- Nuc: 25–40 lb with backup fondant or candy board.
Feeding Strategy
- Early fall: 2:1 sugar syrup to backfill open comb quickly.
- Late fall/early winter: Switch to fondant, candy boards, or dry sugar.
- Place feed above the cluster so they can access it on cold days.
Good stores mean fewer emergency openings later. IMO, always add a little extra—winter appetites surprise everyone.
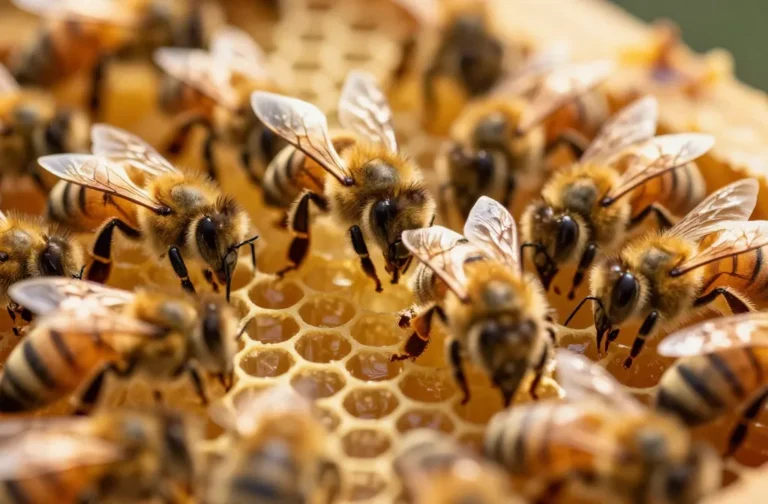
3. Treat Varroa Like The Villain It Is
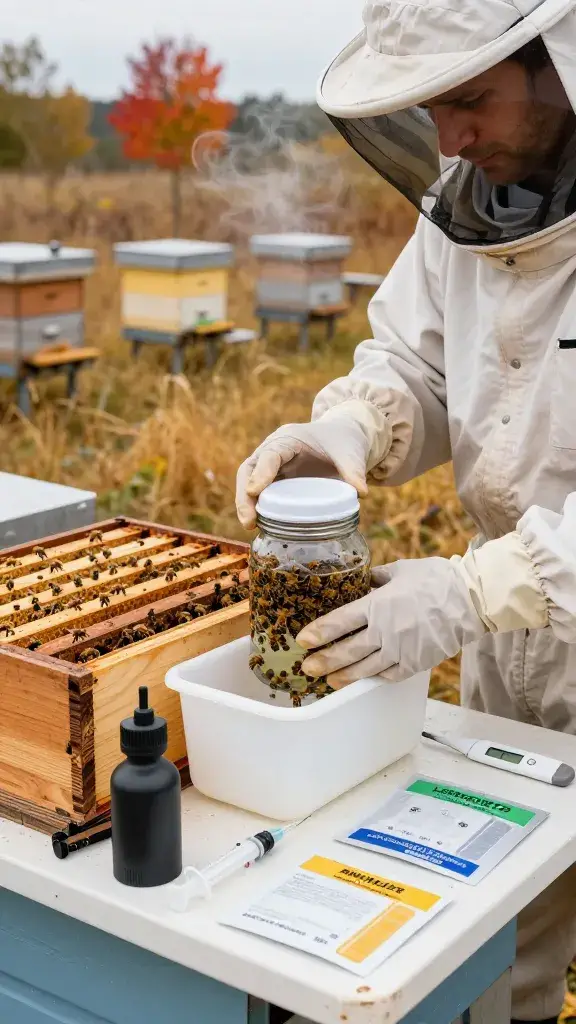
No mite control = dead bees by late winter. Varroa spreads viruses that crush spring build-up. You need clean bees going into cold weather, period.
Key Moves
- Test first: alcohol wash or sugar roll. Don’t guess; numbers matter.
- Treat appropriately: oxalic acid (vapor or drip) when broodless, formic when temps allow, thymol or amitraz per label.
- Re-test 10–14 days after to confirm success.
Low mite loads mean longer-lived winter bees and a stronger spring population. Seriously, this is the non-negotiable step.
4. Fix Roof Leaks And Manage Moisture Like A Pro
Cold won’t kill a healthy colony—wet and cold will. Condensation drips chill the cluster and mold comb. You need ventilation up top and a way to absorb excess moisture.
Moisture Control Toolkit
- Top ventilation: A small upper entrance or notch under the inner cover.
- Moisture quilt/insulation box: Wood shavings or burlap to absorb condensation.
- Rainsafe lid: Telescoping cover with a good outer roof; fix leaks now.
Dry hives overwinter better and eat less. Use moisture quilts in humid climates and anywhere temps swing above and below freezing.
5. Insulate Smartly Without Overheating
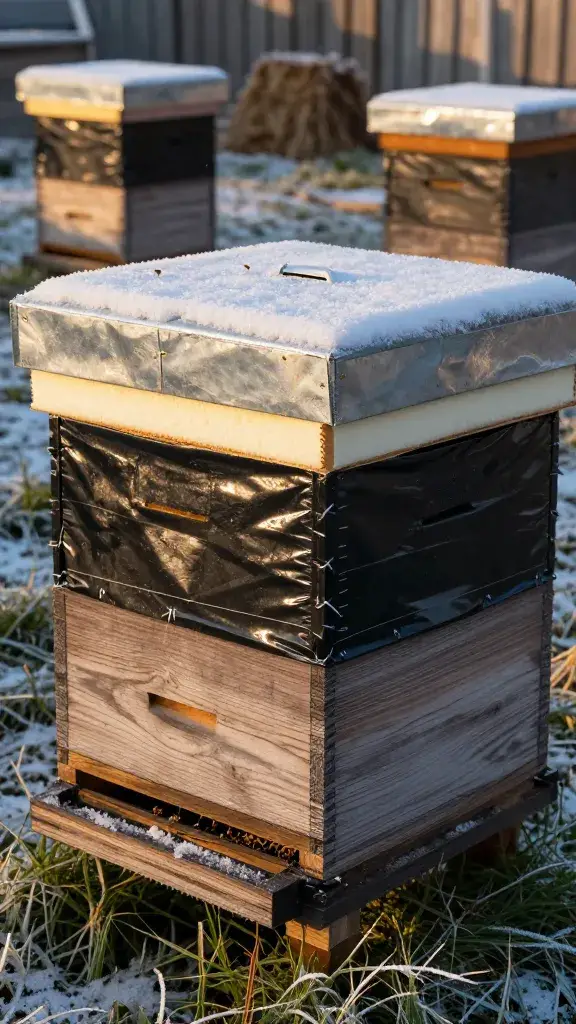
Insulation reduces heat loss, so the cluster burns fewer calories. But you still need airflow to vent moisture. Think cozy, not sealed-in sauna.
Options That Work
- R-board or foam panels: Cut to fit the outside or top; secure against wind.
- Reflective wraps or tar paper: Block wind and absorb sun without trapping water.
- Top insulation: Rigid foam over the inner cover beneath the lid.
Insulation pays off most in windy or very cold regions. You’ll see less condensation and steadier clusters on cold snaps.
6. Requeen (Or Combine) So You Go Into Winter With Confidence
A failing queen means sporadic brood and poor winter bees. If the queen limps into November, the colony will limp out in March—if it survives. Make the hard call now.
Decision Tree
- Spotty brood or drone-laying? Requeen immediately if weather allows.
- Too small to overwinter? Combine with newspaper method into your strongest colony.
- Healthy but light? Keep queen, boost with feed and a frame of capped honey.
A vigorous queen and a unified colony cluster better and defend better. Use this before daytime highs drop below your region’s safe manipulation temps.
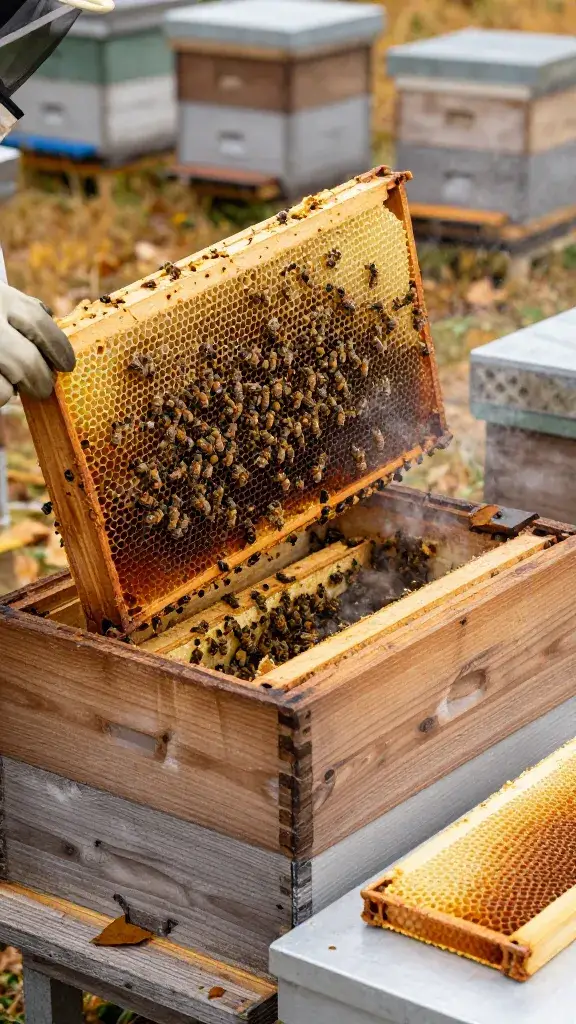
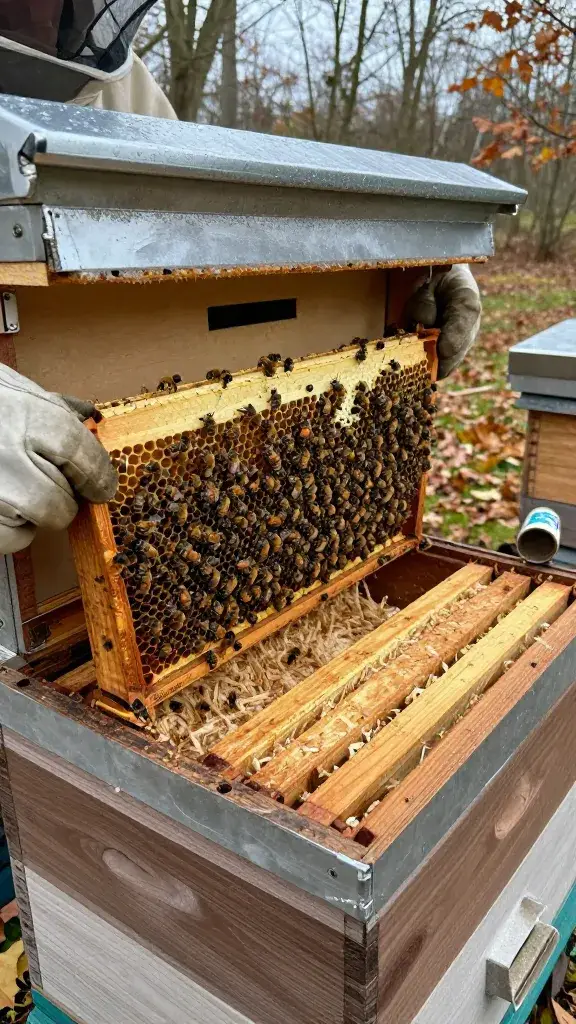
7. Arrange Frames For A Warm, Logical “Winter Flow”
Bees move up to food more easily than sideways when clustered. Your fall layout can set them up for easy access all season. Think of it like placing snacks within reach on the couch.
Layout Tips
- Brood and bees centered on the bottom box in late fall.
- Heavy honey frames overhead, directly above the cluster.
- Any partial frames adjacent, with full caps near the center path upward.
- Keep burr comb and junk out of the way to avoid cold bridges.
When honey sits directly above, bees glide upward on cold days without breaking cluster. Great for regions with long freezes.
8. Block Wind, Not Bees: Entrance Reducers And Mouse Guards
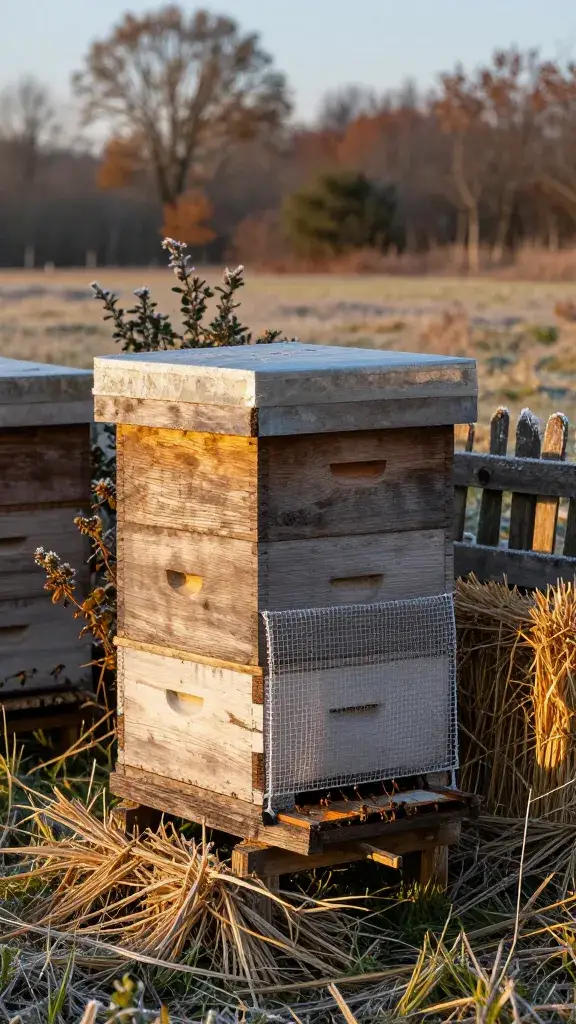
Winter intruders love your hive. Mice chew comb, skunks harass guards, and wasps sniff out weakness. Tighten defenses while keeping ventilation intact.
Set It Up
- Entrance reducer: Smallest opening once robbing season hits or temps drop.
- Mouse guard: Hardware cloth (1/4 inch) covering the entrance—install before first cold snap.
- Windbreak: Straw bales, fencing, or shrubs on the north/west sides.
Reduced entrances help bees defend and conserve heat while still allowing cleansing flights. FYI, mouse guards save you from truly gross spring cleanups.
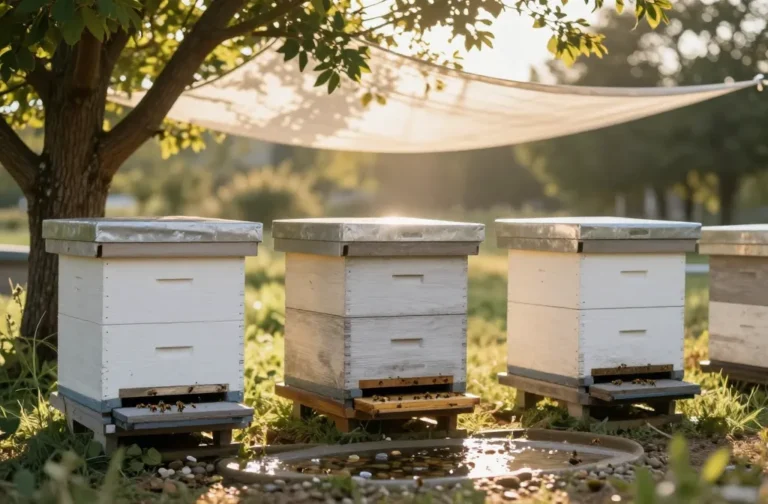
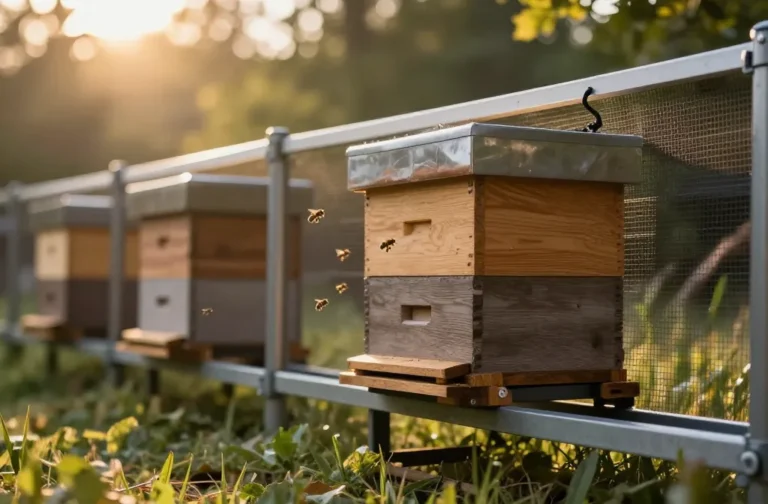
9. Place Hives For Sun, Shelter, And Zero Drama
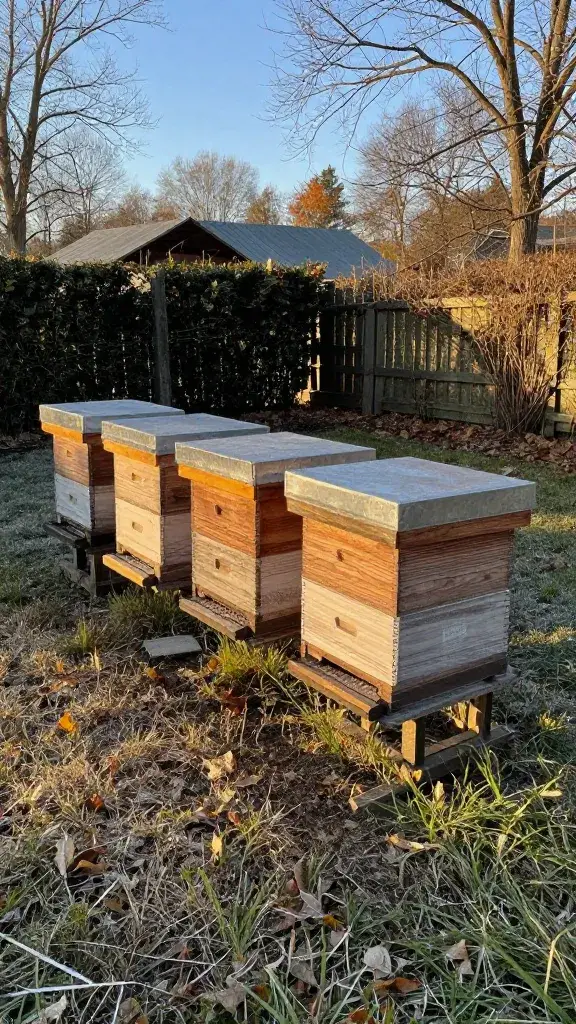
Winter location matters more than summer location. Morning sun gets bees moving on nicer days, and a bit of shelter calms brutal winds. Good stands keep floors dry and accessible.
Location Must-Haves
- Elevation: Stands 12–18 inches off the ground to avoid damp and snowdrifts.
- Orientation: South or southeast facing for early sun.
- Shelter: Fence line, hedges, or buildings as windbreaks—without creating dead-air moisture traps.
Smart placement reduces moisture, breaks the wind, and encourages quick cleansing flights. It also saves your back when you check on them mid-winter, trust me.
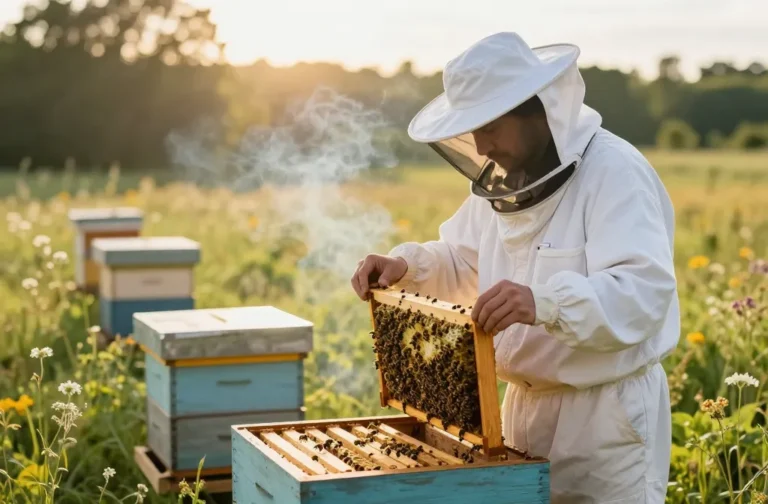
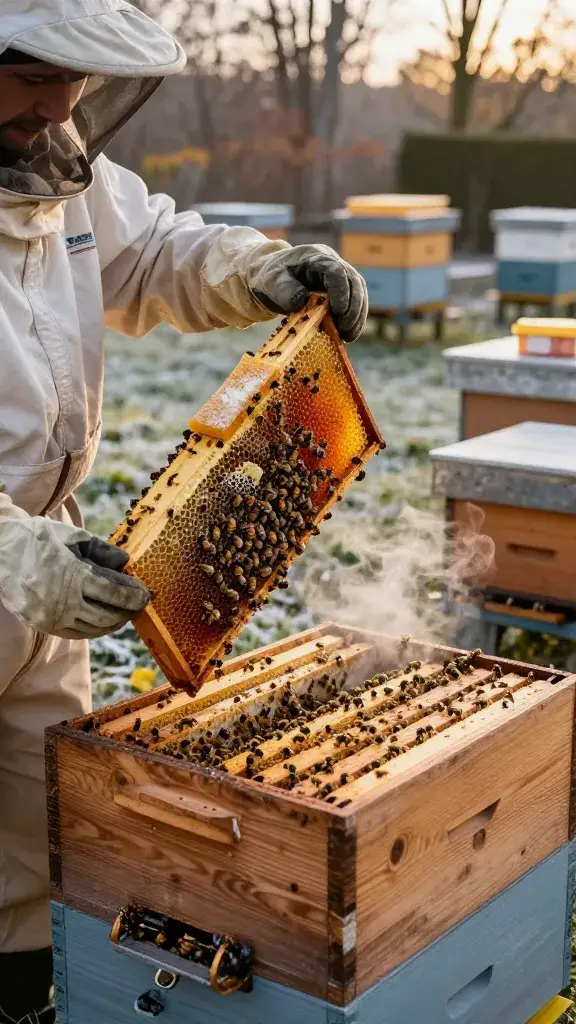
10. Plan Minimal, Strategic Winter Checks (And Don’t Overfuss)
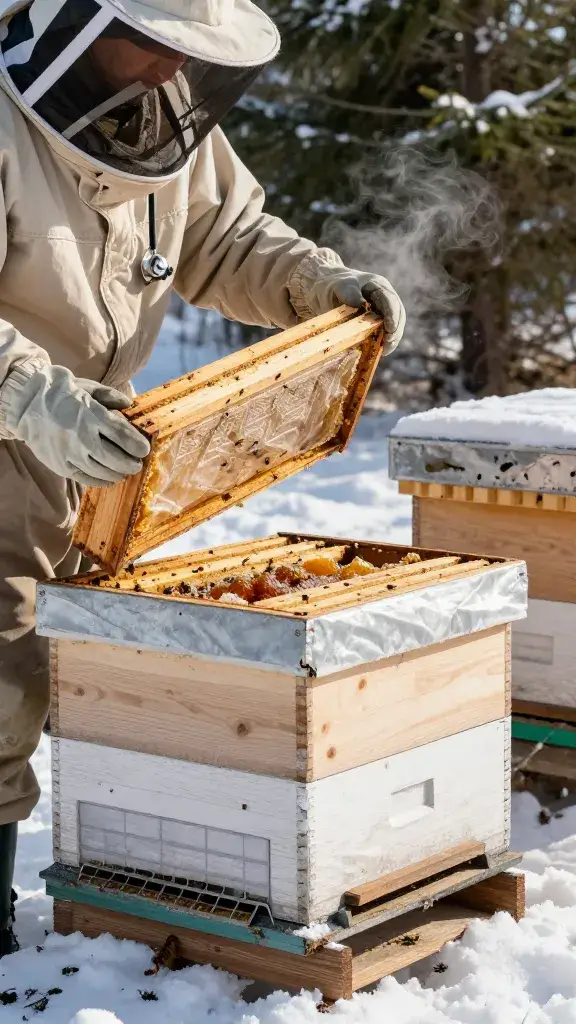
Open hives too often and you bleed heat they can’t spare. But radio silence until April? Also risky. Use light-touch checks and listen more than you peek.
Winter Check Routine
- Heft the hive from the back to gauge remaining stores—feels light? Add fondant or dry sugar.
- Listen: Stethoscope or ear to the box—steady buzz = good cluster.
- Entrance glance: Clear dead bees, ensure ventilation, confirm mouse guard intact.
- Warm spell pop: Brief top crack on a 45–55°F (7–13°C) day to place feed above cluster if needed.
Minimal disturbance keeps clusters stable and energy use low. Use this plan all winter so you catch issues early without micromanaging.
You’ve got this. Set your colonies up now and they’ll pay you back with a roaring spring build and honey supers you can barely lift. Prep smart, stay curious, and let the bees do their winter magic—seriously, they’re pros when we get out of the way.
Share this content: