The Fastest Way: How to Disinfect a Chicken Coop After a Disease Scare?
You just got a disease scare in your flock. Deep breath. You can absolutely fix this. Disinfecting a chicken coop sounds intense, but with the right steps, you’ll knock out pathogens and give your birds a clean slate. Let’s roll up our sleeves (and maybe wear gloves… definitely gloves).
First, Hit Pause: Isolate and Assess
Before you touch a scrub brush, manage the flock. You can’t sanitize chaos.
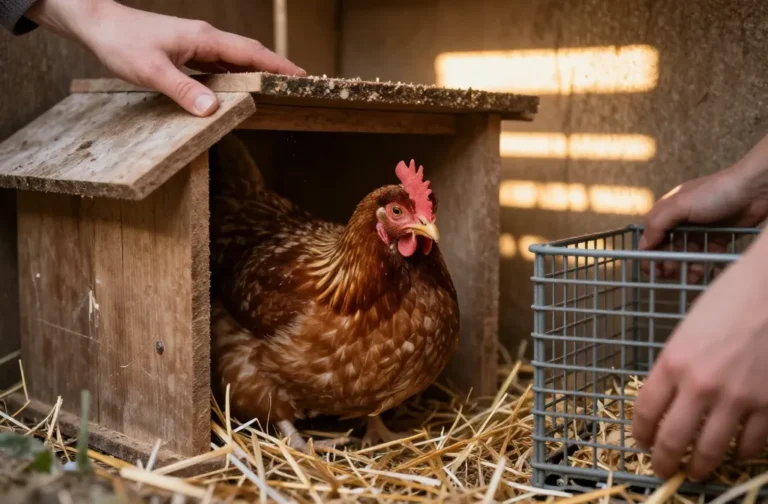
- Isolate sick birds in a separate area immediately. Use a quarantine crate or a different shed.
- Limit access to the coop. No visitors, no neighbor kids, no curious dog.
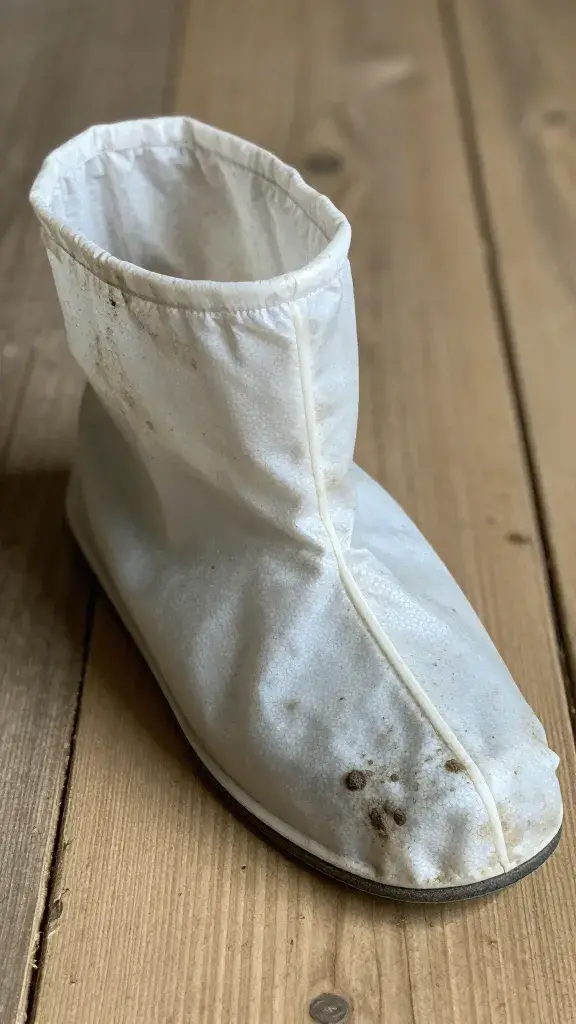
- Gear up: gloves, mask, eye protection, and dedicated boots or disposable boot covers.
- Check your local rules if you suspect something serious like avian influenza. Report if required. FYI, some diseases are not DIY territory.
Empty the Coop Like You Mean It

You can’t disinfect dirt and clutter. Strip it all.
- Remove all bedding—straw, shavings, nesting materials—into heavy-duty trash bags.
- Pull out removable gear: feeders, waterers, perches, nest boxes, mats.
- Scrape droppings from floors, roosts, and corners with a stiff scraper.
Disposal Done Right
– Bag and seal bedding. If you suspect a serious pathogen, do not compost. Dispose per local guidelines.
– Keep waste far from other animals and water sources.
– Wash your hands after handling. Obvious, but still.
Dry Clean Before Wet Clean
Water + poop = smear city. Remove dry crud first so disinfectant can actually touch surfaces.
- Sweep or vacuum dust, feathers, cobwebs, and dander from ceilings, rafters, and walls.
- Scrape caked-on manure from roosts and floor edges.
- Open vents and windows for airflow. Sunlight helps a bit, too.
Target the Nasty Zones
– Roost bars: droppings central.
– Nest boxes: perfect pathogen hideouts.
– Waterer areas: slippery slime and biofilm—double trouble.
Wash: Soap First, Then Science
You need two stages: wash away organic gunk, then disinfect. If you skip soap, your disinfectant just gets “used up” on dirt. Not helpful.
- Pre-rinse with a hose or pressure washer on a medium setting. Don’t blast so hard you drive muck into cracks.
- Scrub with detergent (dish soap or a farm-approved cleaner). Use a stiff brush on floors and roosts.
- Rinse thoroughly. No suds left behind.
- Let it drain for 10–20 minutes before disinfecting.
Clean the Gear Separately
– Feeders and waterers: scrub with hot, soapy water. Rinse well.
– Nest pads and removable trays: same treatment.
– Soft items: when in doubt, toss them. Porous stuff holds germs like a grudge.
Disinfect Like a Pro
Here’s where you actually drop the hammer on pathogens. Choose the right product, follow contact times, and don’t freestyle the mixing.
- Good options:
- Household bleach (unscented): 1 part bleach to 32 parts water (about 1/2 cup per gallon). Contact time: 10 minutes.
- Oxidizing cleaners (e.g., Virkon S, potassium peroxymonosulfate): great broad-spectrum, farm-standard. Follow label—usually 1% solution, 10 minutes.
- Accelerated hydrogen peroxide: effective and less corrosive. Follow label times.
- Ammonia quats (quaternary ammonium): decent, but not my first pick for heavy organic loads.
- Apply generously with a garden sprayer or pump sprayer. Coat floors, walls, roosts, nest boxes, and corners.
- Keep it wet for the full contact time. Re-apply if it dries too fast.
- Rinse if required by the label. Many products need a clean-water rinse, especially on surfaces birds will touch.
Big No-Nos
– Never mix bleach and ammonia. That creates toxic gas.
– Don’t eyeball concentrations. Measure.
– Skip scented bleach. Additives = residue and irritation.
Drying, Venting, and the Waiting Game
Moisture helps pathogens and mold. Dry everything completely before birds return.
- Ventilate hard: windows open, fans on, doors propped.
- Let it dry fully—ideally 24 hours. Sun + airflow = chef’s kiss.
- Re-check crevices. If you still smell strong chemicals, keep venting.
Optional: Second Pass
If you dealt with a gnarly pathogen (coccidia, Marek’s suspected contamination, salmonella), IMO a second disinfection round after drying adds peace of mind. Repeat, then dry again.
Rebuild Smart: Bedding, Biosecurity, and Routine
Now you set the stage so this circus doesn’t return.
- Fresh, dry bedding only. Consider large flake pine shavings. Skip dusty or damp materials.
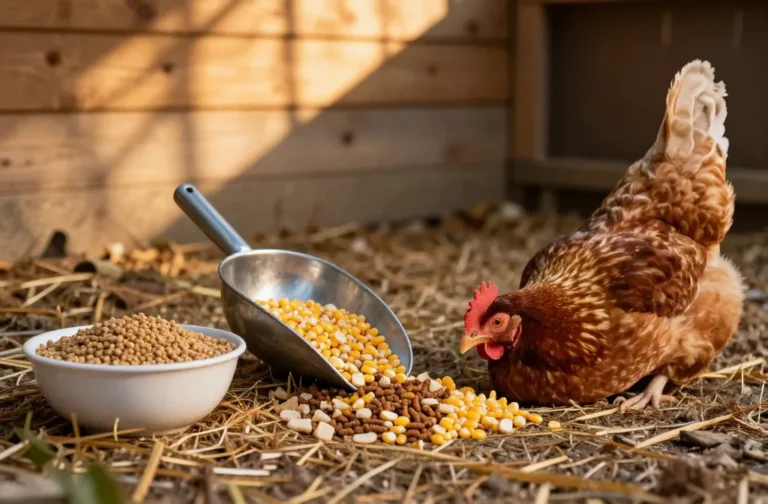
- Clean feeders/waterers and refill with fresh feed and water. Add electrolytes for stressed birds if needed.
- Adjust layout: raise waterers, use poop boards under roosts, improve drainage under the coop.
- Upgrade airflow: better ventilation = fewer respiratory issues.
- Footbath station at the door: shallow tray with a disinfectant solution (changed daily) for boots.
Set a Cleaning Rhythm
– Daily: dump poop boards, refresh water, spot-clean wet bedding.
– Weekly: scrub waterers, wipe feeders, rake and top up bedding.
– Quarterly or after illness: full clean and disinfect. FYI, small, consistent efforts beat heroic cleanups every time.
Mind the Run and Yard
Coops don’t exist in a vacuum. Pathogens hang out outside too.
- Rake the run to remove wet, poopy spots. Add dry sand or pea gravel for drainage.
- Rotate access if possible. Rest high-traffic areas.
- Block wild bird access to feed and water. Cover the run if you can.
- Don’t disinfect soil with harsh chemicals. Sunlight and dryness do the heavy lifting. Lime can help with odor and moisture but doesn’t replace sanitation.
Monitor the Flock Like a Hawk (A Friendly One)
After a disease scare, watch behavior like you binge a good series.
- Check droppings for changes in color, consistency, or blood.
- Watch appetite and energy. Lethargy or skipped feed = red flag.
- Track egg quality. Soft shells or odd shapes can signal stress or illness.
- Consult a vet if symptoms persist. No shame—chickens hide sickness like pros.
FAQ
How long should I keep birds out of the coop after disinfecting?
Let the coop dry completely and air out for at least 24 hours. If you still smell chemicals, give it another half day. Dry surfaces and good ventilation protect their lungs and feet. No rush—health first.
What’s the best disinfectant for coops?
I like Virkon S or accelerated hydrogen peroxide for broad coverage and ease. Bleach works well too at the right dilution (1:32), but rinse and ventilate thoroughly. Choose something labeled for viruses, bacteria, and fungi, and always follow contact times.
Can I disinfect a wooden coop effectively?
Yes, but wood absorbs gunk. Scrub with detergent first, then apply a strong, labeled disinfectant and ensure full contact time. Consider sealing bare wood once everything’s dry to make future cleanings easier. IMO, adding removable poop boards saves tons of effort.
Do I need to replace all my bedding and nest materials?
Absolutely. Toss everything. Start fresh with dry, clean bedding after the coop dries. Nest pads you can wash and disinfect may stay, but if they look rough or smell weird, ditch them.
Should I medicate the flock after a disease scare?
Not automatically. Medication depends on the suspected illness. If you think coccidiosis, a vet might recommend amprolium. For respiratory issues, you might just need rest, ventilation, and supportive care. When unsure, call a poultry-savvy vet and avoid shotgun treatments.
How often should I deep-clean to prevent future problems?
Do a quarterly deep clean for most backyard flocks, plus spot cleaning daily and weekly maintenance. If you notice dampness, odors, or rising parasite pressure, bump up the frequency. Prevention beats panic every time.
Wrap-Up: Clean Coop, Calmer You
You isolated the sick birds, cleared out the junk, scrubbed like a legend, disinfected with purpose, and rebuilt smarter. That’s the playbook. Keep the airflow up, the bedding dry, and the routine steady. Your flock bounces back faster than you think—and so will you. IMO, nothing beats fresh shavings, a sunny perch, and healthy clucks to reset the vibe.
Share this content: