How to Use Chicken Manure in Raised Beds Safely for Lush Growth
Chicken manure can turbocharge your raised beds when you handle it right. Done wrong, it can scorch plants, attract pests, and smell like a bad life choice. Done right, it grows lush greens, juicy tomatoes, and soil that keeps getting better every season. Let’s turn that coop gold into garden gains—safely, efficiently, and with way fewer oops moments.
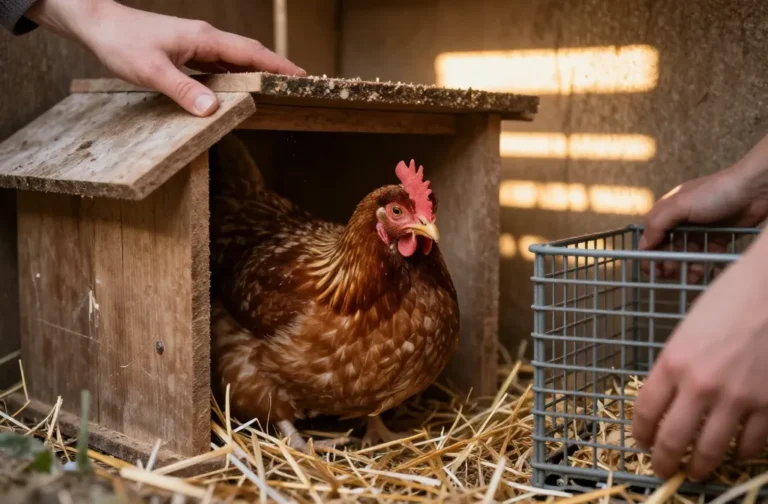
1. Know Your “Hot” Gold: Why Chicken Manure Needs a Cool-Down
Chicken manure is basically a nutrient bomb—packed with nitrogen, phosphorus, and potassium. That’s awesome for growth, but the high nitrogen makes it “hot,” which can burn tender roots and seedlings if you rush it.
Understanding the heat factor helps you time applications and avoid plant damage. Think of it like letting soup cool before you slurp—same energy, fewer regrets.
Key Points
- High nitrogen (often 2–4%) accelerates leafy growth but can scorch plants fresh.
- Pathogens (like Salmonella) can linger in fresh manure—composting reduces risk.
- Salts and ammonia in fresh manure stress roots; aging and dilution fix that.
When you respect the “hot” factor, you get fast, healthy growth instead of crispy leaves. Use the power; skip the singe.
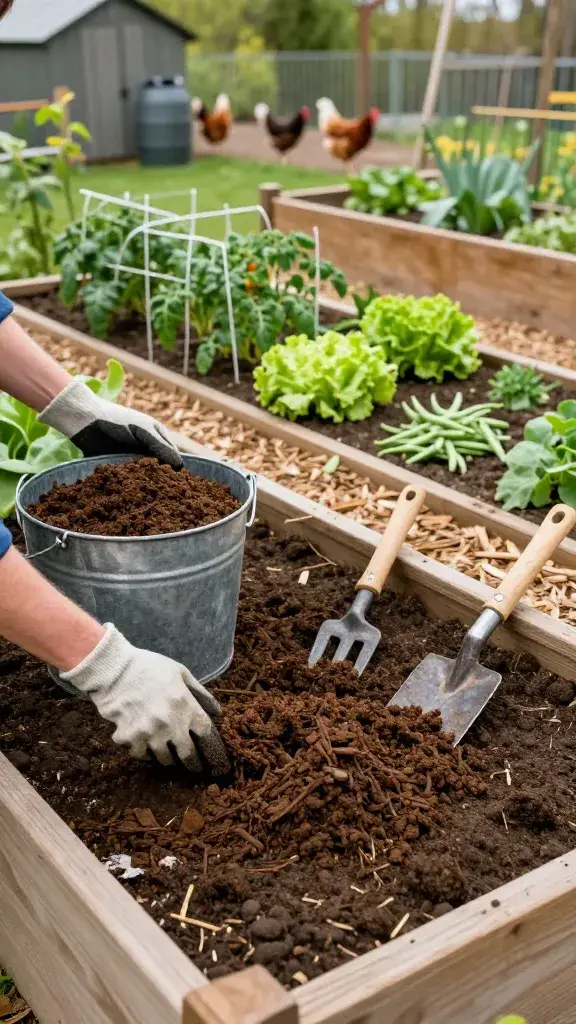
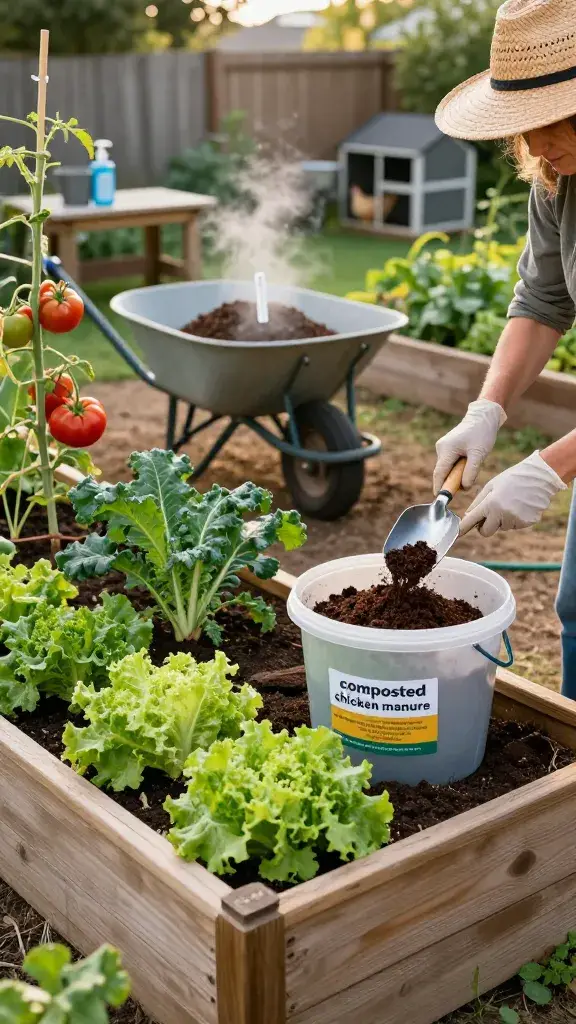
2. Compost It Right: Turning Manure Into Safe, Super-Rich Humus
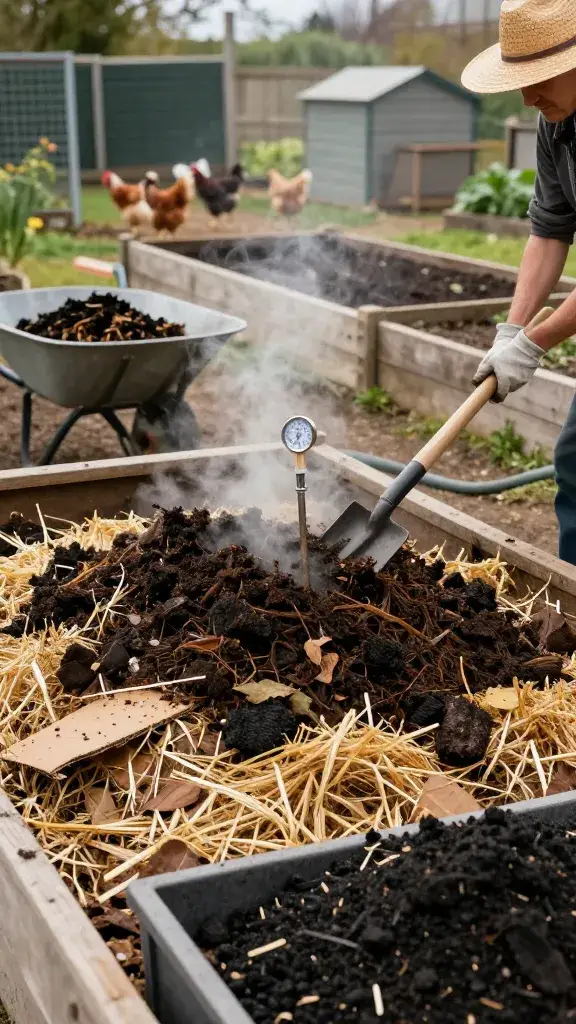
Composting transforms raw manure into mellow, microbe-rich goodness your raised beds will love. It also dials down pathogens and stabilizes nutrients so plants can use them steadily.
Good composting isn’t complicated—you just need enough carbon, moisture, and heat to do the job. Hit these basics and you’ll make black gold every time.
How To Compost Chicken Manure
- Balance the mix: Aim for roughly 1 part manure to 2–3 parts carbon (straw, dried leaves, shredded cardboard, wood shavings).
- Moisture: Keep it as damp as a wrung-out sponge—never soggy.
- Heat: Pile should reach 130–150°F (54–66°C) for several days to reduce pathogens.
- Turn it: Aerate every 1–2 weeks to keep the party going and prevent stink.
- Cure time: Let it mature 2–4 months until it smells earthy, not barnyard-y.
Signs It’s Ready
- Uniform, crumbly texture with no visible bedding.
- Neutral, earthy smell (not ammonia).
- Temperature back to ambient after the hot phase.
Use finished compost before planting or as a top-dress mid-season. Your plants will get steady nutrients without the drama.
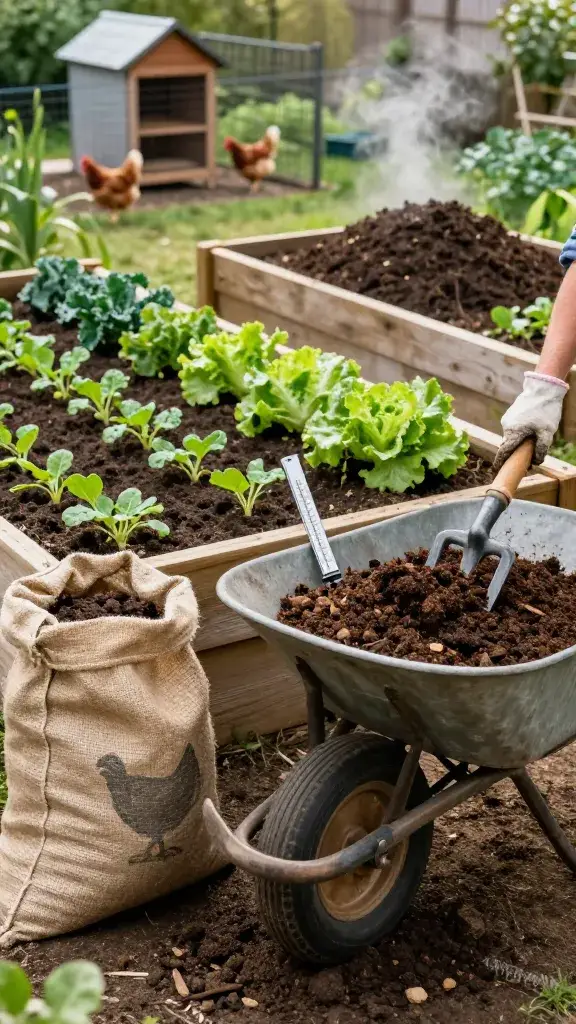
3. Apply Like A Pro: Rates, Timing, And Placement That Keep Plants Safe
So you’ve got beautiful compost—now let’s put it to work without overdoing it. A little goes a long way in raised beds since they already hold nutrients well.
Dial in application rate, timing, and placement to keep roots happy and disease risk low. It’s not hard—just follow these simple rules.
Best Practices For Raised Beds
- Pre-plant mix-in: Add 1–2 inches of finished chicken-manure compost on top, then work it into the top 6 inches of soil.
- Top-dress mid-season: Apply 0.5–1 inch around plants, keeping compost 2–3 inches from stems. Water in well.
- Mulch over it: Cover compost with straw or shredded leaves to reduce odor, runoff, and nutrient loss.
- Skip fresh manure near harvest: If you ever use raw manure (not recommended), follow strict wait times (see Section 4).
Timing Tips
- Fall application: Apply and lightly mix in after harvest. Winter mellows it out—ideal for spring planting.
- Early spring: Use only finished compost before sowing cool-season crops.
- Mid-season boosts: Light top-dresses for heavy feeders like tomatoes, squash, and corn.
Use these rates and your raised beds will hold nutrients without burning or leaching. More growth, fewer oops moments—seriously.
4. Safety First: Food Crop Rules, Pathogen Gaps, And Odor Control
We want epic harvests, not tummy troubles. A few simple safety moves protect you, your soil, and your salad bowl.
Follow these rules for timing, handling, and hygiene. Your future self—with a plate of homegrown greens—will thank you.
Critical Food Safety Gaps
- Raw manure: If you ever use it, apply at least 120 days before harvesting crops that touch soil (lettuce, carrots) and 90 days before harvesting crops that don’t (tomatoes, trellised beans). FYI: Many gardeners go even longer for leafy greens.
- Finished compost: Safe to use at planting and for top-dressing if fully composted and cured.
Handling And Hygiene
- Wear gloves and a mask when handling dry manure or dusty compost.
- Wash tools and hands after use. Keep kids and pets out of fresh piles.
- Rinse produce thoroughly; peel root crops if grown in recently amended beds.
Odor And Pest Control
- Cover compost piles with a breathable tarp to manage rain and smell.
- Layer carbon on top (straw, leaves) after each manure addition to lock in odors.
- Turn the pile to prevent anaerobic stink and deter flies.
These steps keep your garden safe, neighbor-friendly, and way less attractive to raccoons with bad manners. Use them anytime manure enters the chat.
5. Dial In Your Soil: Testing, Balancing, And Pairing With The Right Crops
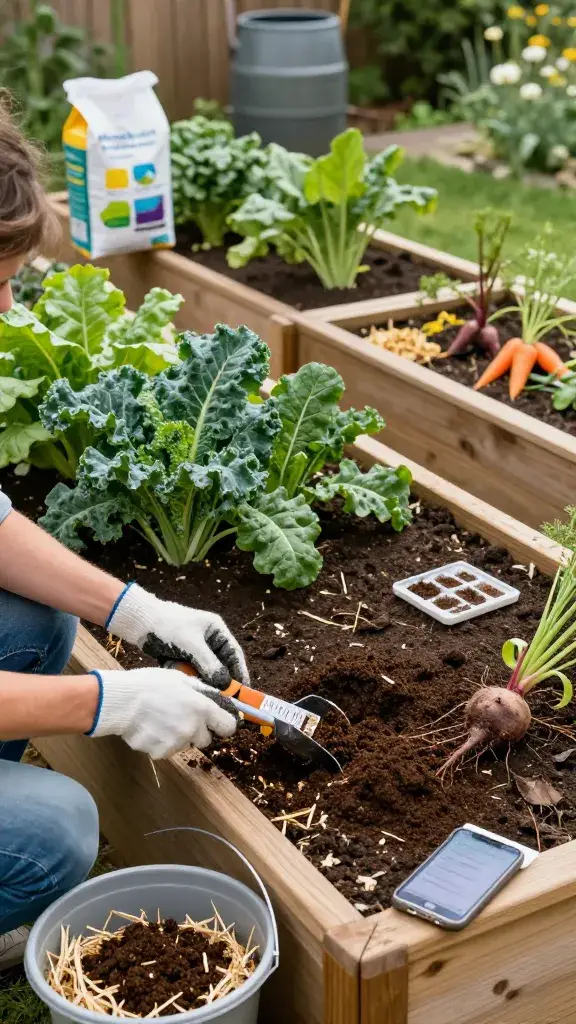
Chicken manure shines when you match it to your soil’s needs and your crop list. Raised beds concentrate nutrients, so testing helps you avoid the “too much of a good thing” problem.
Balance nitrogen with organic matter, watch phosphorus levels, and choose crops that actually love that boost. You’ll spend less on fertilizers and get better yields—win-win.
Test And Adjust
- Soil test yearly if you use manure often. Watch pH (aim ~6.2–7.0 for most veggies) and phosphorus buildup.
- If phosphorus climbs too high, rotate amendments: use leaf mold, worm castings, or composted pine bark instead for a season.
- Add carbon-rich mulches (straw, shredded leaves) to improve structure and buffer nutrients.
Great Crop Pairings
- Heavy feeders: Tomatoes, peppers, squash, cucumbers, corn, brassicas (broccoli, cabbage, kale).
- Moderate feeders: Beans, peas, onions—go lighter on the manure compost to avoid excess leaves over pods/bulbs.
- Leafy greens: Spinach, lettuce, chard love the nitrogen—use only finished compost for safety.
Simple Mix-And-Match Formula
- Before planting heavy feeders: mix in 1–2 inches of finished manure compost.
- For moderate feeders: 0.5–1 inch top-dress mid-season if growth slows.
- For greens: 0.5–1 inch pre-plant and a 0.5-inch top-dress after first harvest cut.
When you tailor inputs to your soil and crops, you get lush growth without waste. IMO, that’s the sweet spot every raised-bed gardener wants.
You’ve got this. With a little patience and a smart plan, chicken manure becomes the MVP of your raised beds. Start small, stay consistent, and watch your garden go from good to “wait, why is everything gigantic?” Trust me, it’s a glow-up you’ll brag about at harvest time.
Share this content: