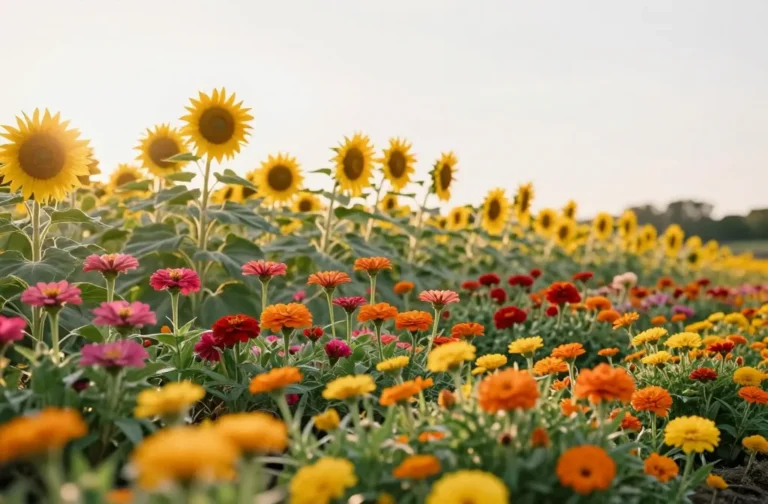
How to Start Seeds Indoors Without Fancy Equipment Fast
You want spring to show up early? Start it on your windowsill. You don’t need pricey grow lights, seed mats, or a Pinterest-ready greenhouse. You need a few household items, a sunny spot, and a mild obsession with tiny leaves. Let’s turn that kitchen table into a seed-starting command center, minus the fancy gear.
Pick the Right Seeds (Don’t Start Everything Indoors)
Not every plant loves the indoor pre-game. Some seeds hate transplanting and prefer to sprout right in the ground. Choose varieties that actually benefit from a head start.
- Great for indoors: Tomatoes, peppers, eggplant, basil, lettuce, brassicas (broccoli, cabbage, kale), onions, flowers like marigolds and zinnias.
- Skip starting indoors: Root crops (carrots, beets), peas, beans, corn, squash, cucumbers—plant those directly outside.
Timing is everything
Check your last frost date, then count back. Most seeds want 4–8 weeks indoors. Peppers need more (8–10 weeks), lettuce and basil need less (3–4 weeks). FYI: Overeager planting creates leggy plants that sulk.
Raid Your Recycling Bin for Containers
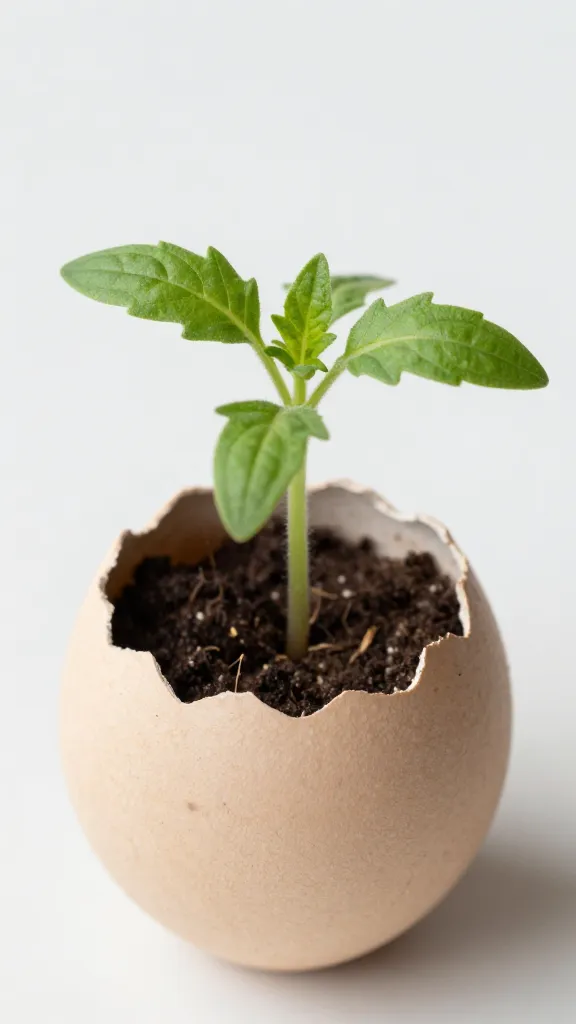
You can spend zero dollars here. You just need something that holds soil and drains water. That’s it.
- Free options: Yogurt cups, takeout clamshells, muffin liners, egg cartons (paper ones only), plastic salad boxes, tin cans (edges filed smooth).
- Drainage matters: Poke 3–5 holes in the bottom with a nail, fork, or scissors. No holes = swamp = sad seedlings.
- DIY humidity domes: Clear produce lids, plastic wrap, or the top of a rotisserie chicken container. Instant mini-greenhouse.
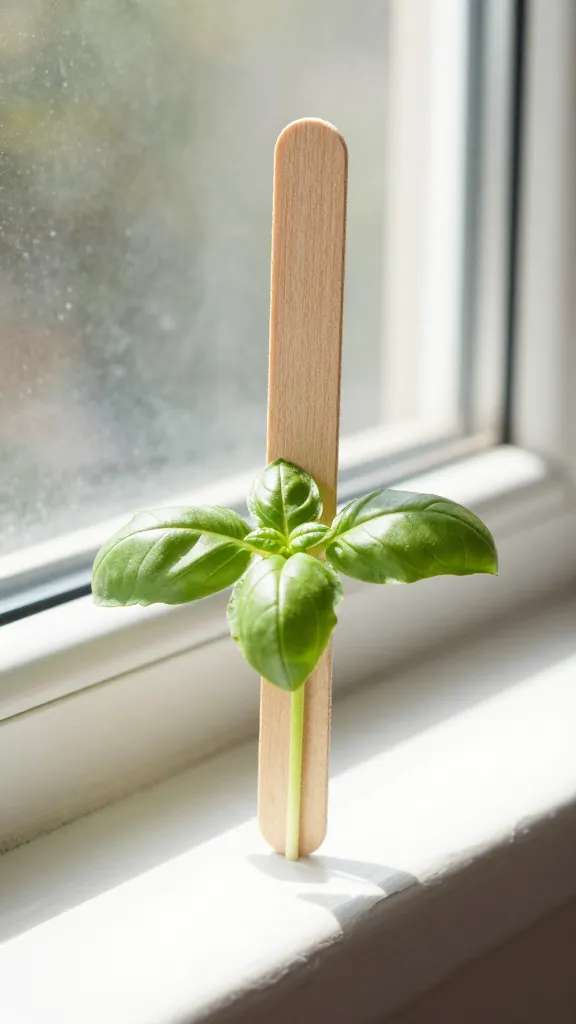
Label like you mean it
Write plant names and dates on masking tape or repurposed plastic cut into tags. You think you’ll remember which pot is basil and which is tomatoes. You won’t. Ask me how I know.
Use Simple, Light Potting Mix
You don’t need a fancy “seed starting blend,” but you do need light, clean soil that drains well.
- Easy path: Basic potting mix works fine. Avoid garden soil—it compacts and brings critters.
- Better on a budget: Mix potting soil with a bit of perlite or coarse sand if you have it.
- Pre-wet the mix: Stir water in until it feels like a wrung-out sponge. Too dry and seeds won’t wake up; too wet and they drown.
Optional sterilizing (IMO only if you’ve had issues)
If you’ve battled damping-off, bake damp mix at 180°F (82°C) for 30 minutes. It smells earthy, not like cookies. Don’t eat it. Obviously.
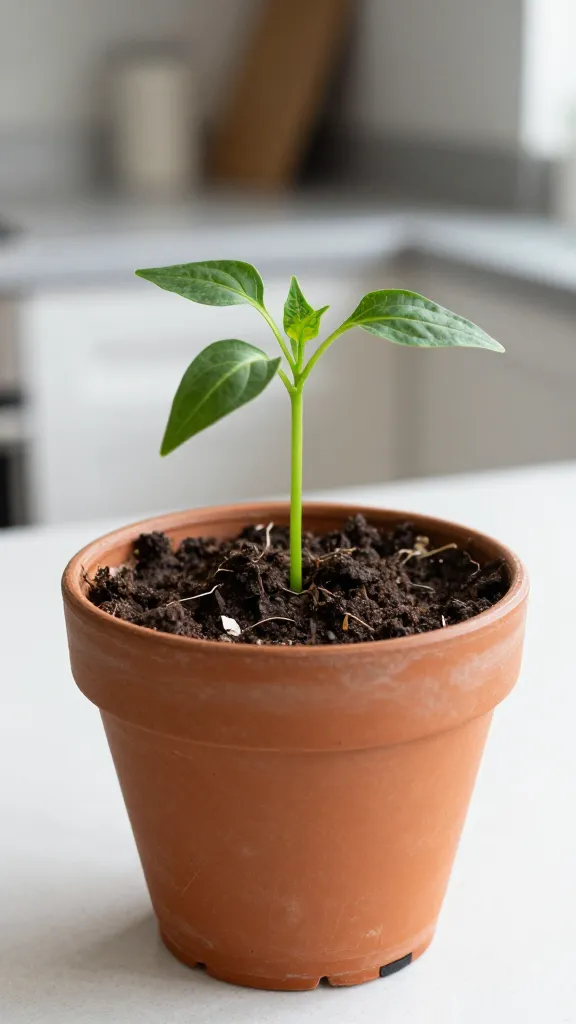
Planting: Depth, Spacing, and the “Don’t Bury the Tiny Ones” Rule
Seeds come with instructions for a reason. But here’s the quick guide you’ll actually remember.
- Depth: Plant seeds about 2–3 times their thickness. Dust tiny seeds (basil, lettuce) on top and press them in. Cover chunkier ones (tomatoes, peppers) with 1/4 inch of mix.
- Spacing: Sow 2–3 seeds per cell or cup. You’ll snip extras later. Ruthless? Yes. Necessary? Also yes.
- Moisture: Mist the surface or water from the bottom so you don’t blast seeds into next week.
Bottom-watering without special trays
Set your containers in a baking dish or a shallow storage bin. Add water to the bottom, let the soil wick it up for 10–20 minutes, then pour off extras. The roots chase moisture downward—win-win.
Light: Use Windows Smartly (No Grow Lights Needed)
Sunlight still works, shocker. You just have to maximize it.
- Best spot: South-facing window. East works. West can scorch in late afternoon. North… meh, but try it if that’s all you’ve got.
- Rotate daily: Turn containers a quarter turn each day so seedlings don’t lean like they’re doing yoga.
- Reflectors help: Prop aluminum foil or a white poster board behind the trays to bounce light back onto plants. Free upgrade.
- Extend daylight: If days still feel short, keep a regular lamp with a bright LED close by in the evening. Not perfect, but it helps. Keep it 4–6 inches away.
Too leggy?
Leggy seedlings stretch for light. Move them closer to the window, add a reflector, and keep them cooler (60–65°F at night). You can also gently brush your hand across them daily. It mimics wind and toughens stems. Weird but true.
Warmth, Water, and Airflow: The Cheap Trifecta
Seeds want warmth to sprout, then cooler temps to grow sturdy. Think “spa day, then light cardio.”
- Heat for germination: Park trays on top of the fridge or near a radiator. Aim for 70–80°F for peppers/tomatoes, 65–70°F for greens and brassicas.
- Off with the dome: As soon as you see green, remove covers. Fresh air beats fungal funk.
- Water smarter: Keep soil evenly moist, not soggy. Bottom-water most of the time. If the top crusts, mist lightly.
- Airflow: A small fan on low nearby helps. No fan? Crack a window for a bit daily, weather permitting.
Feeding without fancy fertilizer
Once true leaves appear (the second set), feed weekly with diluted liquid fertilizer at half strength. Fish emulsion works great—just, uh, maybe don’t do it in the dining room. Compost tea also works if strained well.
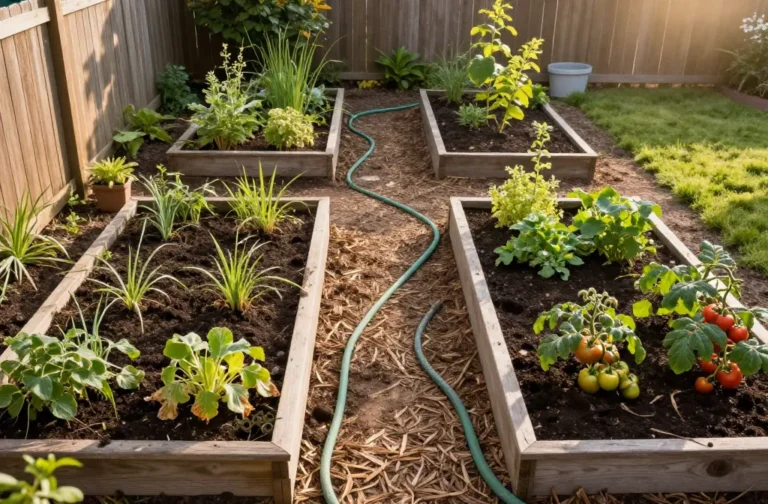
Transplanting and Potting Up
Crowded seedlings sulk. Give them elbow room when they hit 2–3 inches tall or grow roots out of the bottom.
- Moisten first: Water an hour before transplanting. Damp soil holds together and reduces shock.
- Gently separate: Lift by the leaves, not the stems. Stems bruise and game over.
- Plant tomatoes deep: Bury stems up to the first leaves; they grow new roots along the buried stem.
- Everyone else: Plant at the same depth they grew before.
- Shade after: Keep them out of direct sun for a day while they regroup.
Hardening Off: Don’t Skip This or You’ll Cry
You raised these babies indoors. Don’t toss them into the yard like it’s a reality show.
- Start slow: Day 1: 1–2 hours in bright shade, little wind.
- Add more: Each day, add more sun and time outside for 7–10 days.
- Watch weather: Bring them in if it dips below 45°F or gets super windy.
- Plant out: After frost danger passes, or use row cover if you like to live on the edge.
Common Oopsies (And Quick Fixes)
We all mess up. Here’s your cheat sheet.
- Problem: Leggy, floppy seedlings – More light, cooler temps, gentle airflow.
- Problem: Moldy soil surface – Better airflow, less water, remove humidity dome.
- Problem: Damping-off (stems pinch and collapse) – Sterile-ish mix, bottom-watering, cinnamon dusting on soil as a mild antifungal, more air.
- Problem: Yellow leaves – Mild fertilizer, check drainage. Don’t overwater.
- Problem: Slow germination – Warm it up and be patient. Peppers take forever, IMO.
FAQ
Do I really need grow lights?
No. A bright south window plus a reflector works for many plants. Will dedicated lights grow beefier seedlings faster? Sure. But you can absolutely start strong plants with sunlight if you manage rotation, distance, and temperature.
How often should I water?
Keep the mix consistently damp, not soaked. Check daily with a finger: if the top half-inch feels dry, bottom-water. Smaller containers dry out faster, so they need more frequent checks.
What’s the easiest seed for beginners?
Lettuce germinates fast, tolerates cooler temps, and forgives mistakes. Basil and zinnias also behave nicely. Tomatoes reward patience with obvious growth, which keeps motivation high.
Can I reuse last year’s potting soil?
You can, but sift out roots and bake or microwave-dampen it to reduce pathogens. Mix in a bit of fresh potting soil or compost for nutrients. If you battled disease last season, start fresh to avoid drama.
Why do my seedlings fall over suddenly?
That’s usually damping-off, a fungal issue. Boost airflow, reduce moisture, and remove any covers. Use clean tools and containers, and sow a bit thinner next round.
When do I start fertilizing?
Wait until the first true leaves show up. Then feed weekly at half strength. Seedlings don’t need a buffet early on—think snacks, not Thanksgiving dinner.
Conclusion
You don’t need a lab-grade setup to grow killer seedlings. You need light, warmth, clean soil, and a little daily attention. Start simple, improvise with what you have, and tweak as you learn. Before long, you’ll hand folks tomatoes and casually say, “Started these on my windowsill,” like it’s no big deal. FYI: it totally is.
Share this content: