Genius 15 Raised Bed Layout Ideas for a More Organized Vegetable Garden
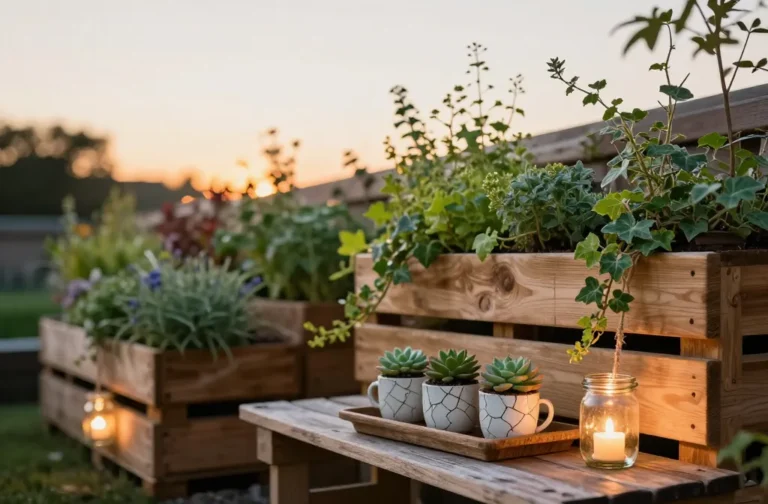
You don’t need a sprawling homestead to grow a ton of veggies—you just need smart layouts. Raised beds keep things tidy, productive, and easier on your back. Want order without the dull vibes of a geometry worksheet? Let’s map out 15 raised bed layout ideas that look great and make your garden way less chaotic.
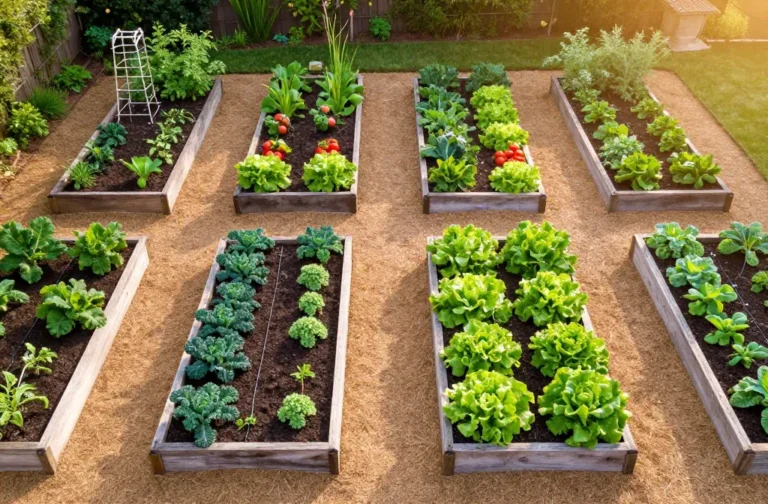
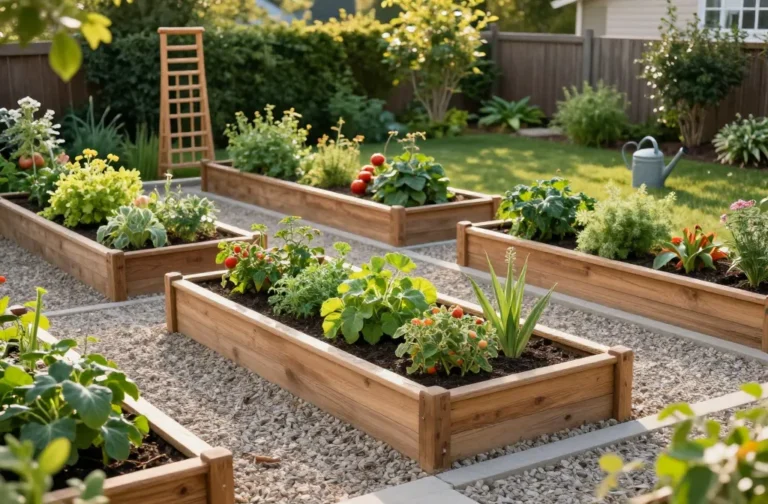
Start with a Simple Grid (But Make It Cute)
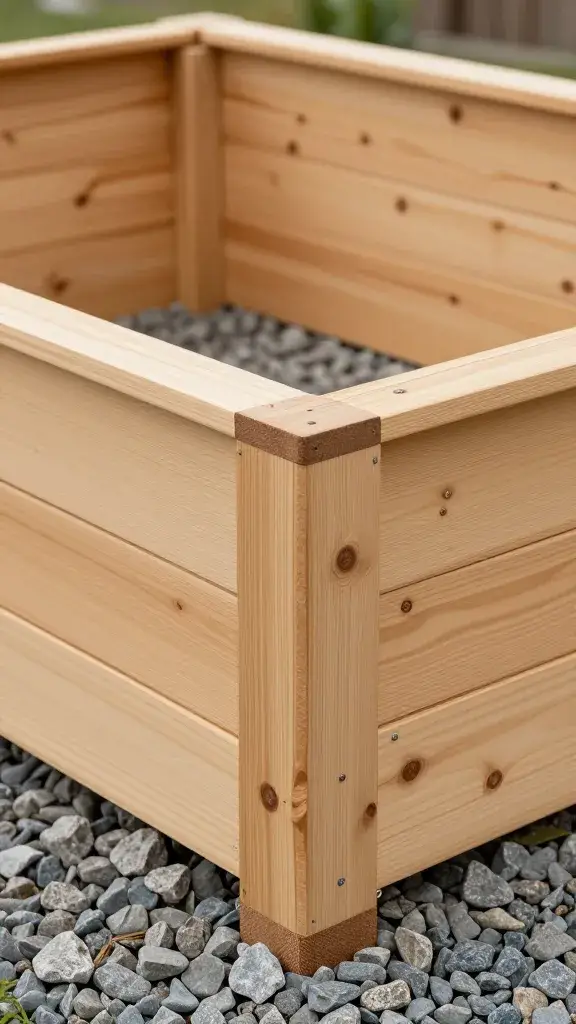
A classic grid layout never fails. Think 4-8 identical beds spaced evenly with clear paths. It gives you great access, simplified irrigation, and a clean aesthetic.
- Bed size sweet spot: 4×8 feet for easy reach from both sides.
- Path width: 18-24 inches for walking and wheelbarrow traffic.
- Pro tip: Repeat materials (like cedar and gravel) to tie the look together.
When a Grid Wins
Use a grid if you want low-maintenance structure, plan to rotate crops annually, and love the look of neat rows without fuss.
The Kitchen Garden Cross (Potager Vibes)
Arrange four beds in a square with a cross-shaped path through the center. Put a focal point in the middle—a birdbath, a dwarf fruit tree, or a fancy trellis. Now your garden looks like it has taste.
- Symmetry helps planning: Grow leafies in one quadrant, roots in another, fruiting crops in the others.
- Center feature: Adds pollinator appeal and gives your garden instant charm.
Planting by Quadrants
– Leaf: lettuce, kale, spinach
– Root: carrots, beets, radishes
– Fruiting: tomatoes, peppers, eggplant
– Herbs/flowers: basil, dill, calendula, marigolds
Long Lanes for Efficiency
If you’ve got a narrow backyard, line up long raised beds along one or both sides. This works great against fences or hedges.
- North-south orientation: Even sunlight distribution.
- Integrated trellises: Run cattle panels or string trellises along the fence side.
- Bonus: Easy to run drip lines straight down each bed.
Good for Vining Crops
Grow cucumbers, pole beans, and indeterminate tomatoes along the trellis side. Let them climb and free up bed space below for lettuces and basil.
The L-Shape for Tight Corners
Got a weird corner? Fill it with an L-shaped bed. You’ll gain growing space without cluttering your main walkway.
- Use the corner as vertical real estate: Place a tall trellis or an obelisk there.
- Tier the bed: Step up height along the wall for drama and better drainage.
Staggered Ladder Layout
Place three to five beds in a staggered pattern, like offset rungs of a ladder. It breaks up straight lines and creates cozy pockets for seating or containers.
- Ideal for sloped yards: Step the beds slightly to follow the grade.
- Creates microclimates: Sun hits angles differently, so match plants to light levels.
U-Shape and W-Shape Beds
Build a single bed in a U shape around a central standing area. Or go bold with a W—two U’s sharing a middle access point. You’ll reach everything without stepping on soil.
- Perfect for accessibility: Keep edges 2 feet from the center aisle for easy reach.
- Use different depths: Deep arms for roots, shallow middle for greens.
Great for Intensive Planting
Pack in salad bars, succession carrots, and herbs. FYI, a U-shape with a 3-foot interior aisle feels luxurious.
Keyhole Beds (But Make Them Modern)
A circular bed with a little “keyhole” walkway lets you reach the center easily. You’ll get serious yield from a small footprint.
- Center compost basket (optional): Add kitchen scraps and water to feed the bed.
- Edge-friendly plants: Cascade thyme or strawberries over the rim.
Four Seasons with Modular Squares

Build a set of 3×3 or 4×4 beds you can rearrange or reassign each season. Rotate crops without headaches.
- Label by number: Keep notes on what grew where. Future you will thank you.
- Add season extenders: Pop on low hoops or cold frames as needed.
Square-Foot Strategy
If you love order, use square-foot grids in these beds. Plant spacing becomes foolproof. IMO, this removes 80% of guesswork.
Mixed Heights for Drama (and Function)
Combine low, medium, and tall beds. Taller beds warm faster and make harvesting easier. Lower beds house creeping herbs and flowers.
- Tall beds (24 inches): Great for carrots, parsnips, and disabled/low-mobility gardeners.
- Medium (12-18 inches): Tomatoes, peppers, leafy greens.
- Low (6-8 inches): Herbs, strawberries, calendula.
Perimeter Plus Island
Frame your garden with beds along the edges, then drop one or two “island” beds in the middle. You’ll create multiple routes and keep traffic flowing.
- Perimeter trellis: Grow tall crops on the north and east sides to avoid shading.
- Island focus: Keep to mid-height crops for visibility and aesthetics.
Companion Planting Zones
Group beds by plant families and their favorite buddies. Less pest pressure, easier fertilizing, and smarter watering.
- Nightshade bed: Tomatoes, basil, marigolds (and a sturdy trellis).
- Brassica bed: Kale, cabbage, nasturtiums to distract pests.
- Legume bed: Peas, beans, with dill and cosmos for beneficials.
- Root bed: Carrots, beets, onions, chives along the edges.
Rotation Made Easy
Rotate these zones each year clockwise. You’ll limit disease buildup—no spreadsheets required.
Pollinator Border + Veggie Core
Create a ring of raised beds for flowers and herbs around your central vegetable beds. The pollinators will throw a party and your tomatoes will RSVP “yes.”
- Top picks: Lavender, salvia, echinacea, alyssum, borage.
- Herb edges: Thyme, oregano, chives soften lines and attract beneficial insects.
Diagonal Drama
Angle your beds 30-45 degrees off the house or fence line. Suddenly the whole space feels custom, not cookie-cutter.
- Check sun paths: Keep taller crops on the northernmost edges to avoid shading.
- Line with stepping stones: Define paths and keep shoes cleaner. Your floors will appreciate it.
Water-Wise Zones
Group thirsty crops together and drought-tolerant ones in another area. Your irrigation system—and water bill—will chill out.
- High-water bed: Lettuce, cucumbers, celery.
- Moderate bed: Tomatoes, peppers, squash.
- Low-water bed: Herbs like sage, rosemary, thyme.
Smart Irrigation Setup
– Drip lines per bed with individual valves
– Mulch everything (2-3 inches)
– Add timers so you can go on vacation without panicking
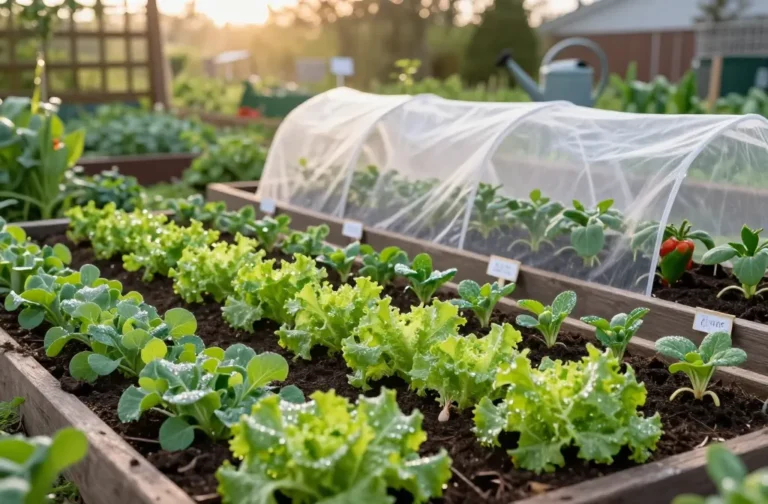
Arched Tunnel Aisle
Place two rows of beds facing each other, then connect them with arched cattle panels or conduit hoops over the path. Grow climbers up and over for a leafy tunnel.
- Great for: Cucumbers, beans, tromboncino squash.
- Bonus: Dappled shade under the tunnel keeps lettuces from bolting in summer.
FAQ
How wide should my raised beds be?
Aim for 3-4 feet wide so you can reach the middle without stepping in. If you can only access one side, keep it to 2-3 feet. Depth matters too—12 inches handles most veggies, while 18-24 inches works best for deep roots.
What’s the best path width between beds?
Leave at least 18 inches for walking. If you use a wheelbarrow, 24-36 inches feels comfortable. Wider paths also help air circulation, which means fewer fungal headaches.
Do I need to line my raised beds?
Not always. If you have invasive weeds or tree roots nearby, add a woven landscape fabric at the bottom. Skip plastic liners—they trap water and cause rot. For wood protection on the inside walls, consider a breathable, food-safe barrier, but IMO good drainage and airflow beat most liners.
Should I orient beds north-south or east-west?
North-south usually gives more even light and reduces shading between rows. If strong winds hit from one direction, align beds to minimize wind tunnels. Your microclimate always wins, so watch the sun and tweak as needed.
What’s the easiest layout for beginners?
A simple grid of 3-6 identical beds with 2-foot paths, drip irrigation, and one central trellis. Keep it modular. Start small, nail the basics, then get wild with keyholes and tunnels later—FYI, expansions happen faster than zucchini multiplies.
How do I keep my layout organized all season?
Label beds, keep a rough map, and mulch paths hard. Use color-coded twine or tags for plant families. And set monthly reminders to re-tie trellises and top up mulch—future harvests depend on present you being slightly Type A.
Conclusion
Pick one layout that fits your space and commit. Whether you love symmetry, tunnels, or modular squares, a good plan turns chaos into crunchable carrots and brag-worthy tomatoes. Start with access and sunlight, add trellises where you can, and rotate smart. Do that, and your raised bed garden won’t just look organized—it’ll run like a tiny, delicious machine. IMO, that’s the dream.
Share this content: