Cattle Panel + Tarp Chicken Run + Coop Setup Under $200: Quick Diy Win
If you’re building a safe, functional coop on a shoestring, you’ve landed in the right spot. These three DIY winners come together fast, keep the predators out, and still leave you with cash for a treat-your-chickens snack. FYI, it’s possible to build something sturdy without selling a kidney.
1. Start With a Sturdy Frame: Cattle Panel Magic
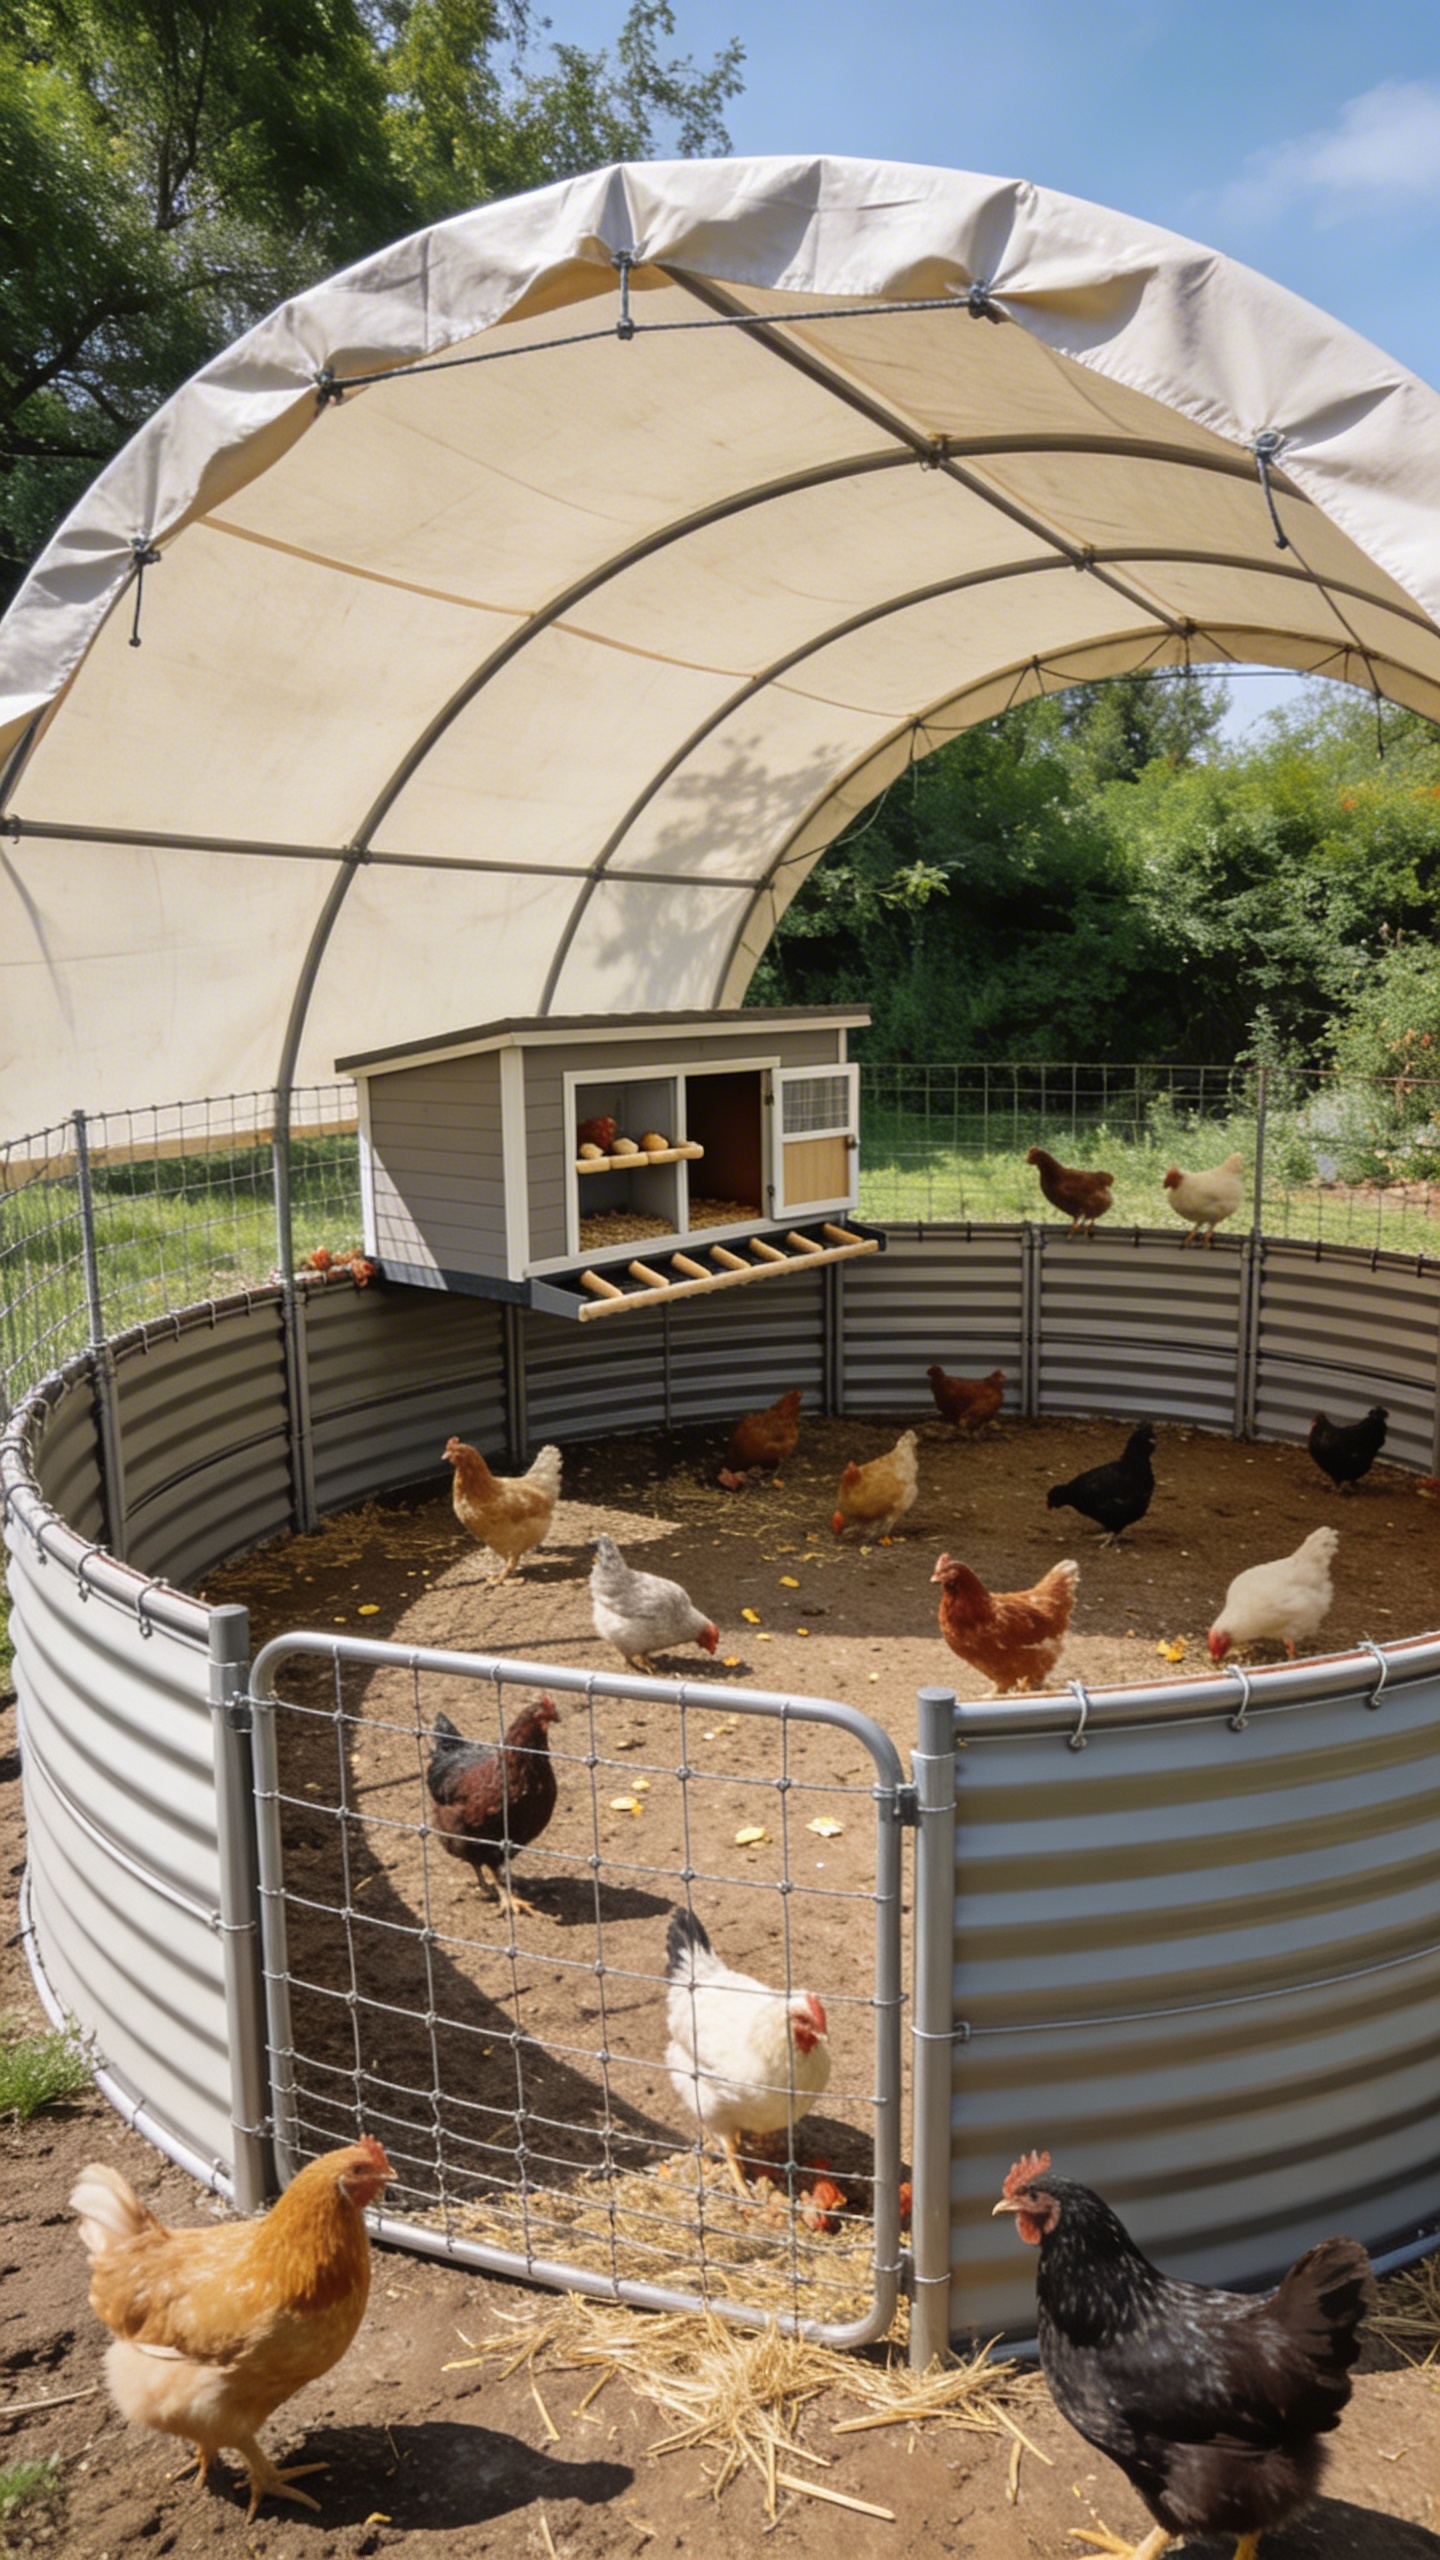
You don’t need fancy lumber to get a solid run. Cattle panels are lightweight, easy to bend, and surprisingly strong when wired properly. They also make the setup visually clean and expandable as your flock grows. Seriously, they’re the secret sauce for a quick, roomy frame.
Why this rocks
- Low cost and widely available
- Easy to shape into a rounded or rectangular run
- Relatively quick install with basic tools
Build tip: bend the panels into a half-cylinder or arched top for extra headroom and a more closed-in feel for worried birds. The arc looks cool and adds space without buying extra materials.
Benefits: a versatile backbone for your coop area that’s ready for tarps, wire mesh, or additional panels as your flock grows.
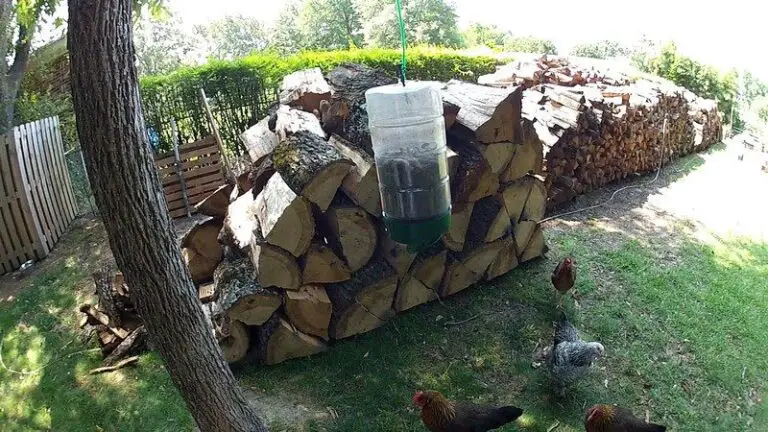
2. Weatherproof Your Run With Tarps (No Drama, Just Shelter)
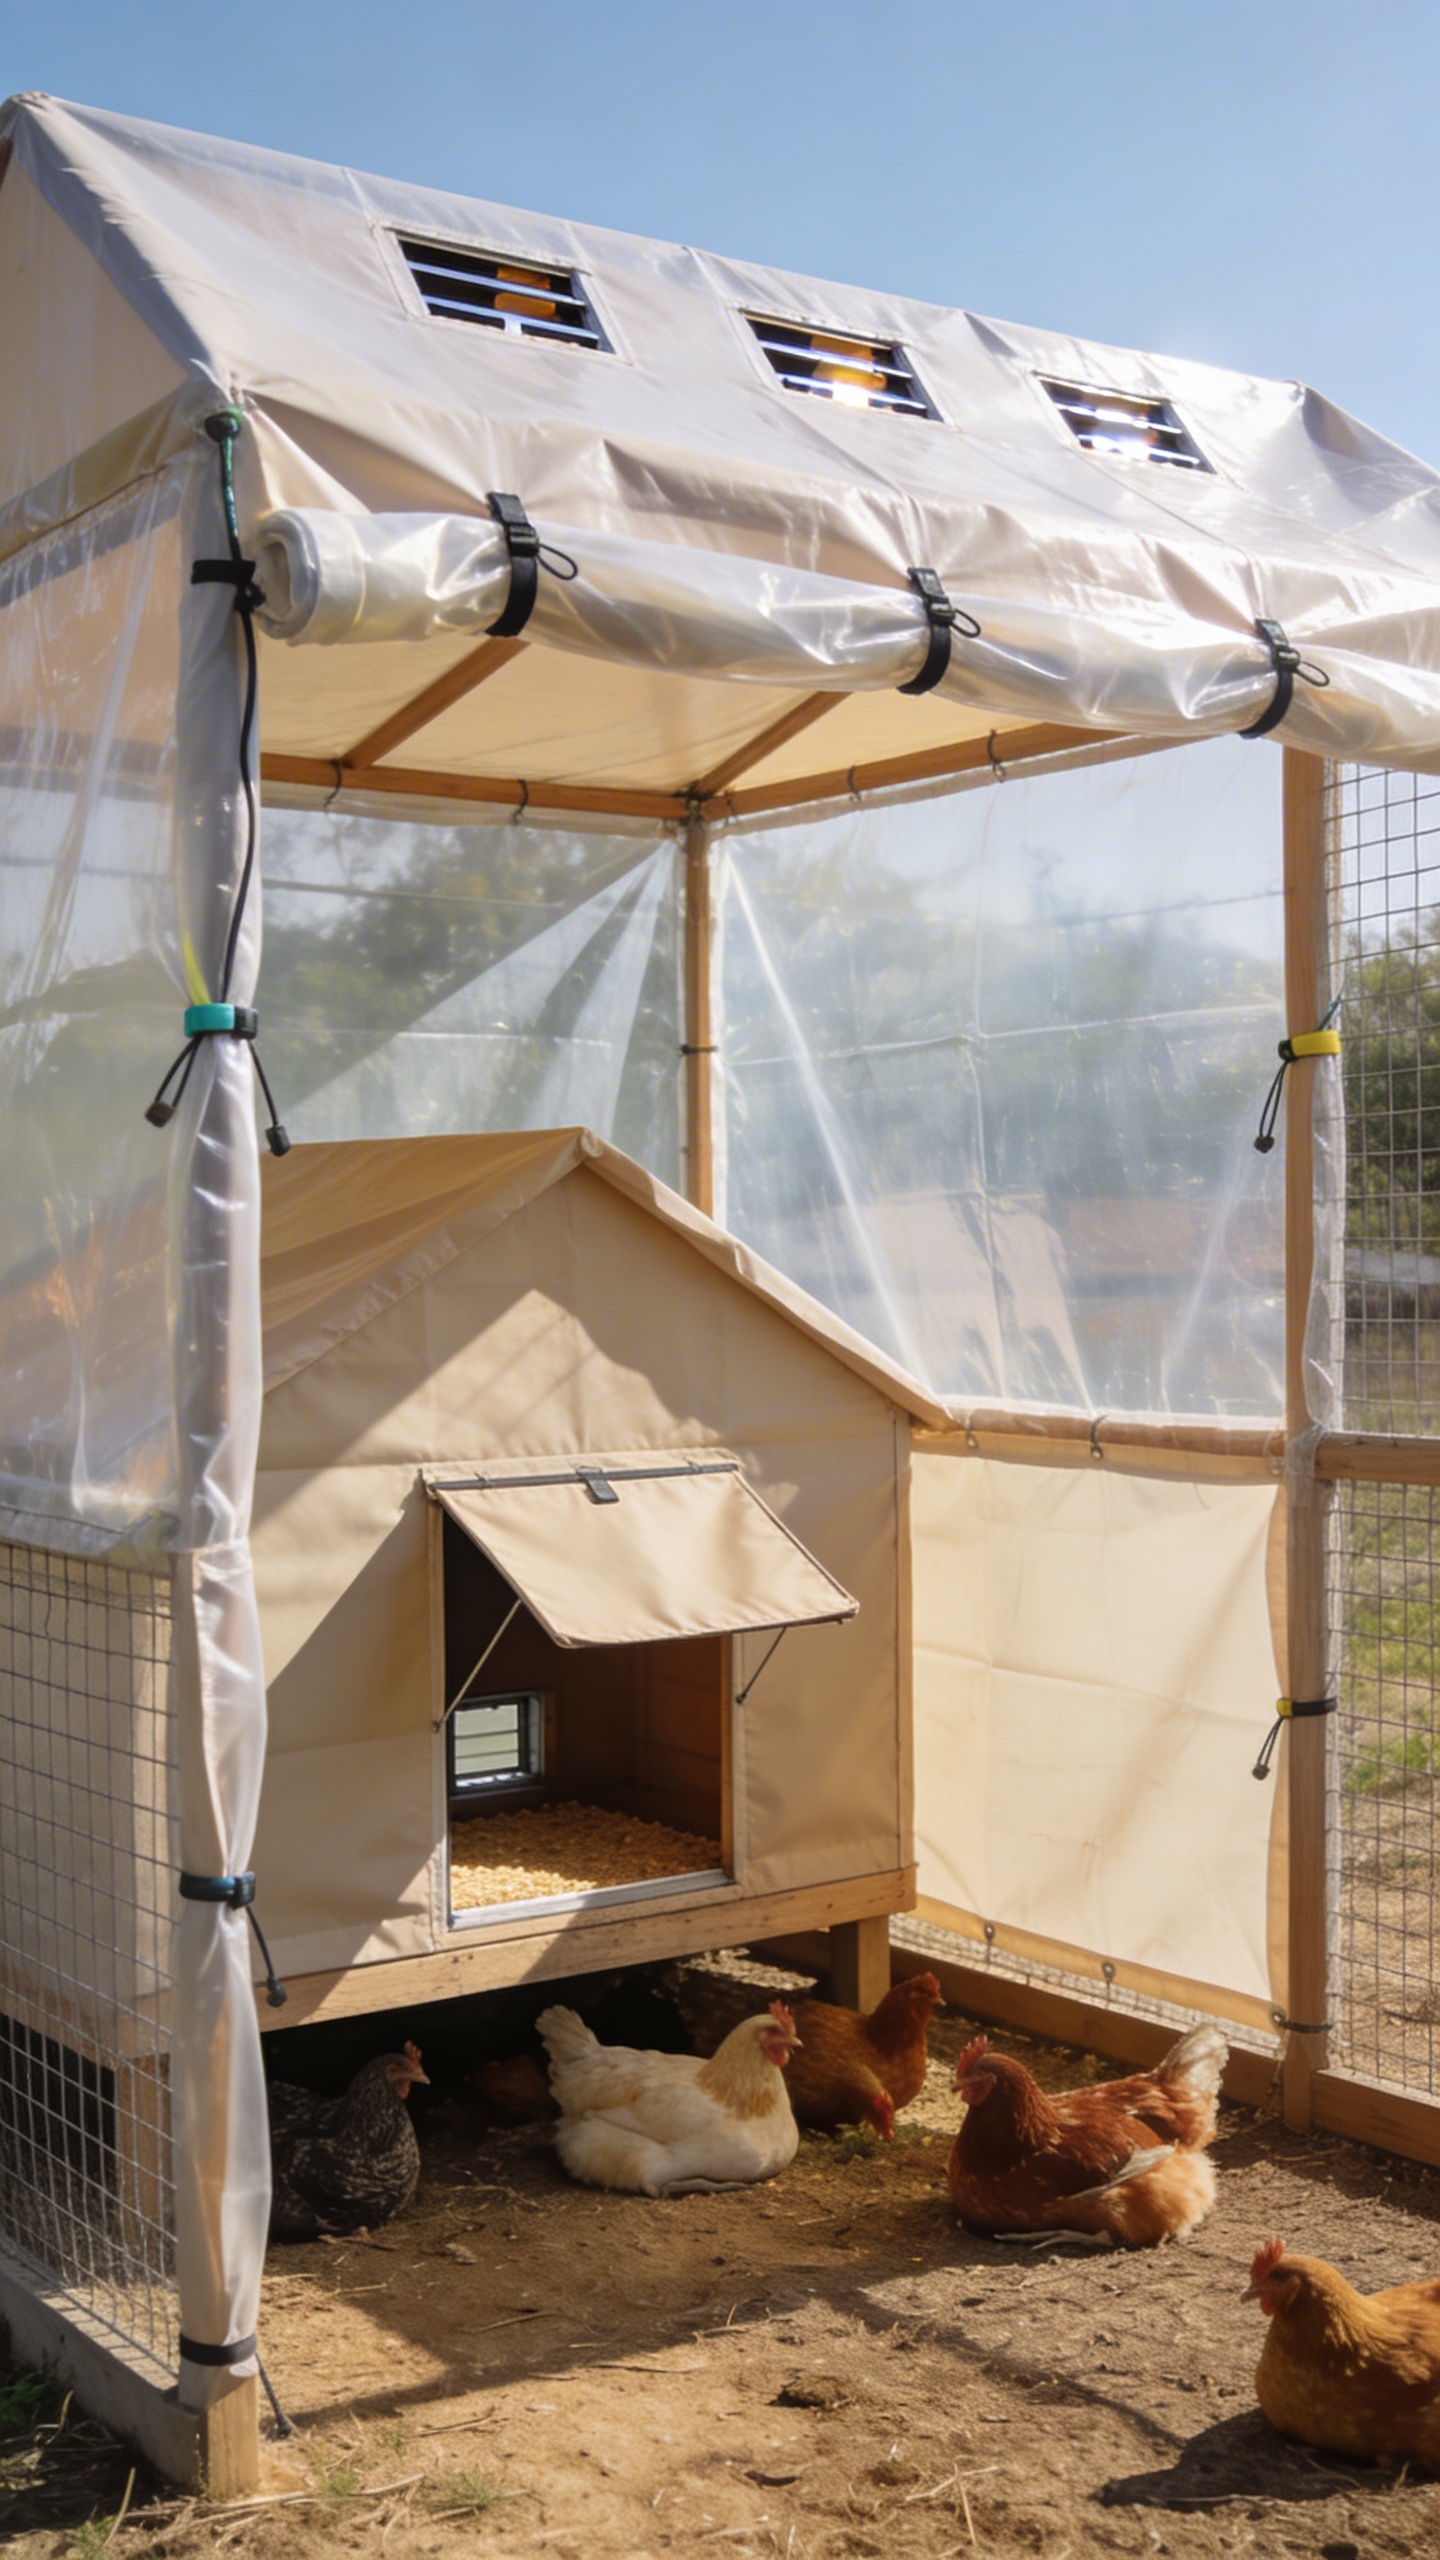
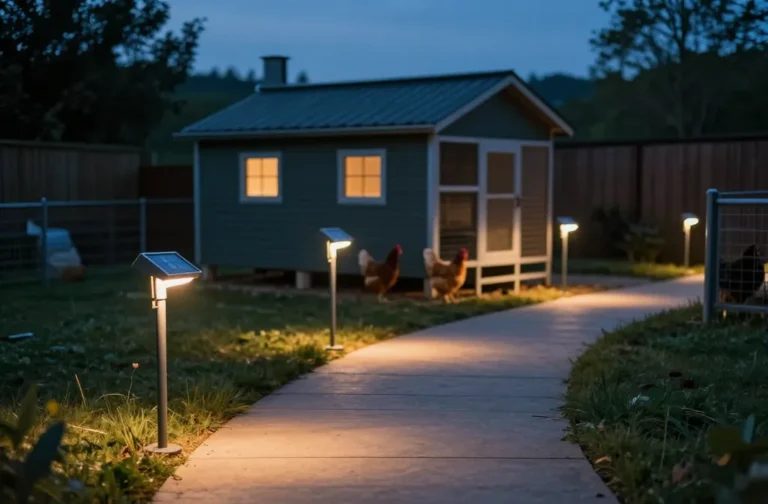
A good tarp setup keeps your birds dry and makes your life easier. We’re talking wind breaks, shade, and a quick escape hatch for cleaning days. Use clear or light-colored tarps to let sunlight in while staying protected. Trust me, your chickens will appreciate the cozy covered area during sudden showers.
Key points
- UV-resistant tarps last longer in sun exposure
- Secure with bungee cords or zip ties to minimize flapping
- Leave small vent gaps to prevent condensation buildup
Tips: anchor tarps to the frame with cable ties every couple of feet and add a few tension lines to reduce sag. If you’re in a windy area, consider a sloped tarp to shed gusts. FYI, a tarp makes a big difference in keeping feed dry too, not just the birds.
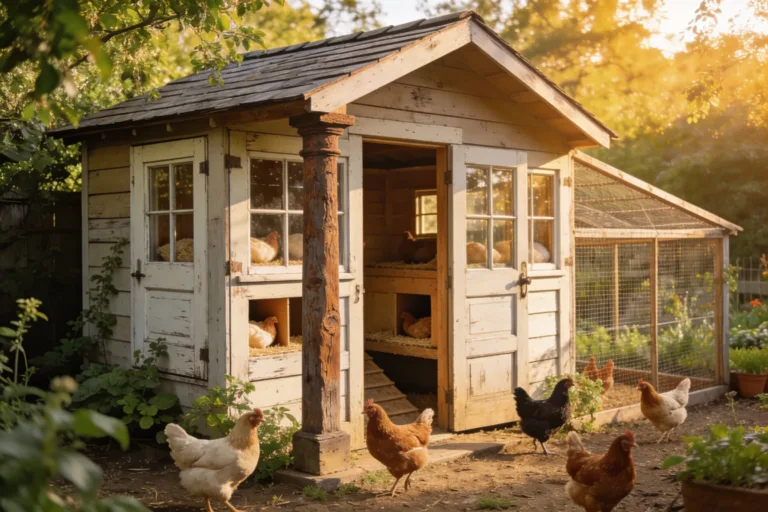
3. The Coop: A Cozy House That Won’t Break the Bank
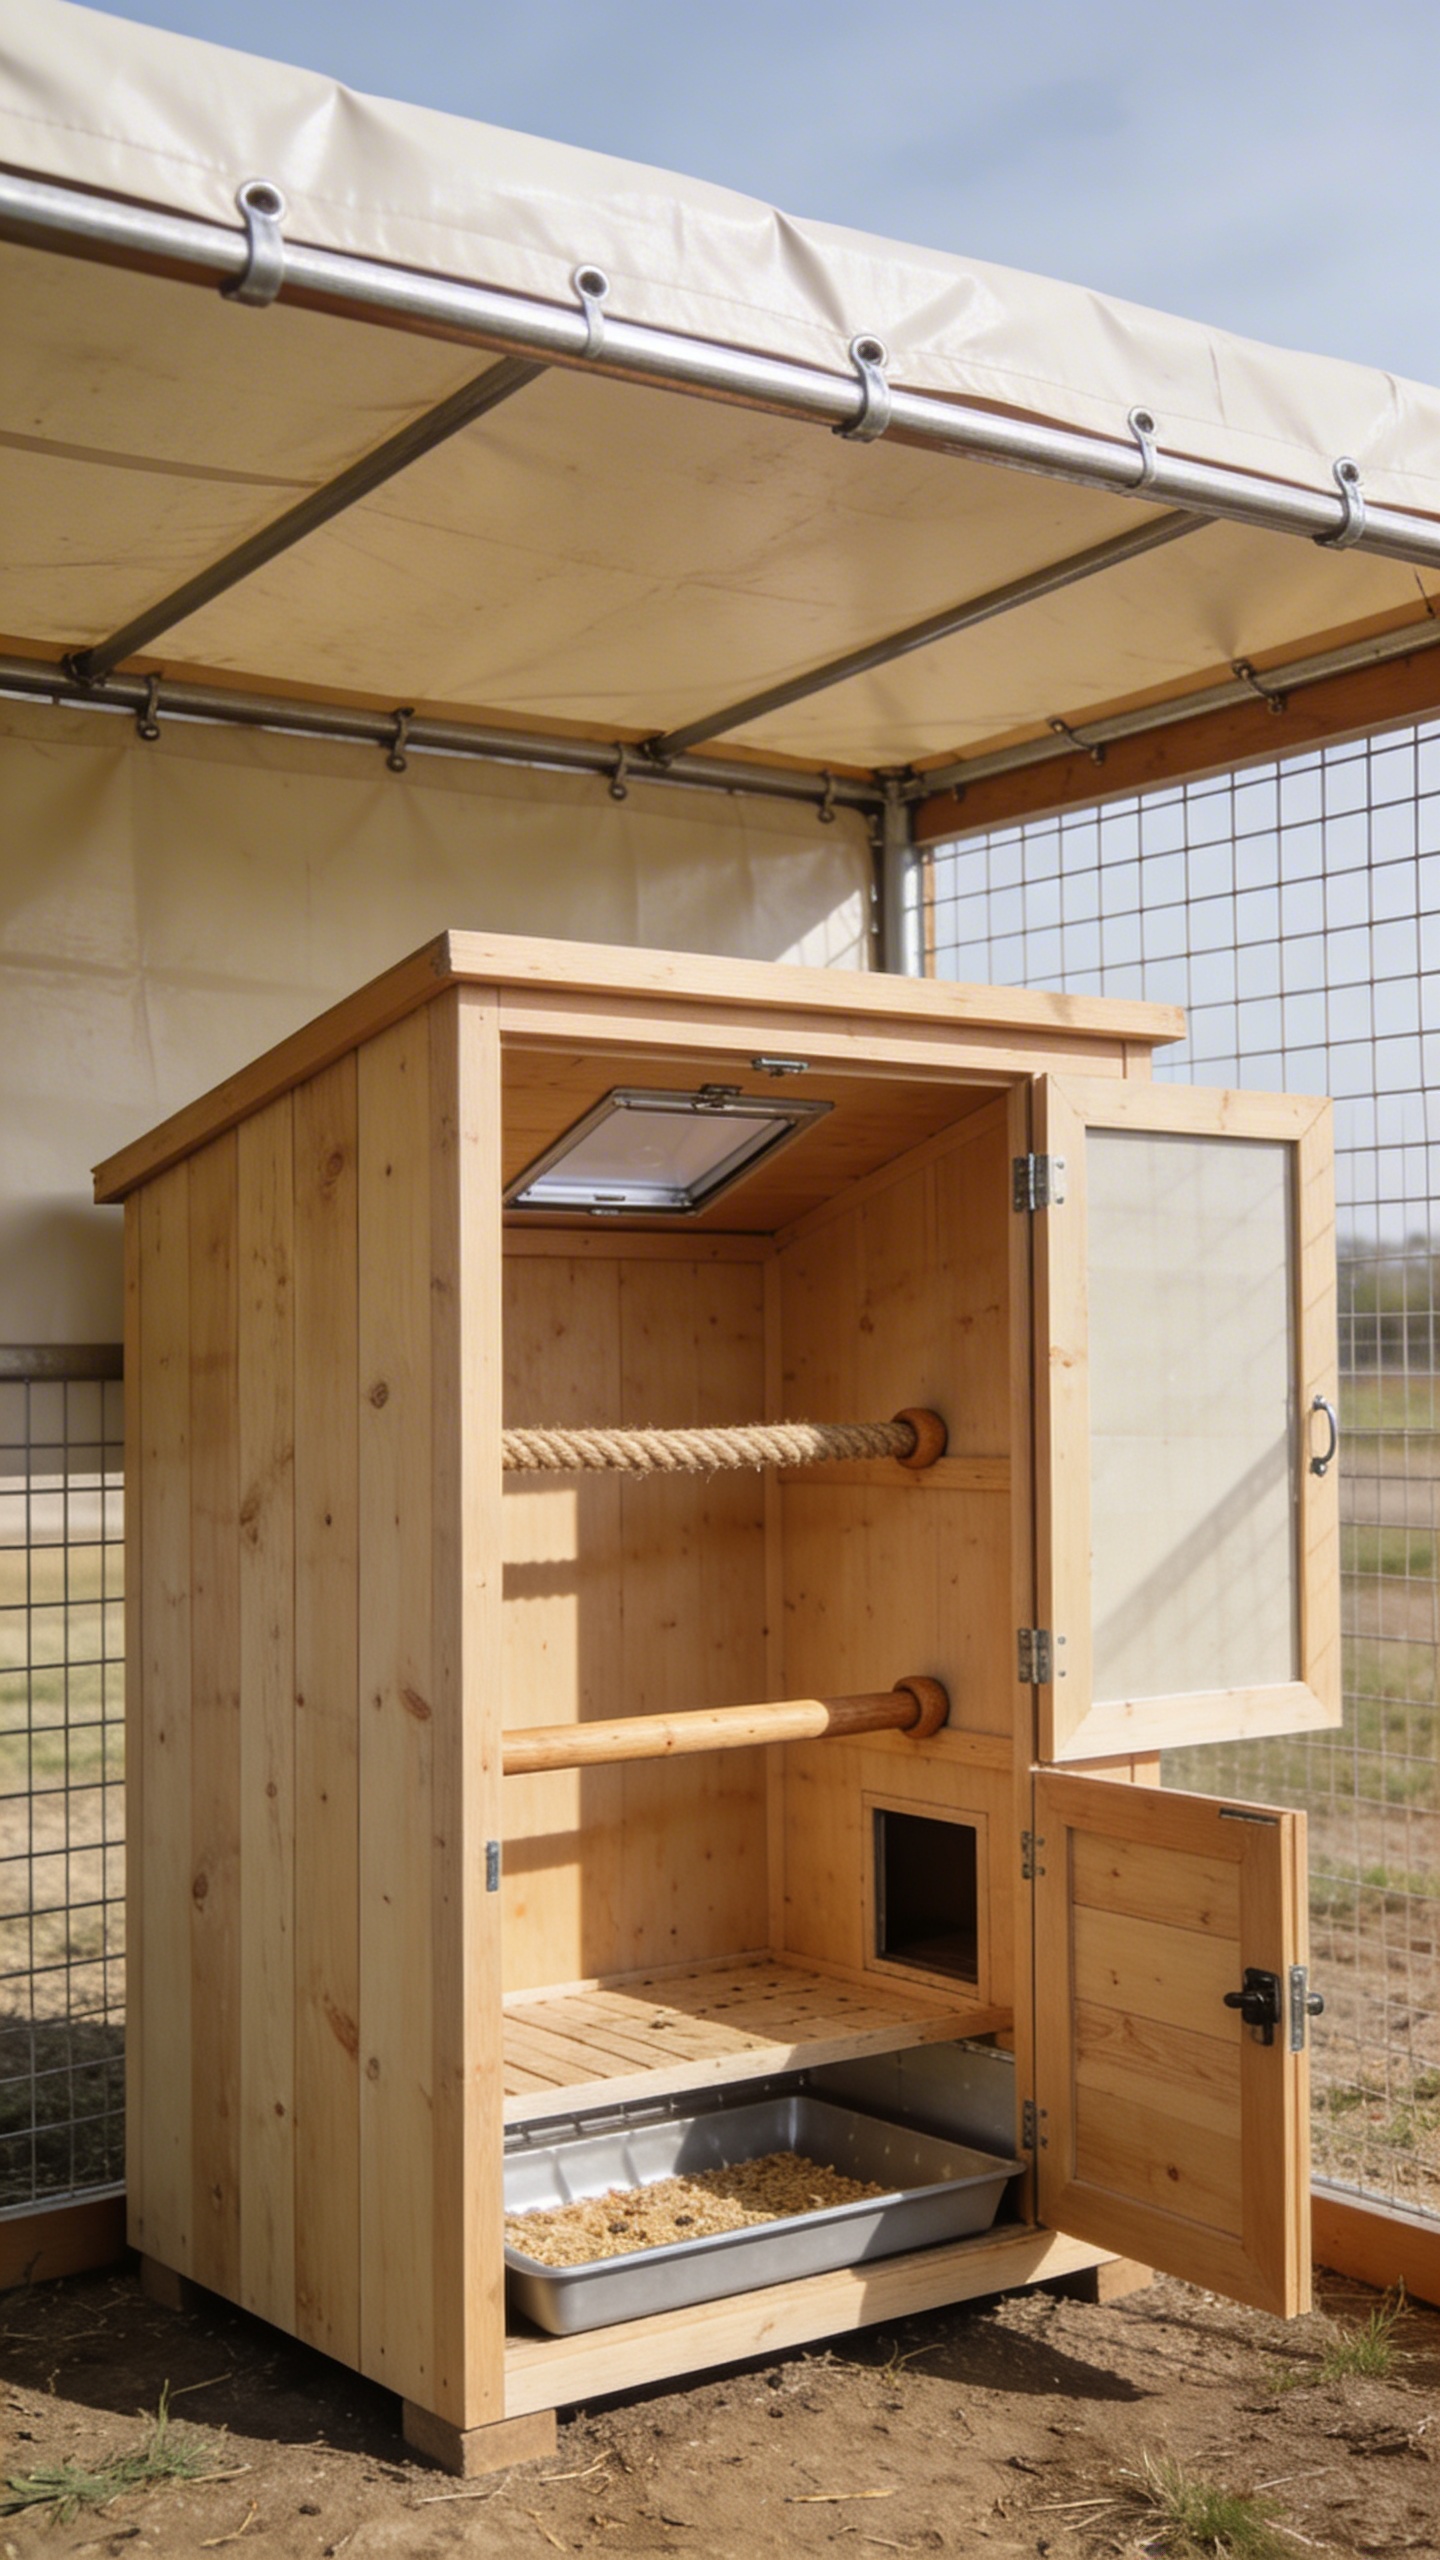
Your chickens deserve a snug place to roost and lay eggs. The goal here is a simple, clean, easy-to-clean coop that fits snugly with your panel-and-tarp frame. A few smart hacks keep costs down while still delivering comfort and function.
Smart design ideas
- Small, easy-access door for quick egg checks and cleaning
- Rope roosts or simple wooden dowels at two levels for perching
- Removable tray or floor section for easy manure cleanup
Concept to implement: build a hinged front wall or removable panel so you can reach into the nesting box without squeezing in. It saves you from a back-breaking evening every week. The goal is a splash-free, draught-free zone that still reads as a home, not a shed.
4. Safety First: Netting, Doors, and Small Details
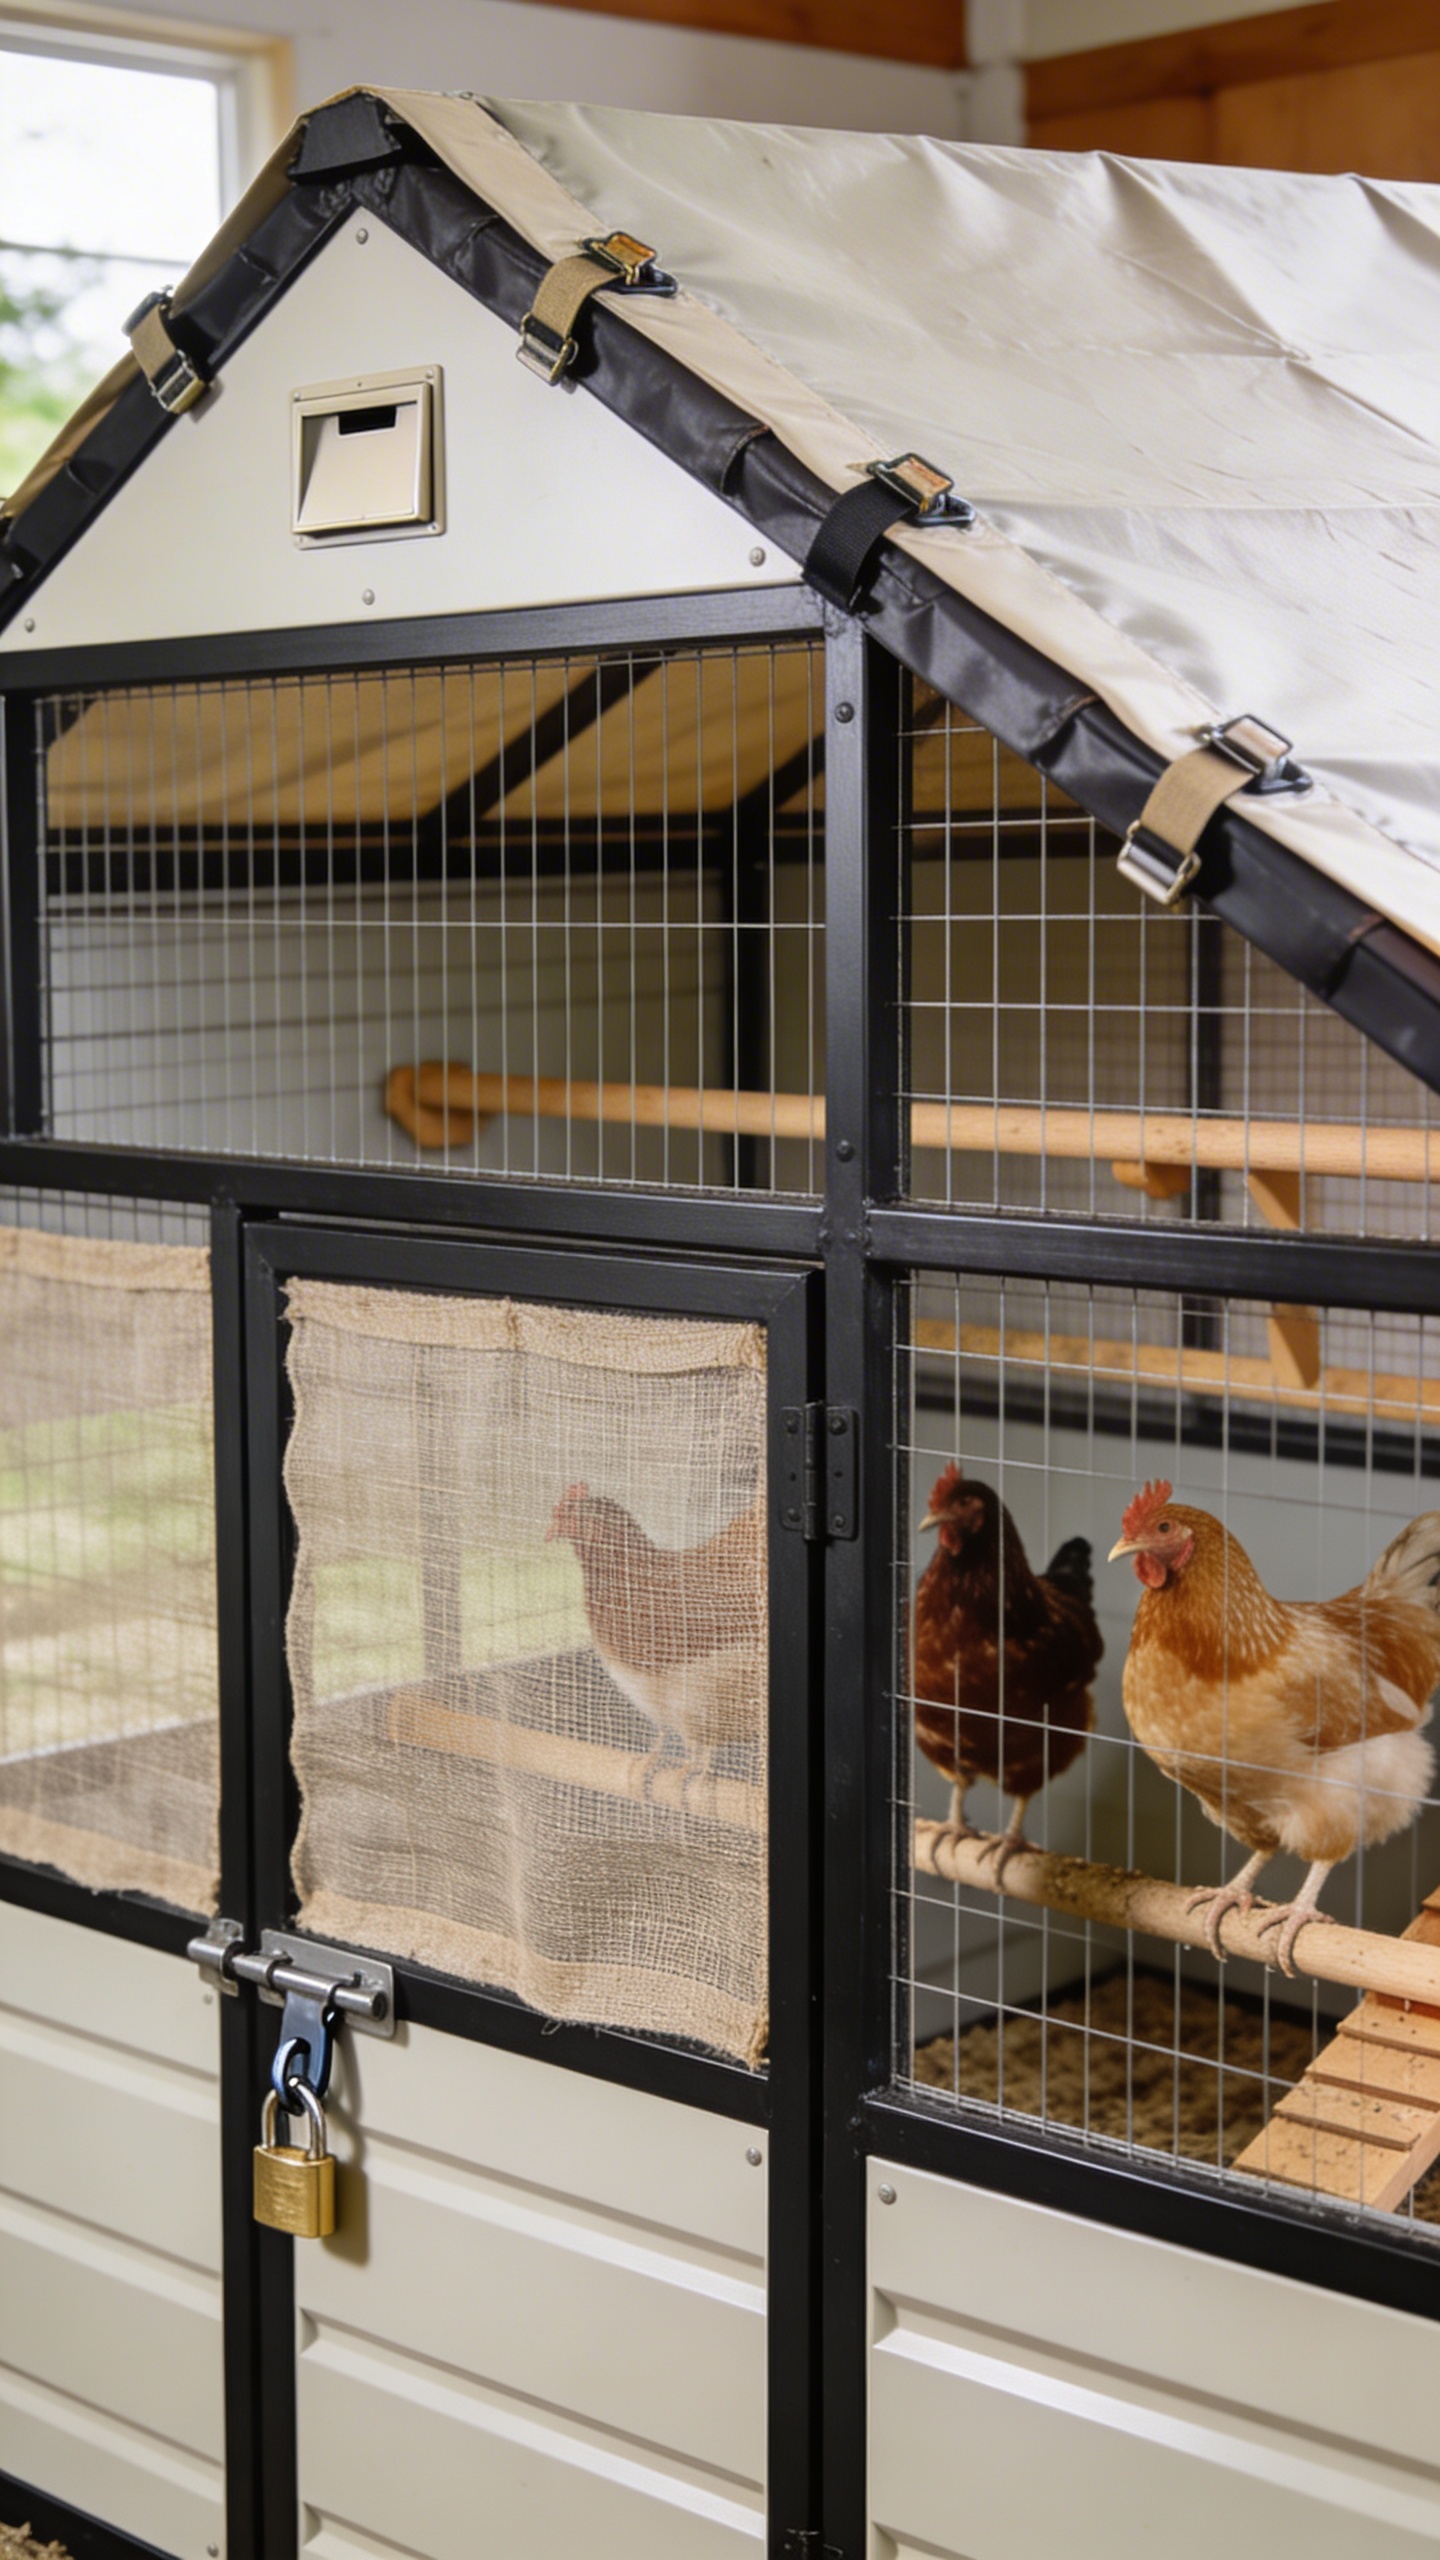
Predator-proofing and chicken comfort aren’t optional extras; they’re essential. A few careful touches keep you from sprinting to the hardware store at 2 a.m. again. Bonus: these tweaks are cheap and quick to install, so you’ll be done before you know it.
Elements to consider
- Hardware cloth around the lower panels to deter digging predators
- Secure door latches with padlocks or carabiners
- Secure roof edges with extra straps to prevent lifting in wind
Pro move: add a small, removable panel near the nesting area so you can check eggs without opening the whole coop. It’s little stuff, but it makes a big difference in daily use.
5. Finishing Touches: Accessibility, Maintenance, and Comfort

Last but not least, think about daily life with your flock. Accessibility and cleanliness will keep your chickens happier and your days easier. A few simple adjustments keep the space usable and inviting for your feathered roommates.
Practical add-ons
- Drainage slits or a slight slope to the run floor to shed water
- One small, washable nest box with clear access for collecting eggs
- A rain cover or overhang that keeps the nesting area dry
When to use these: after a heavy rain, during molting season (for extra comfort), or when you want to rotate the coop to keep pathogens low. IMO, keeping things simple here reduces maintenance headaches and gives you more chicken-time.
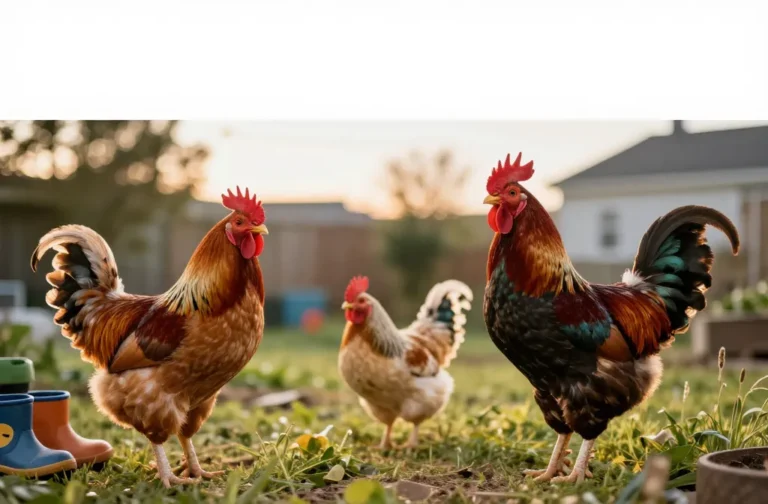
Bottom line: you’re crafting a compact, budget-friendly habitat that’s sturdy, recoverable, and actually pleasant for the birds. If you want to upgrade later, these sections are designed to scale with minimal extra cost.
Ready to dive in? Get your materials list, set a small weekend timeline, and you’ll be watching happy hens scratch around in no time. Seriously, this is the kind of project that feels like a win even on tired Fridays. Trust me, your future self will thank you.
Happy building, and may your clucks be loud and your eggs delicious!
Share this content: